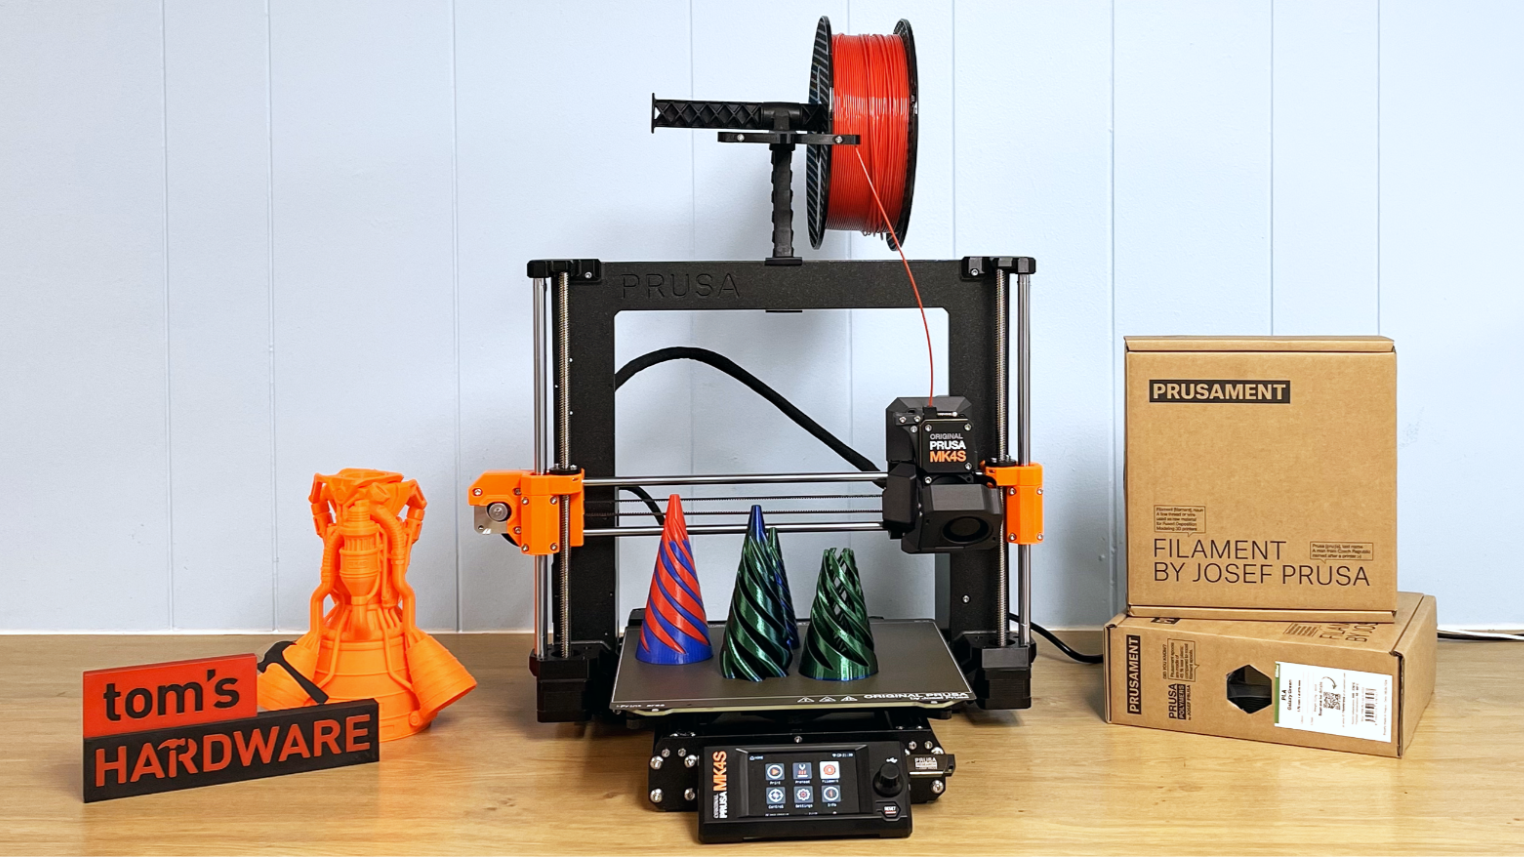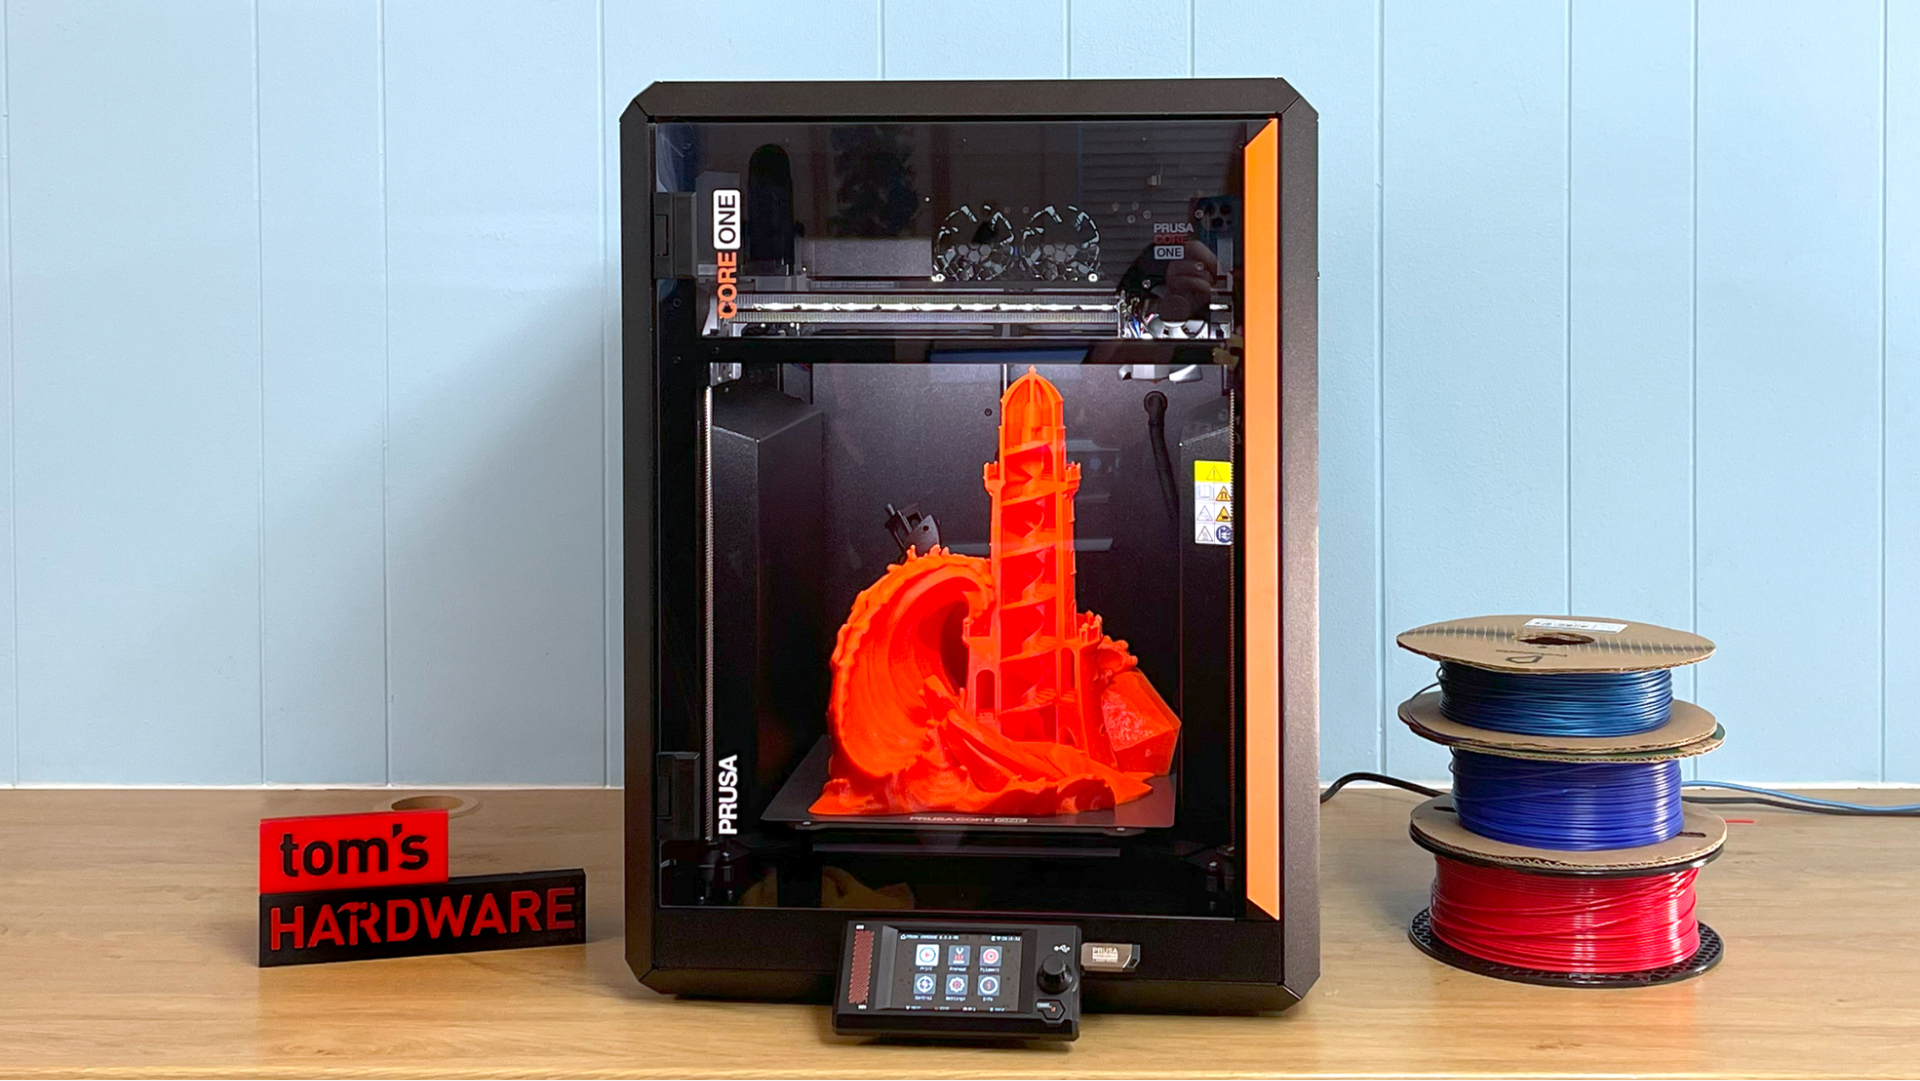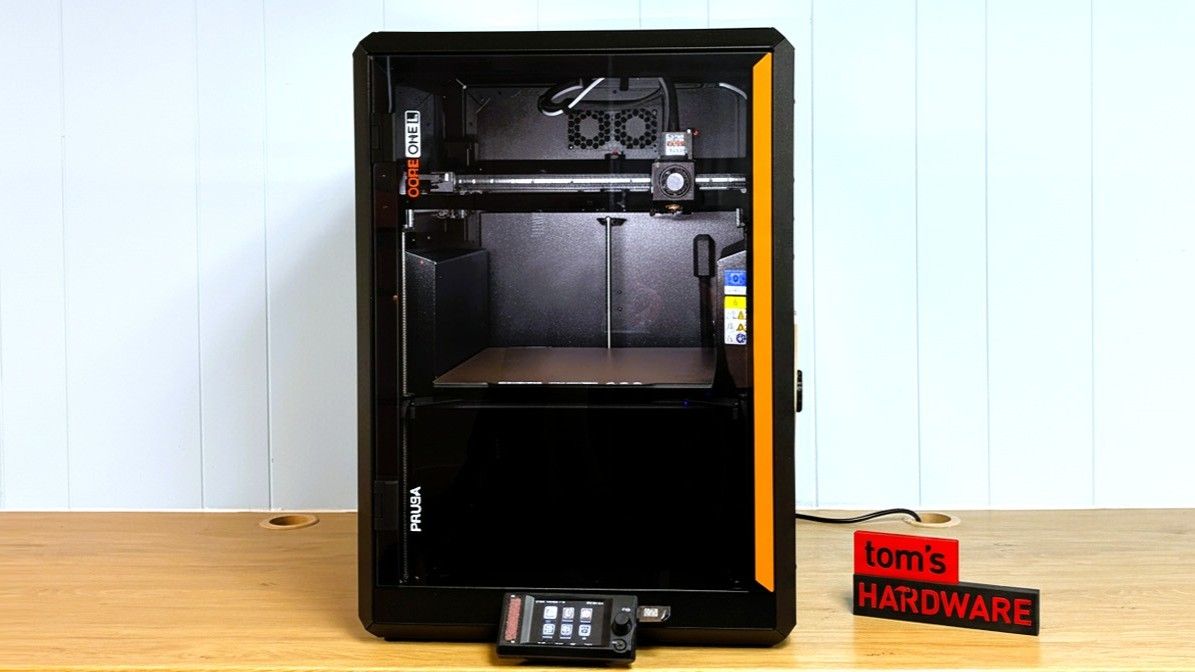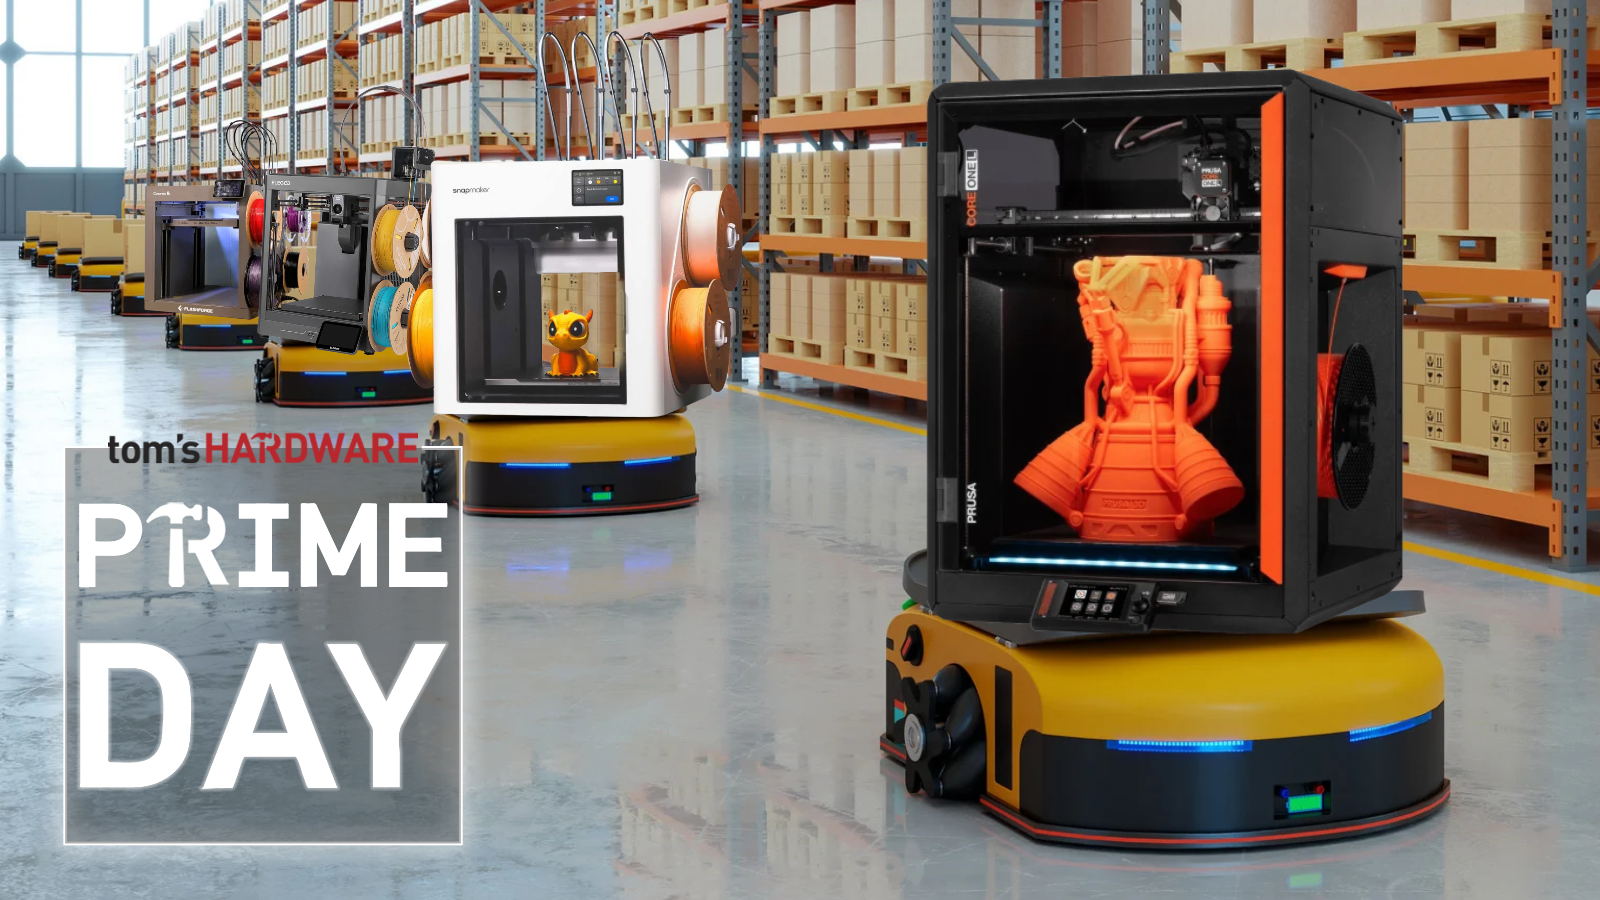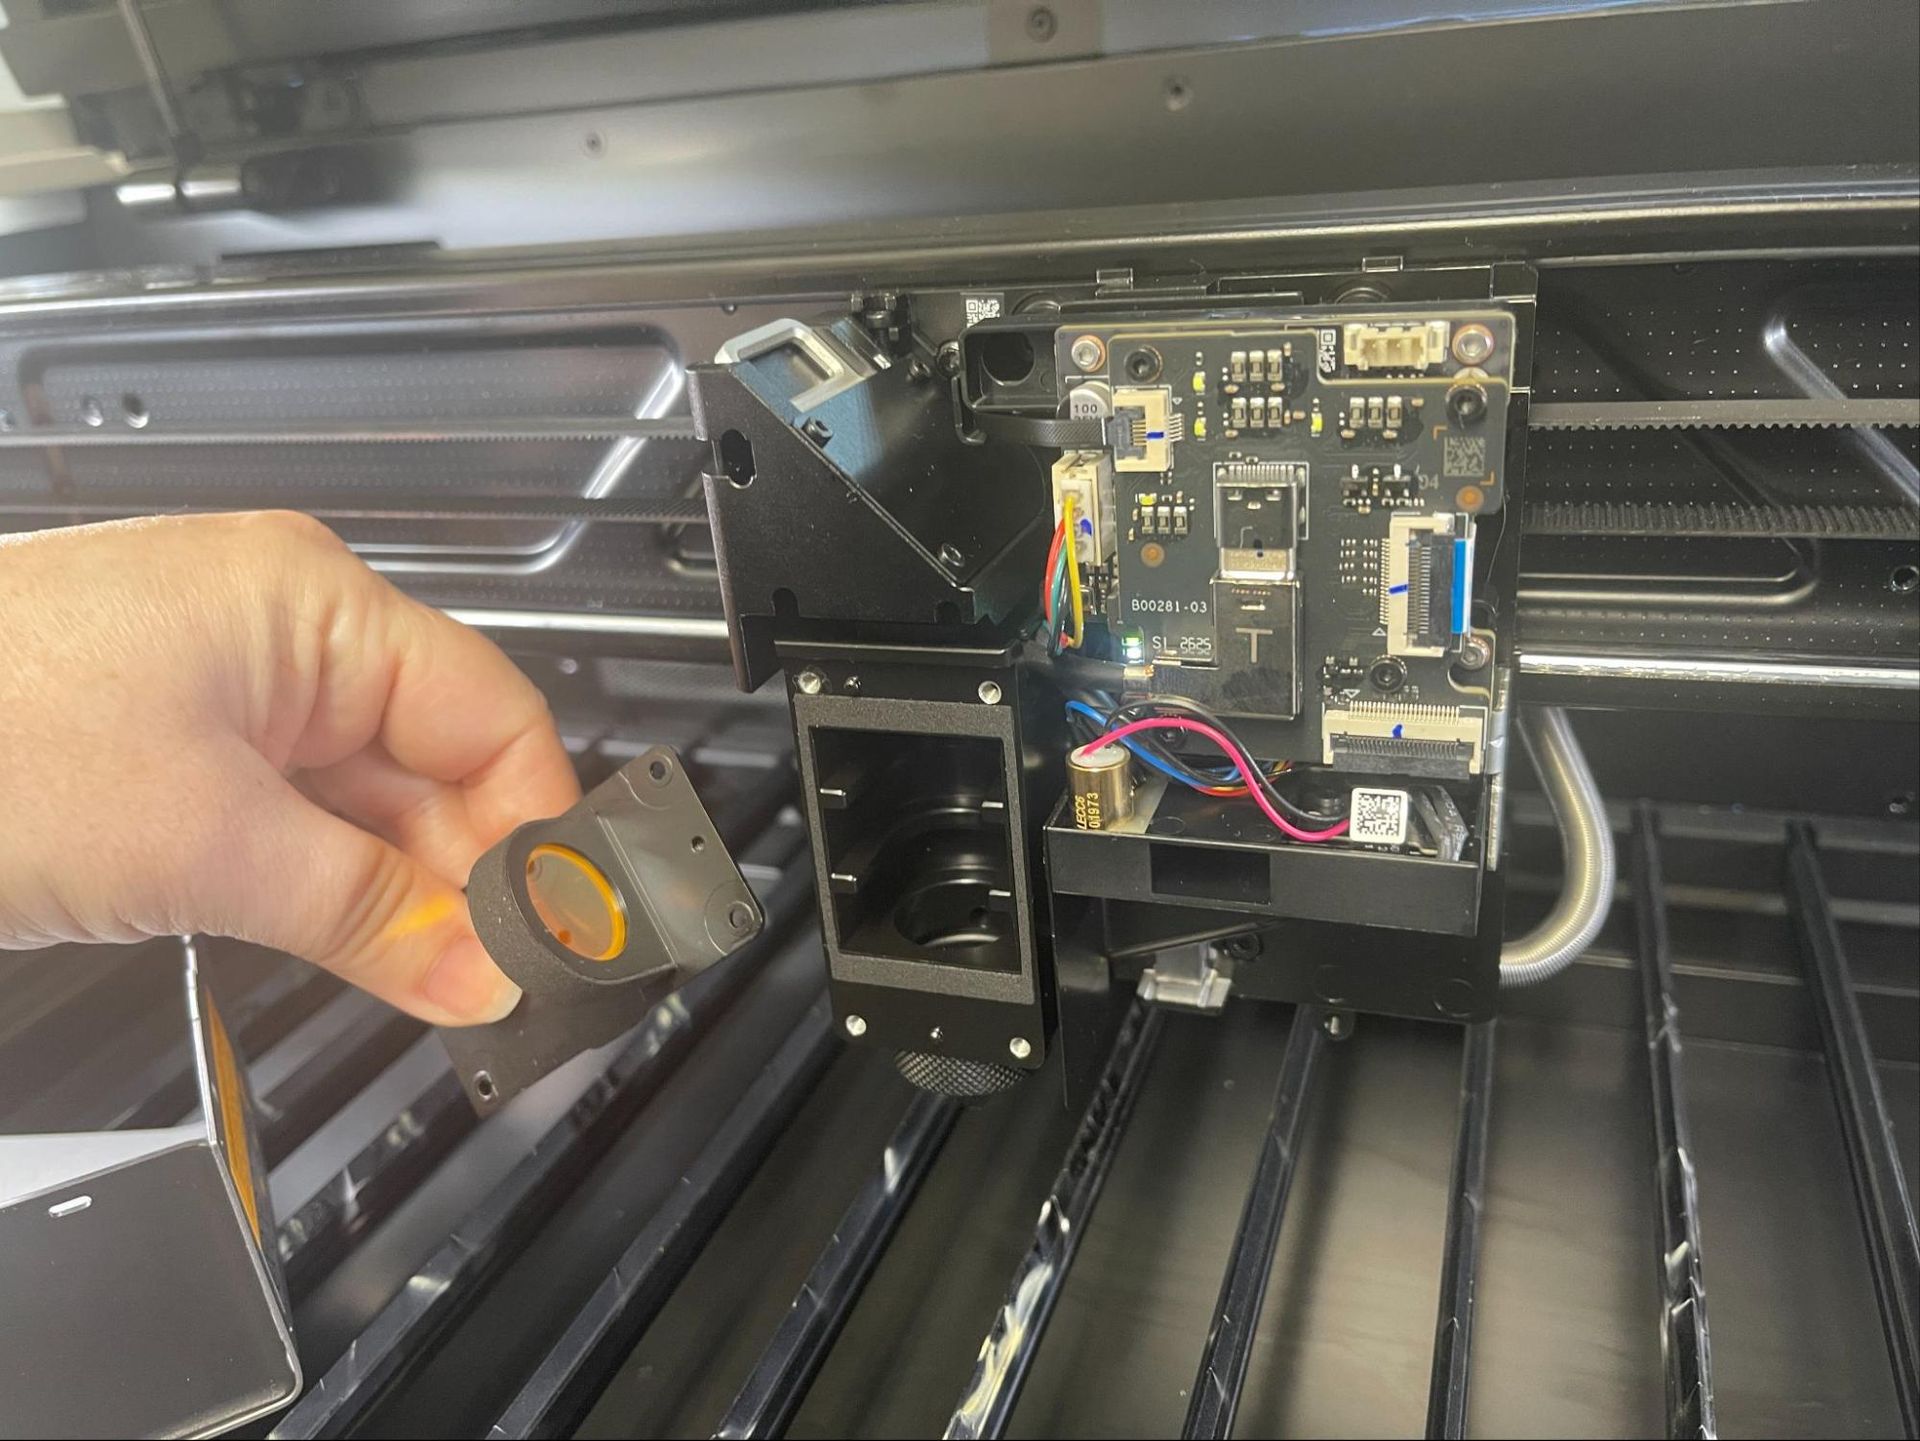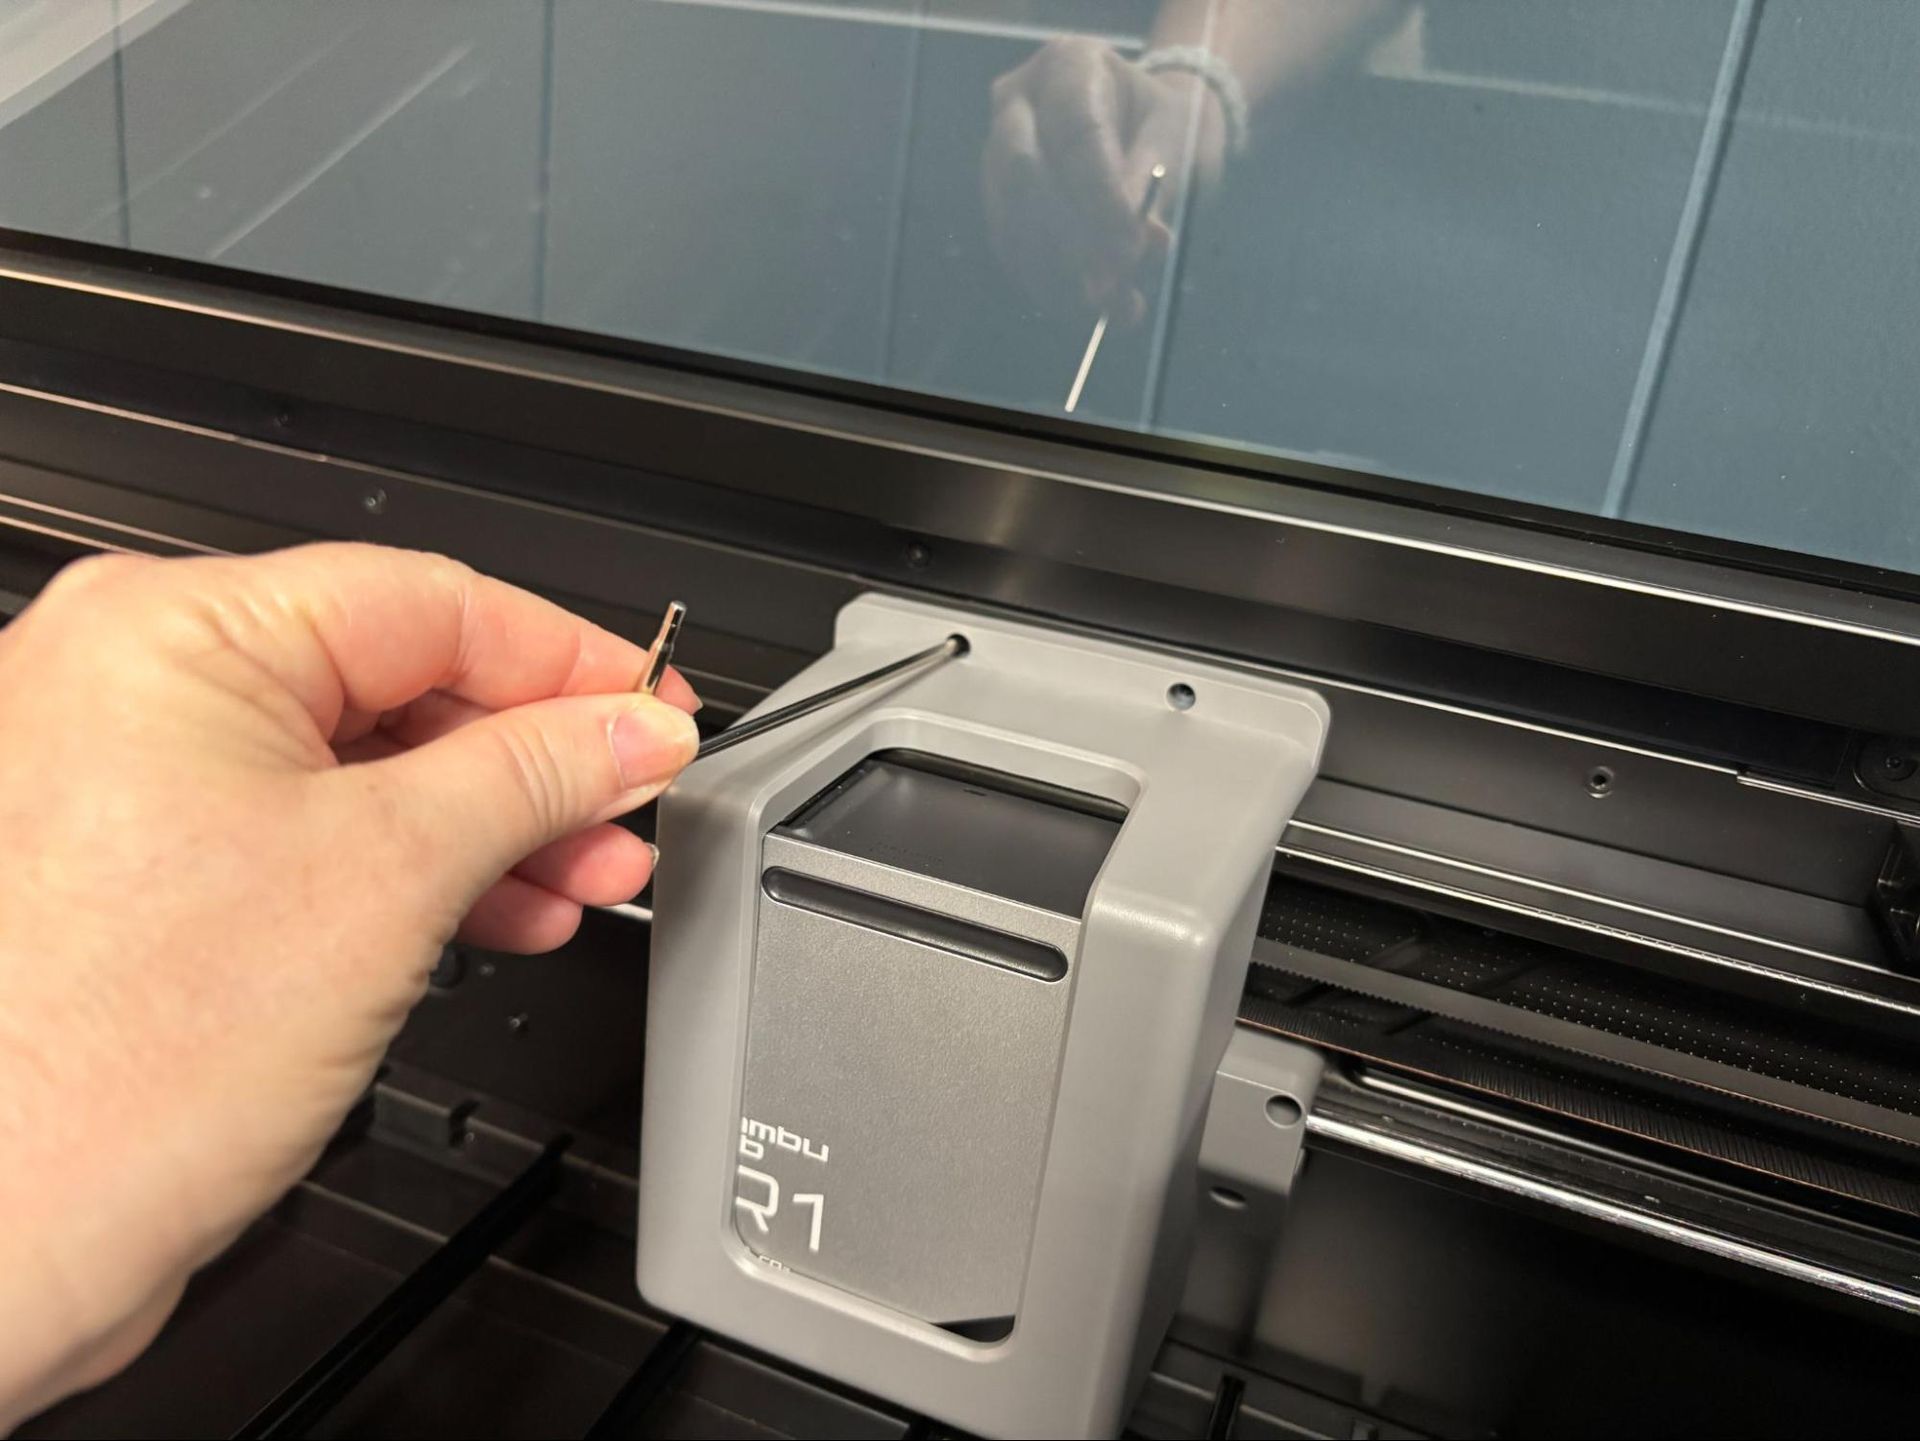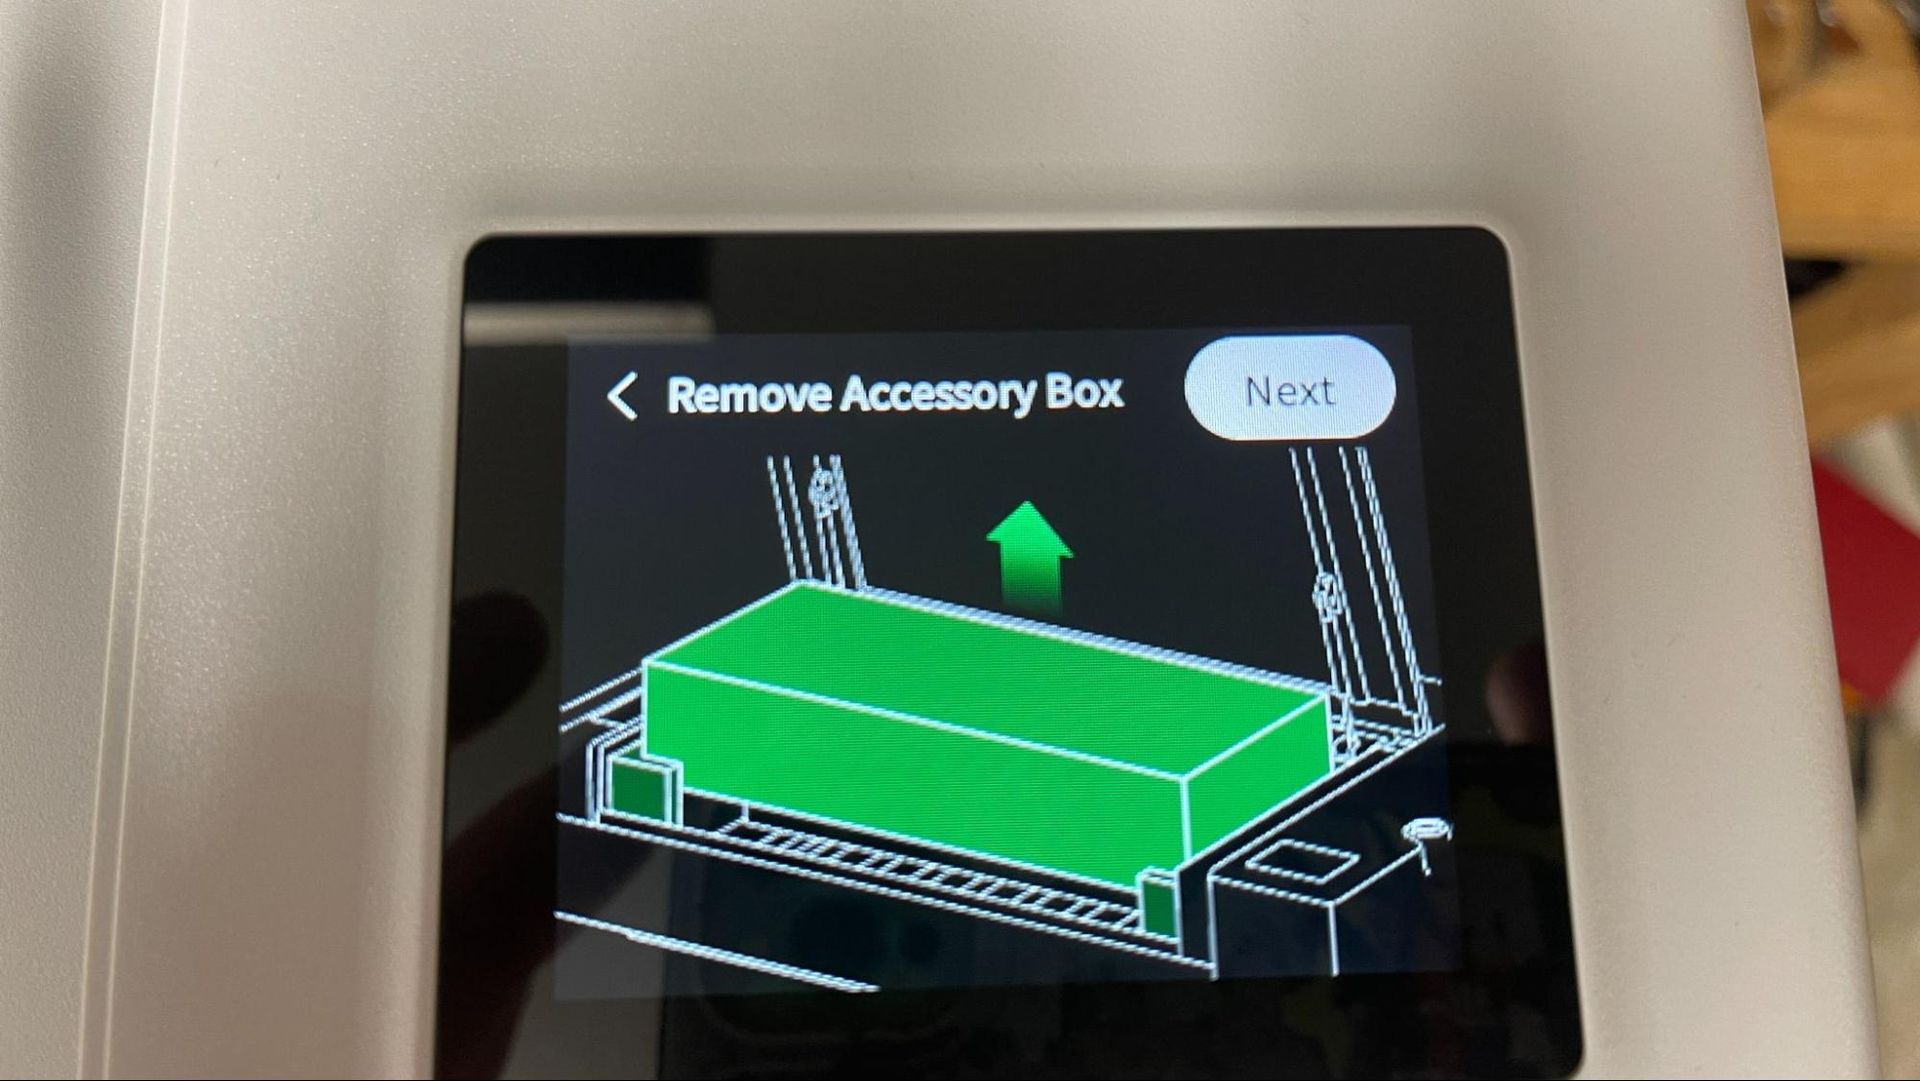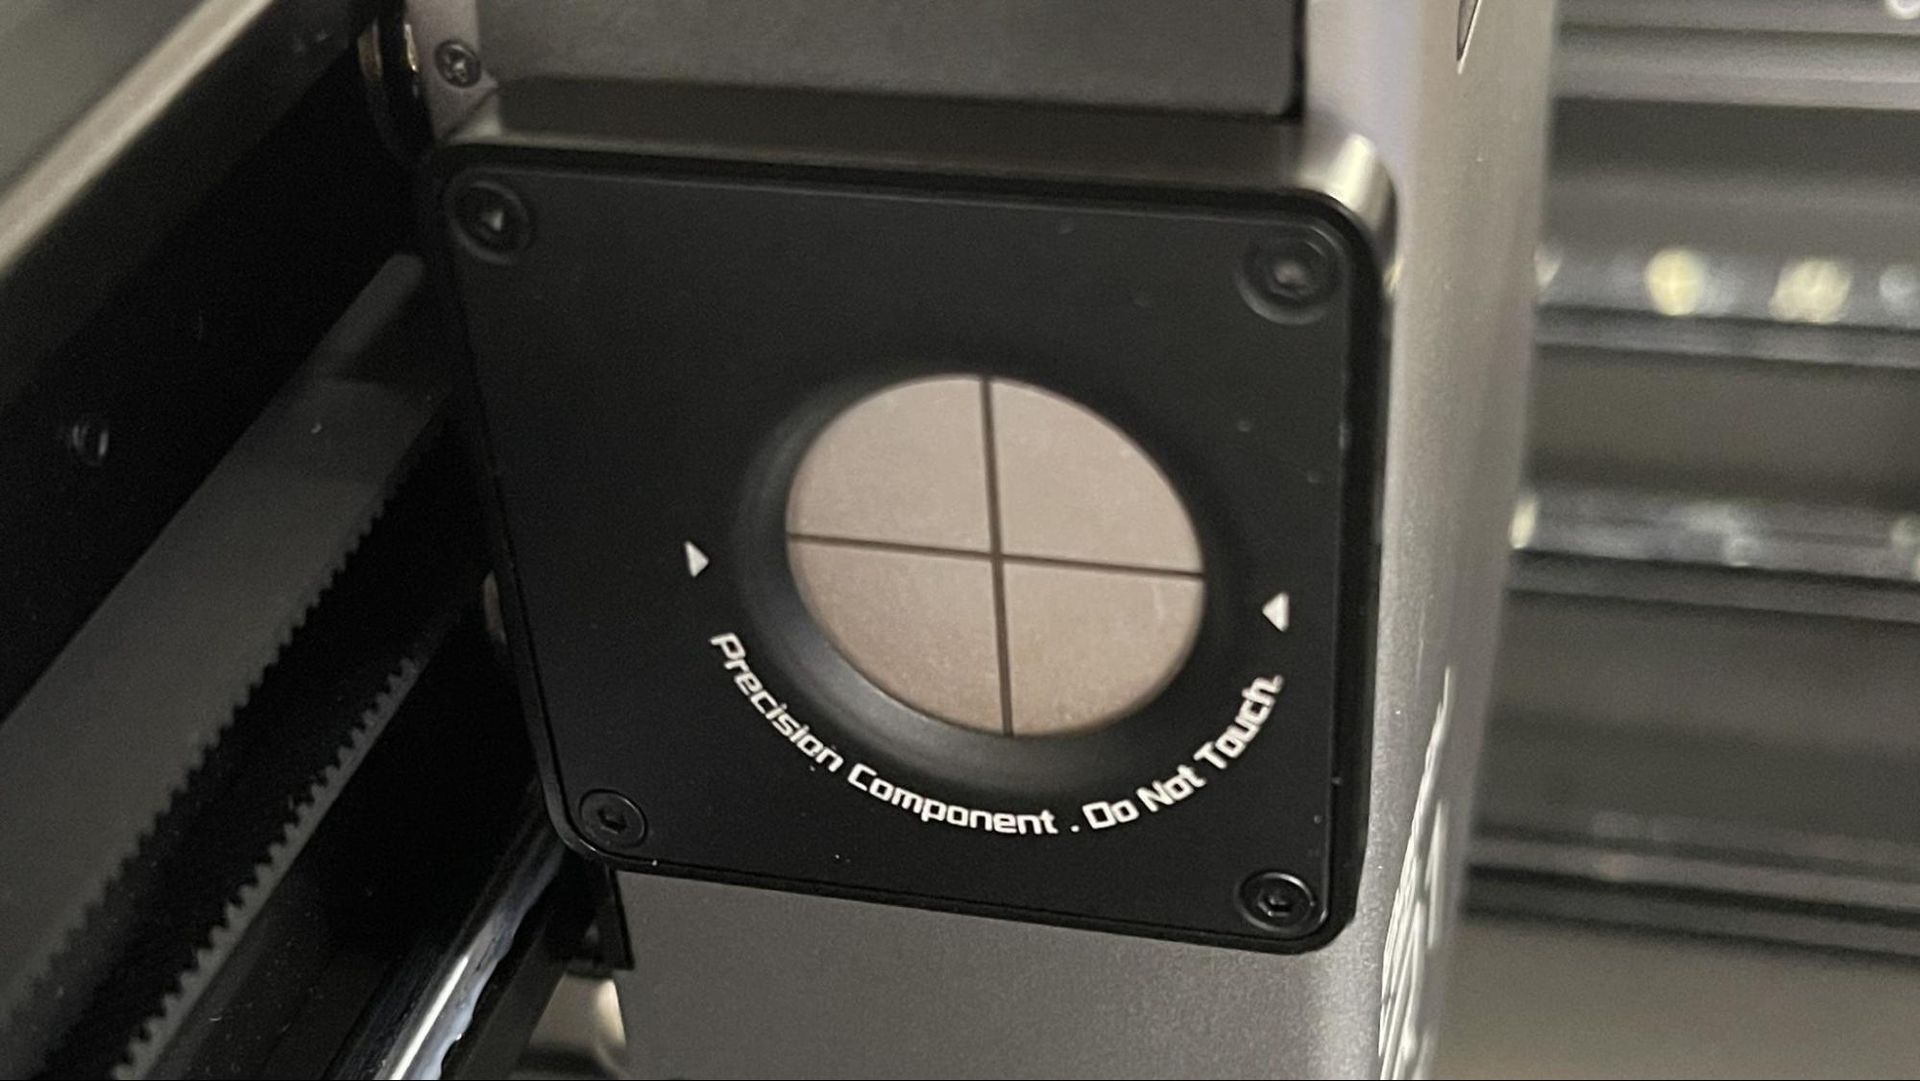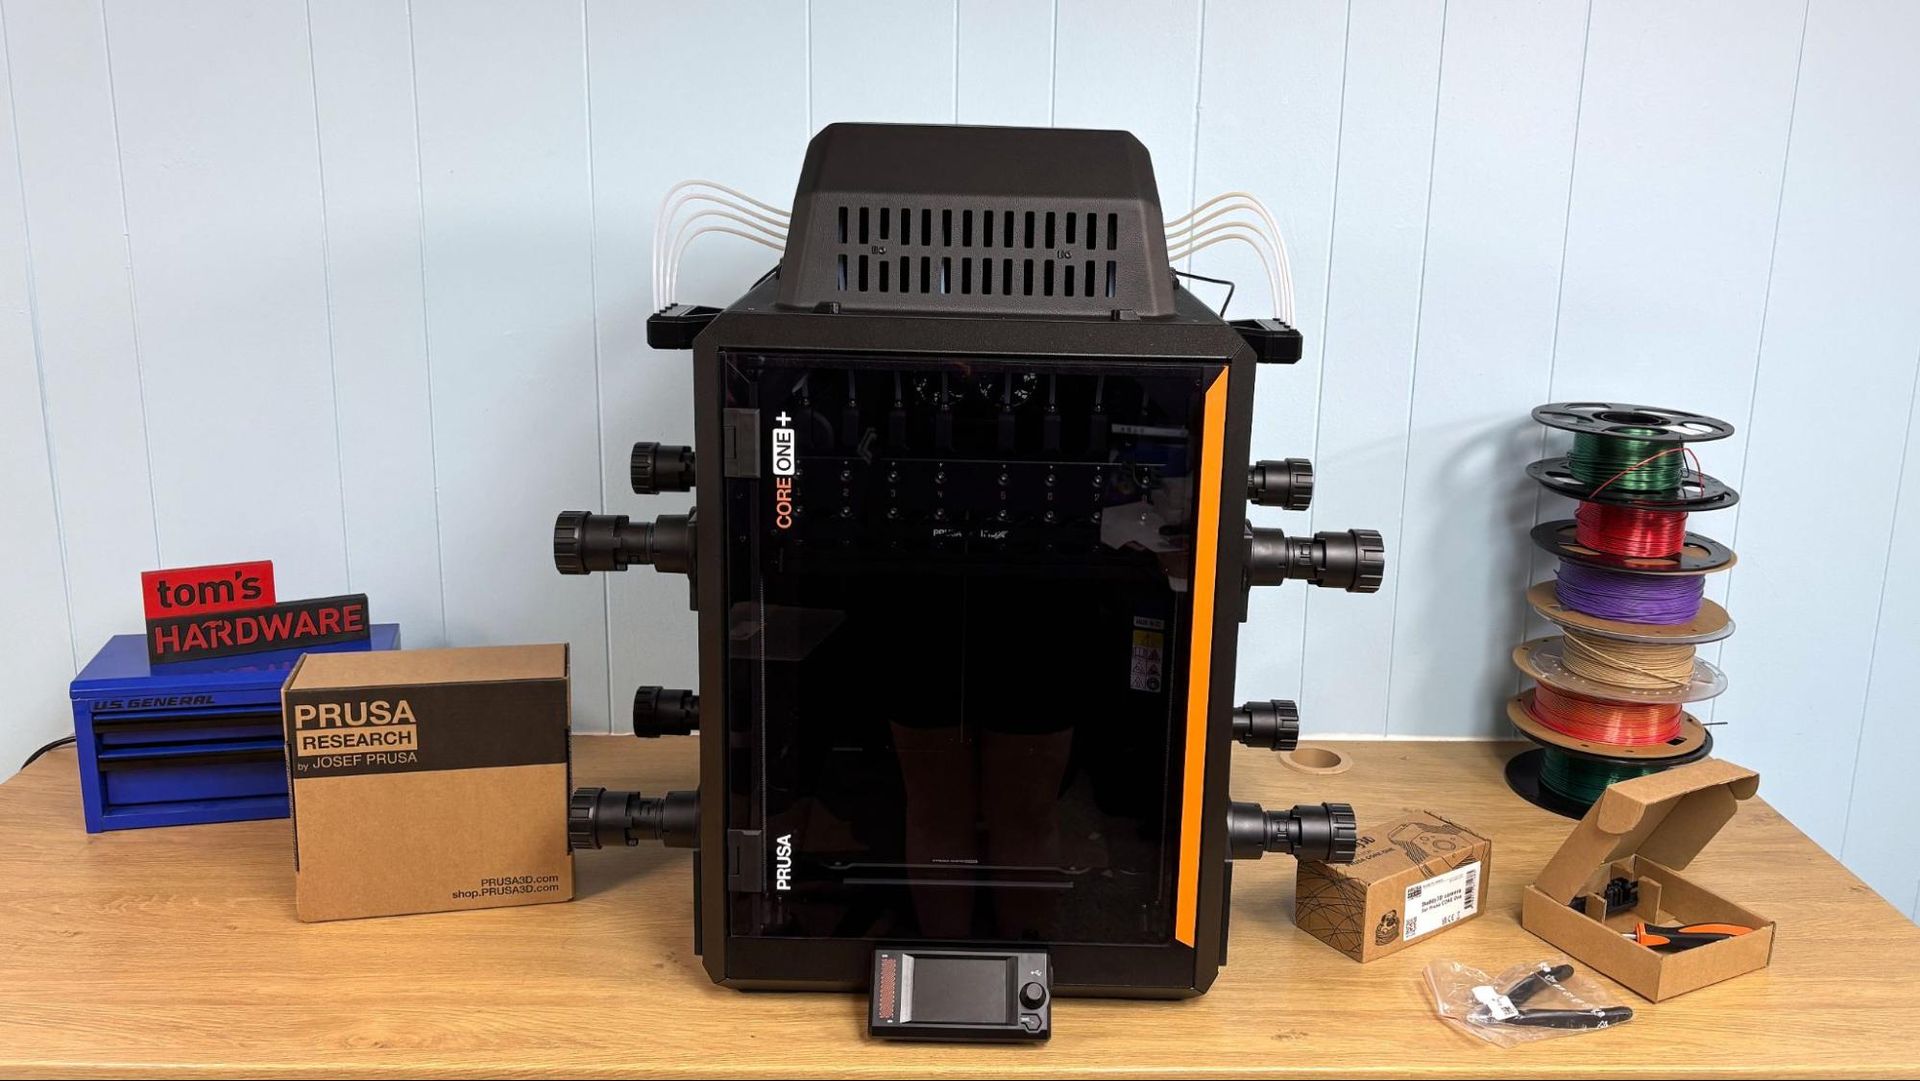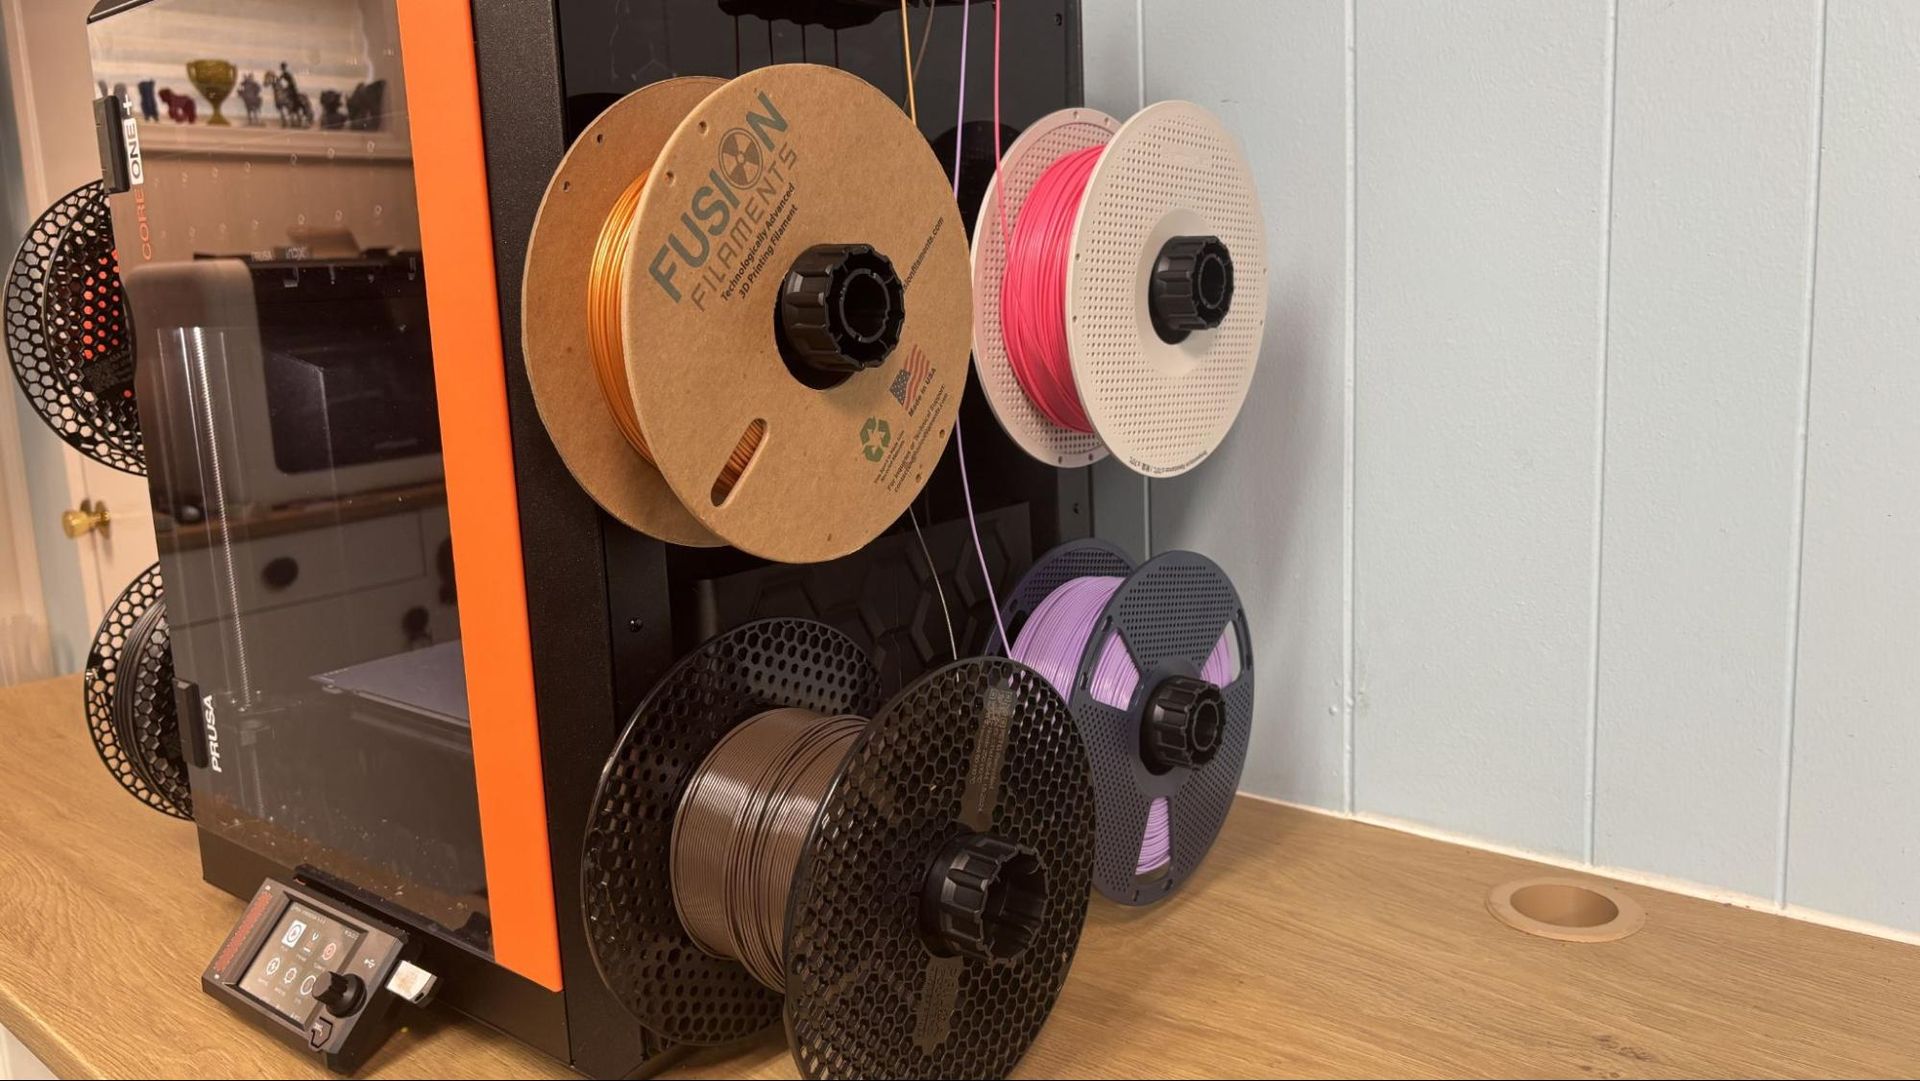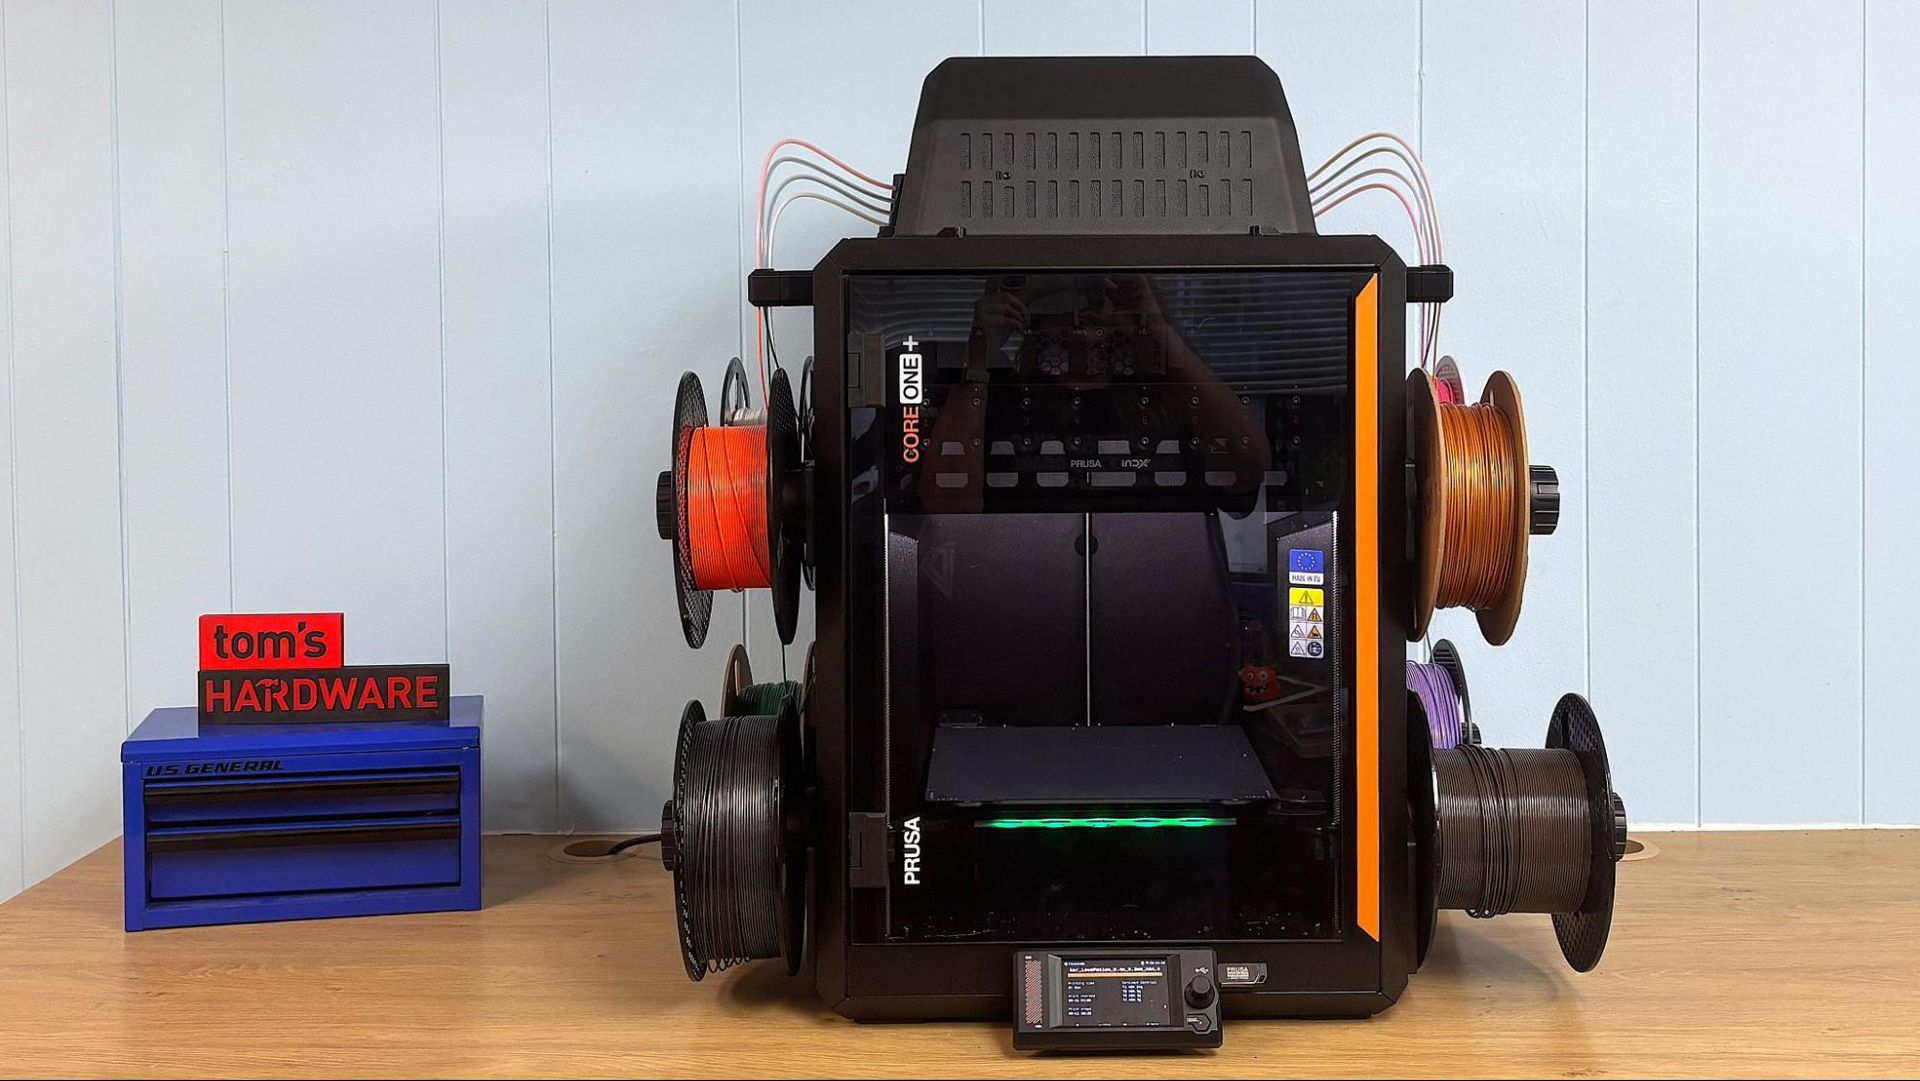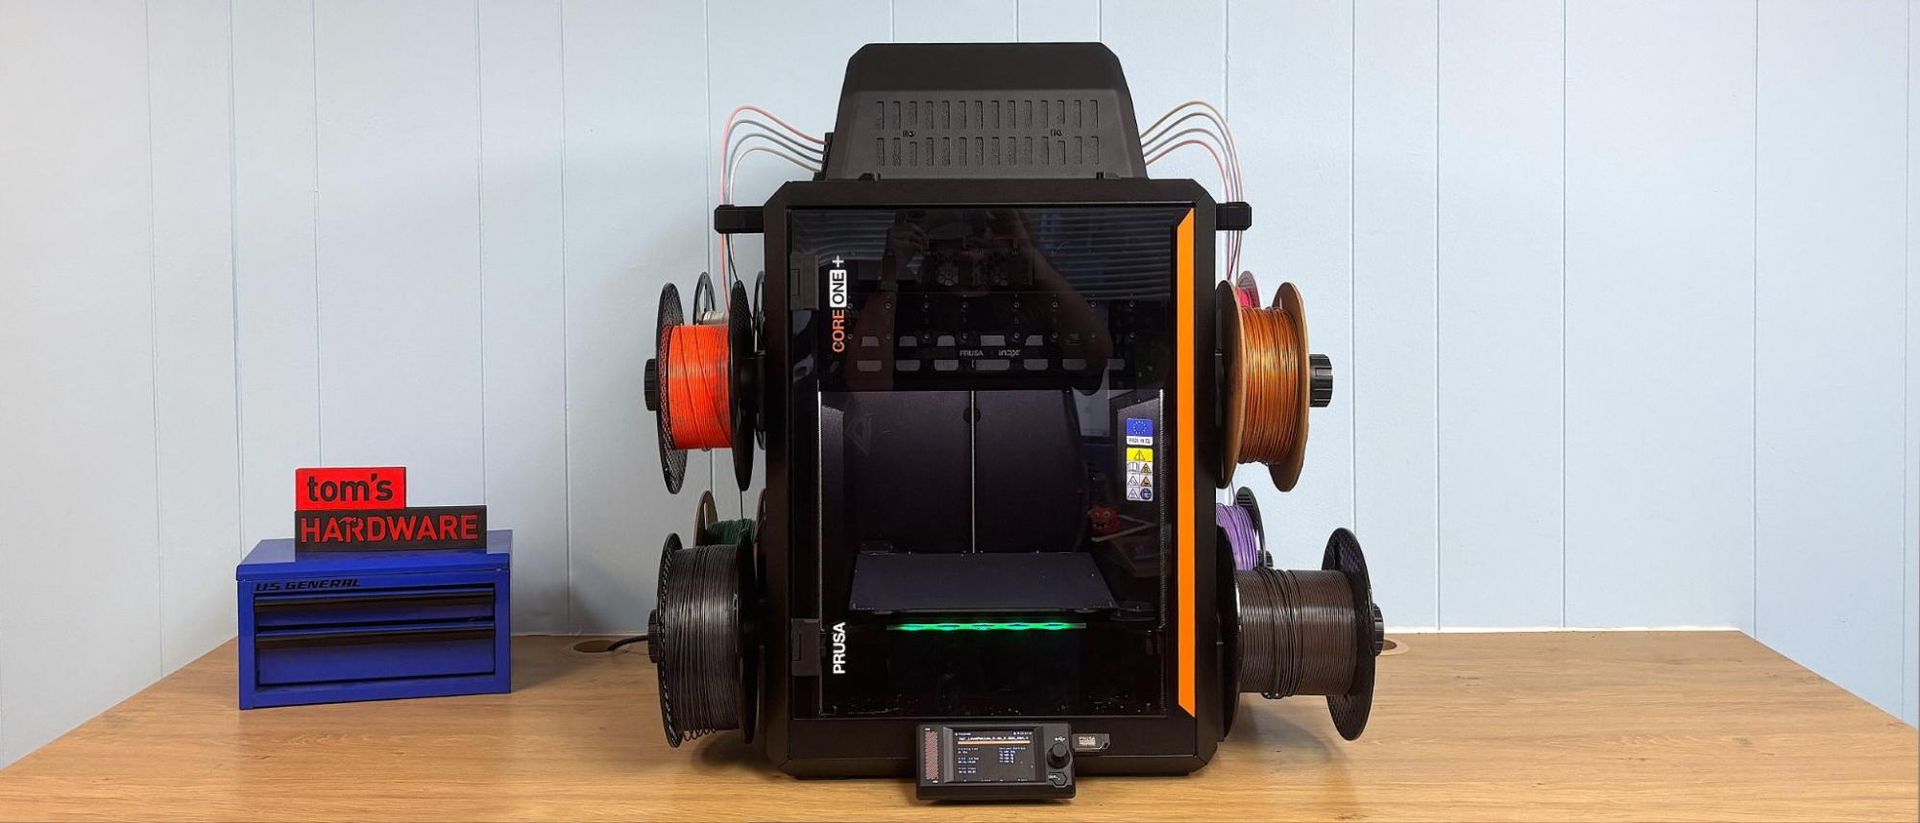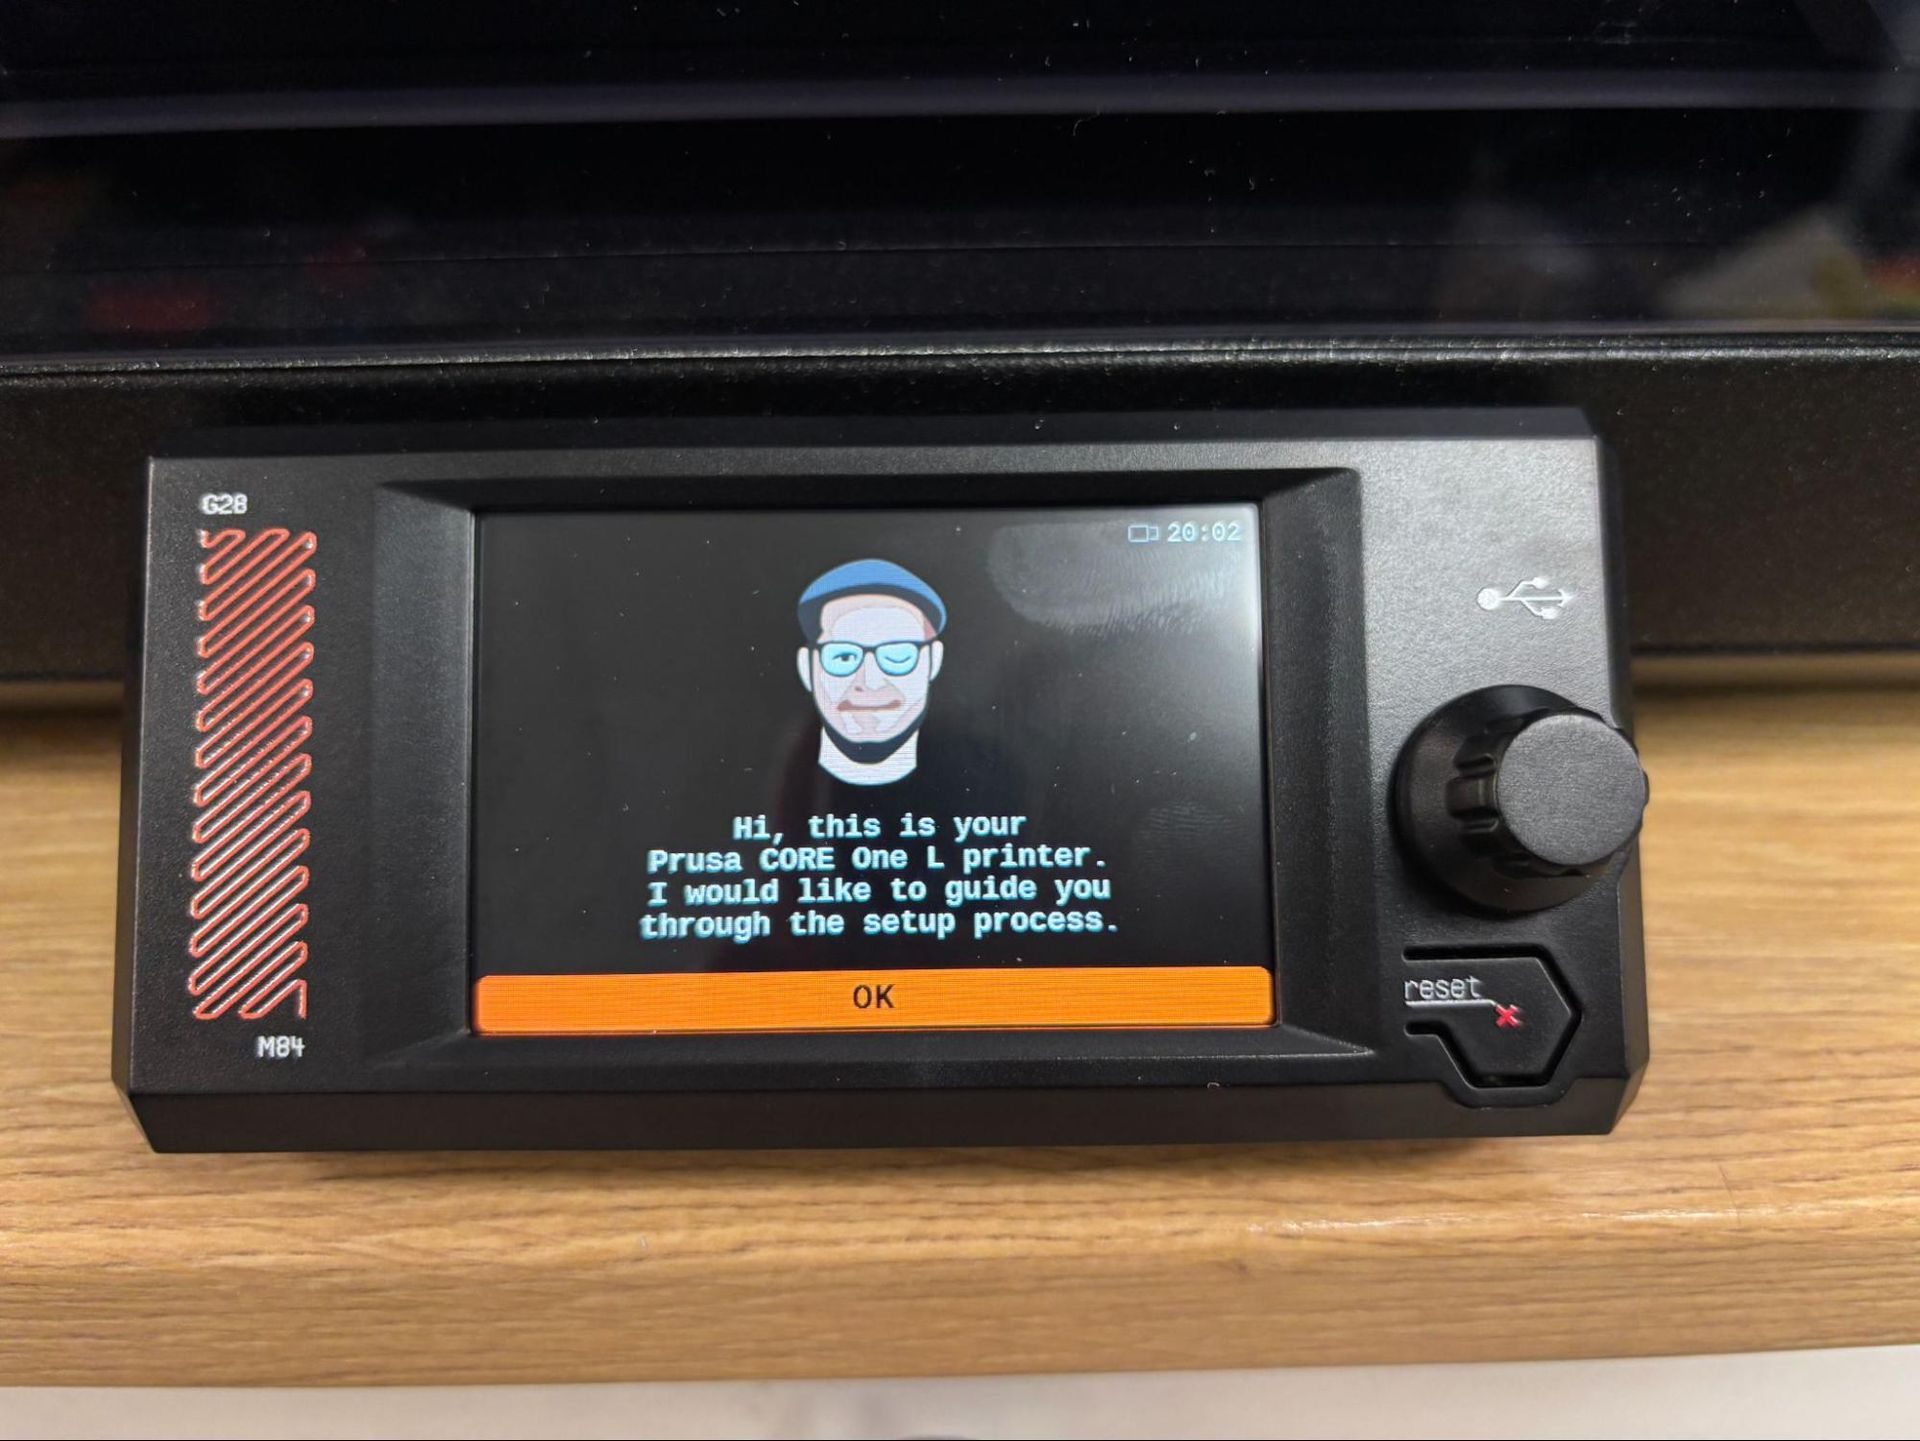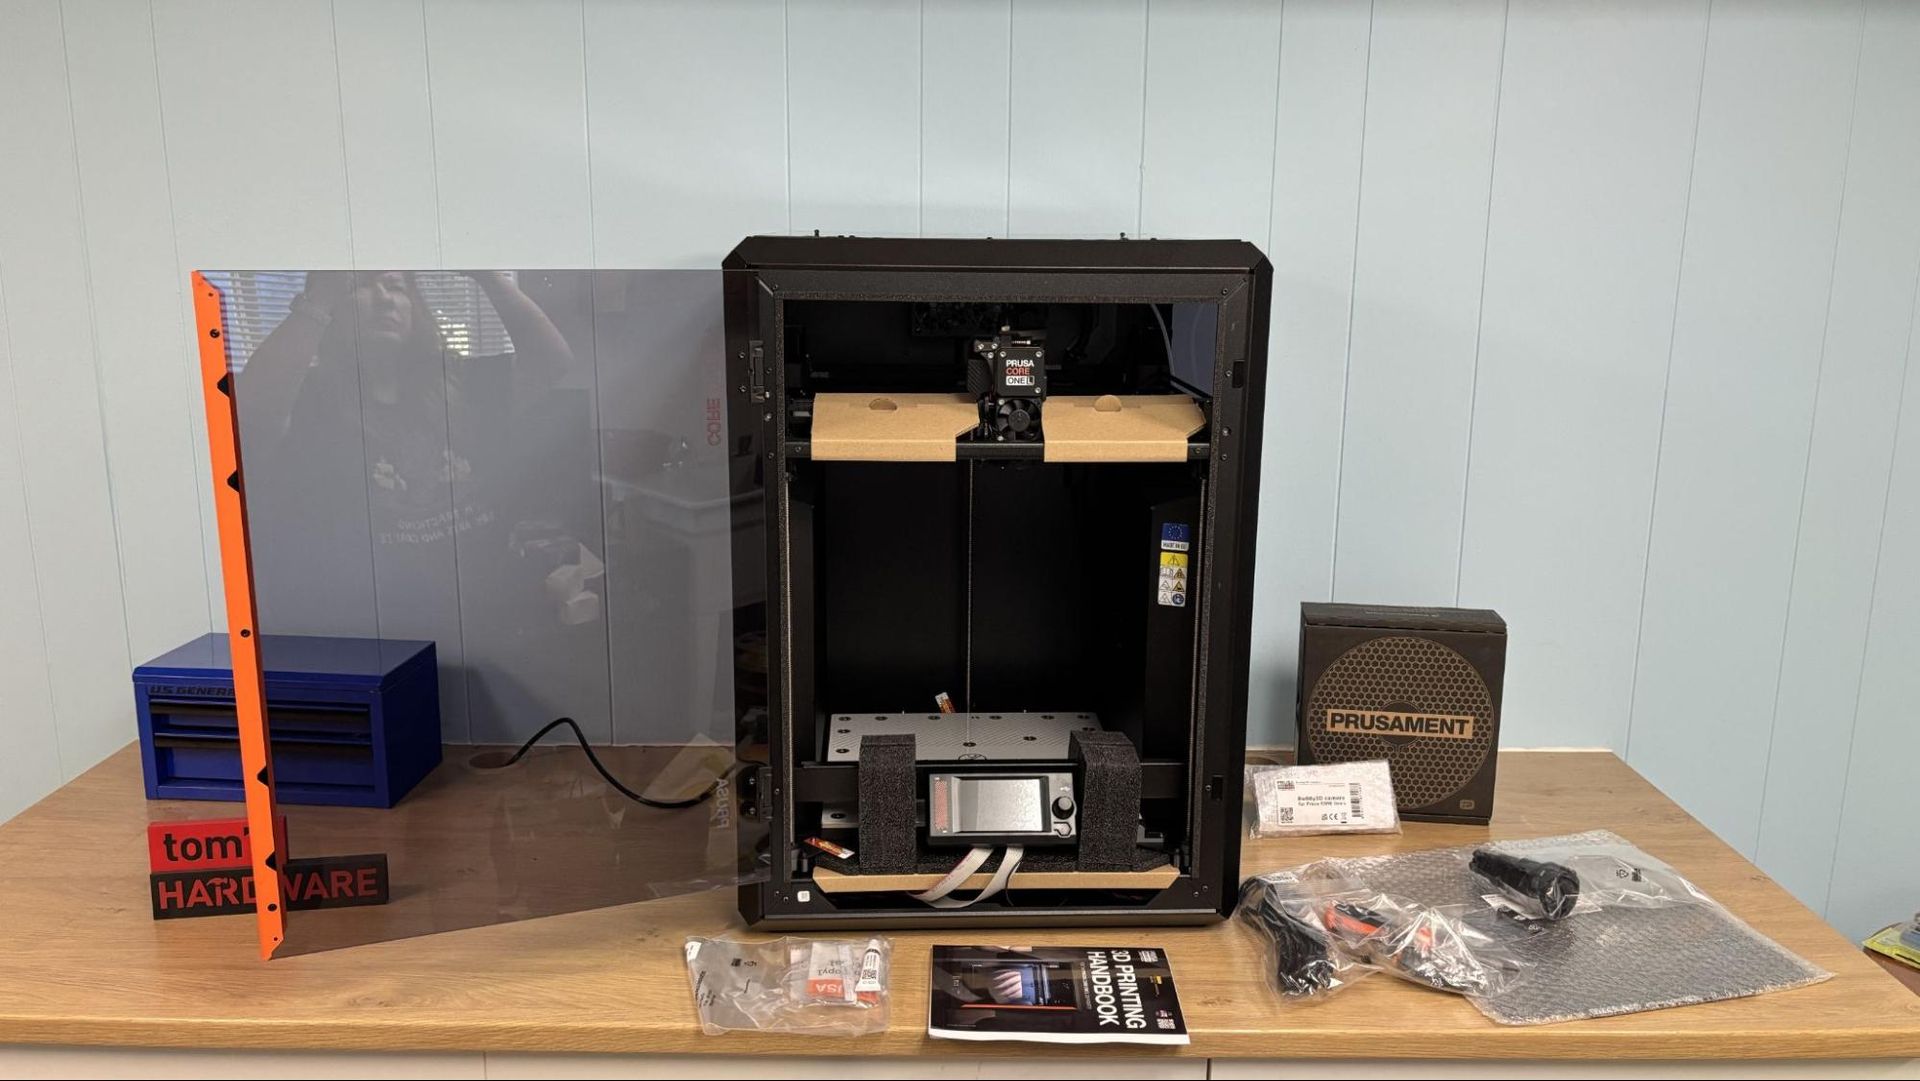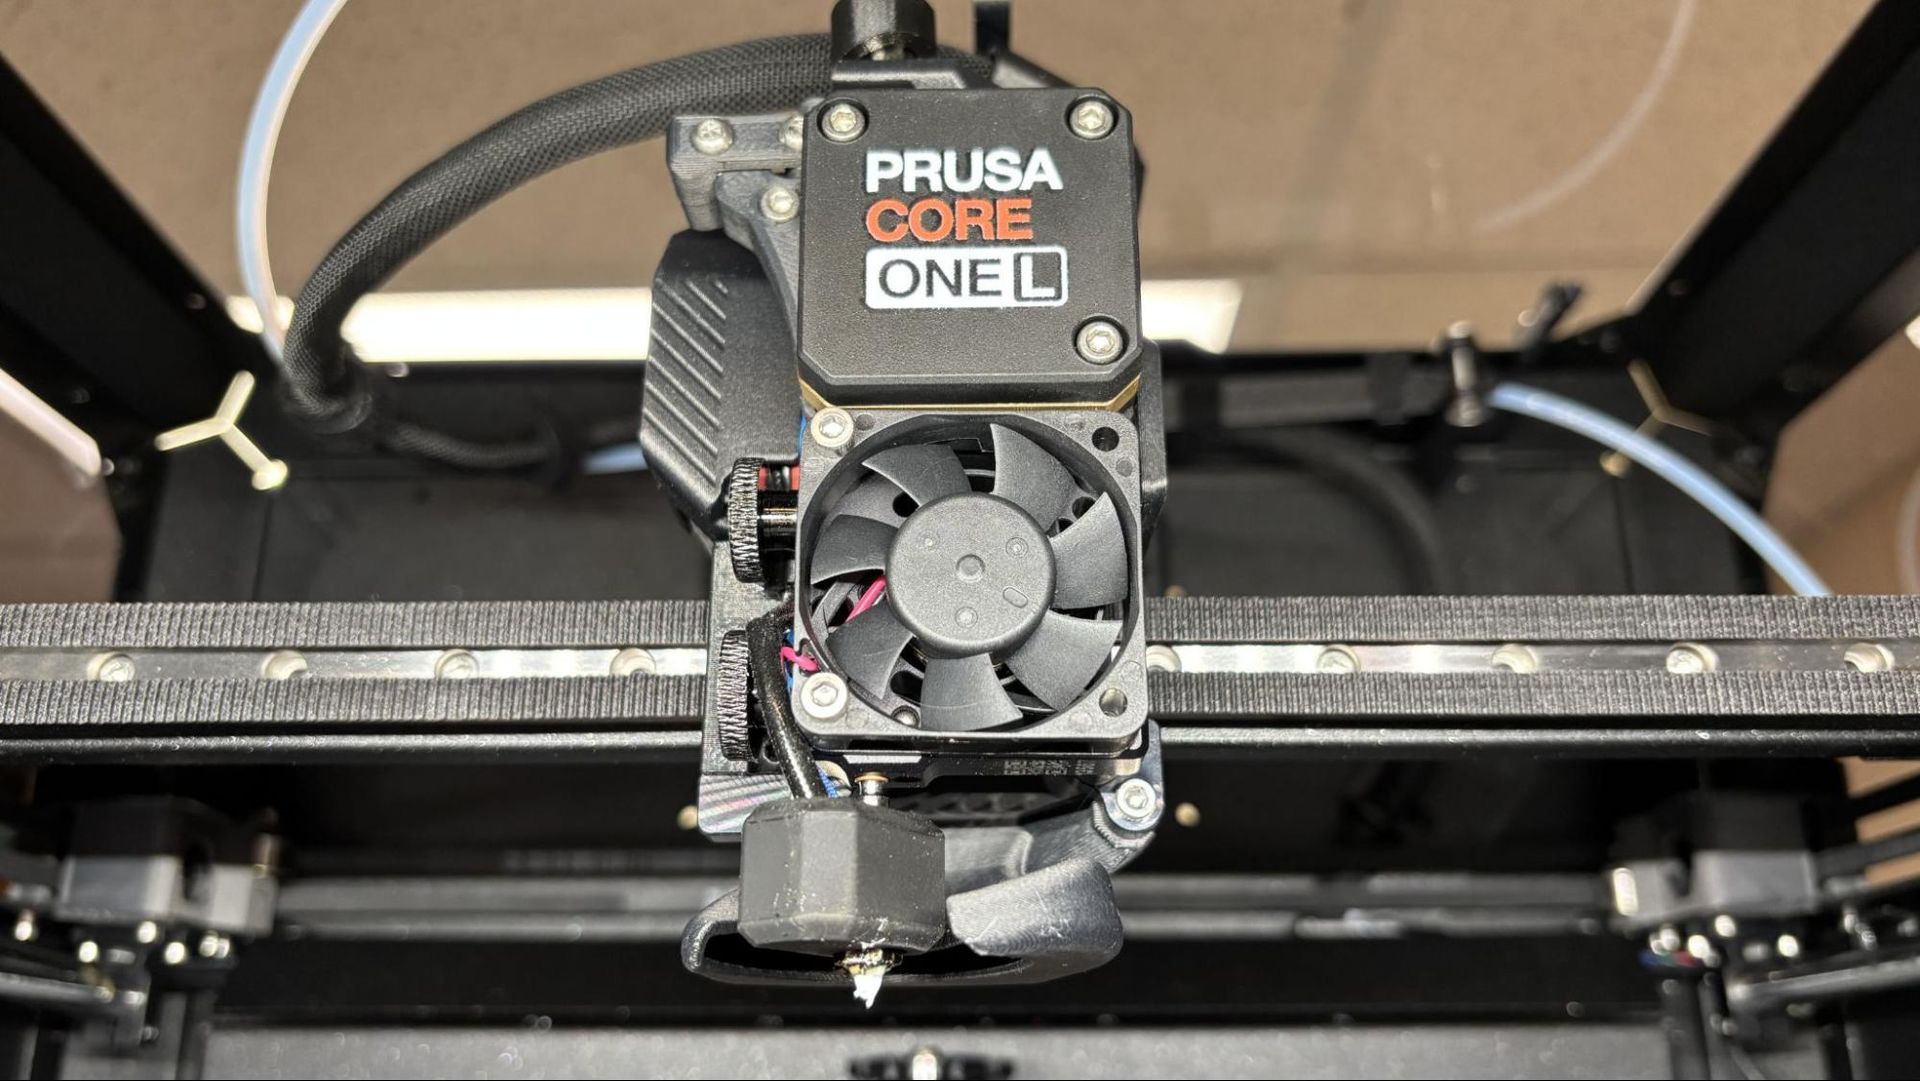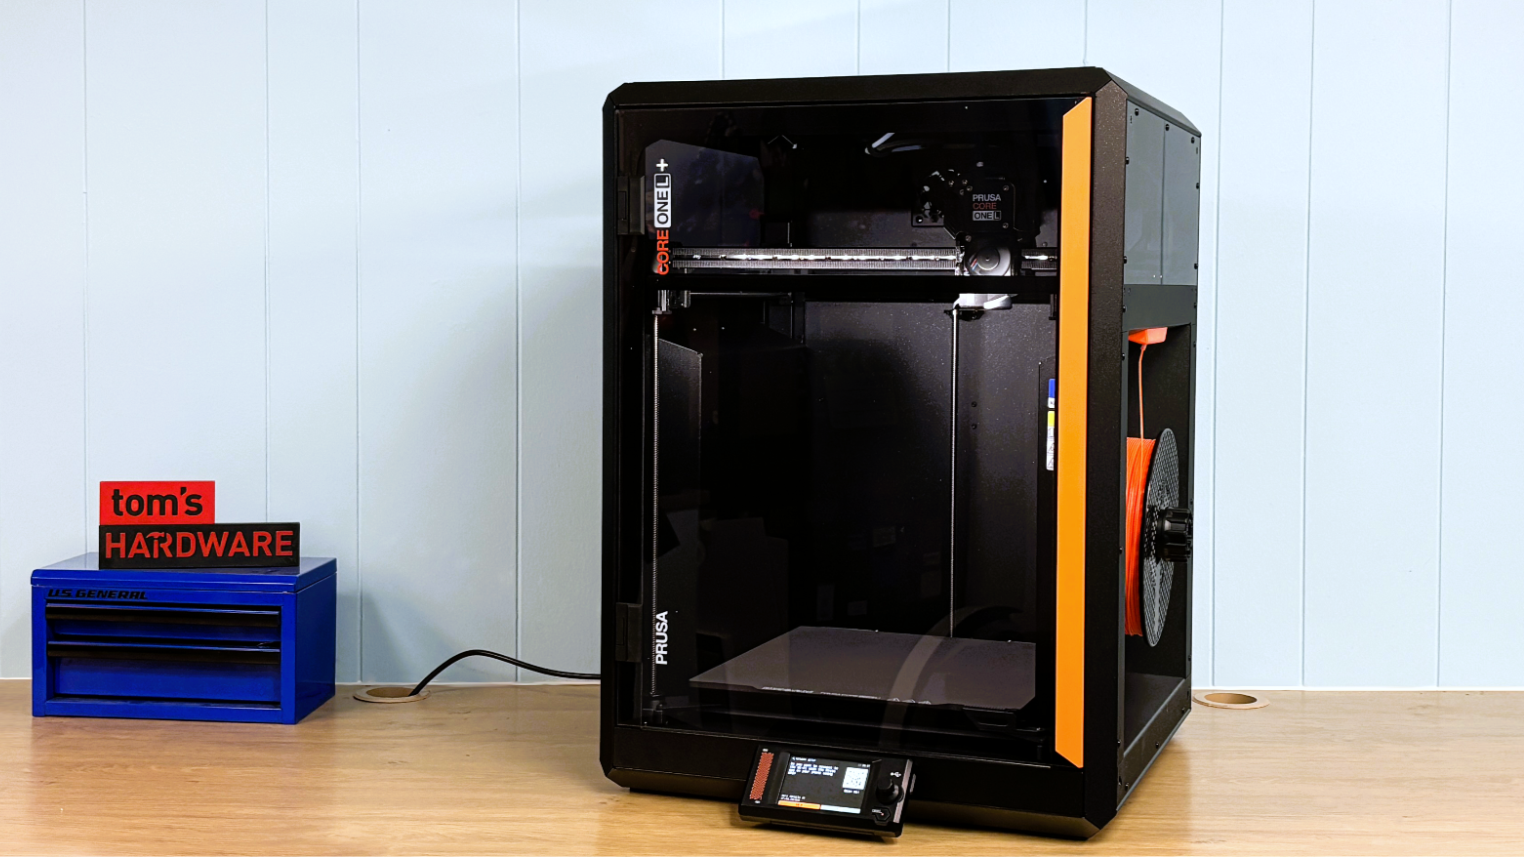
If you’re feeling sad that you can’t afford a new 3D printer this summer, perhaps you can swing an upgrade instead? Prusa Research just announced that its “entire lineup” of 3D printers is getting second-generation upgrades and a “+” designation. This includes the XL, Core One, and Core One L.
All “plus” upgrades will be automatically added to printers being sold today. If you have an order in progress, you will receive the plus version at no extra charge. Prusa Research is not increasing the price of any machine receiving a “plus” upgrade.
Upgrade kits will soon be made available for Prusa owners. The components can be purchased à la carte if you want to pick and choose your upgrade. Prusa Research said all upgrades will be available on its webstore by September.
The bedslinging MK4S was notably left off the list, but while the descendant of Josef Prusa’s original i3 printer may have hit the end of the upgrade line, the company has not pulled support for the machine. Prusa Research supports every machine they’ve made for years.
“If there’s one thing worth knowing about how we develop our printers, it’s this: we don’t expect you to replace a working machine just because we’ve come up with something new. Most tech becomes obsolete over time. Our printers keep getting better,” said Mikolau Zuza, the Head of Content at Prusa Research, in a recent blog post.
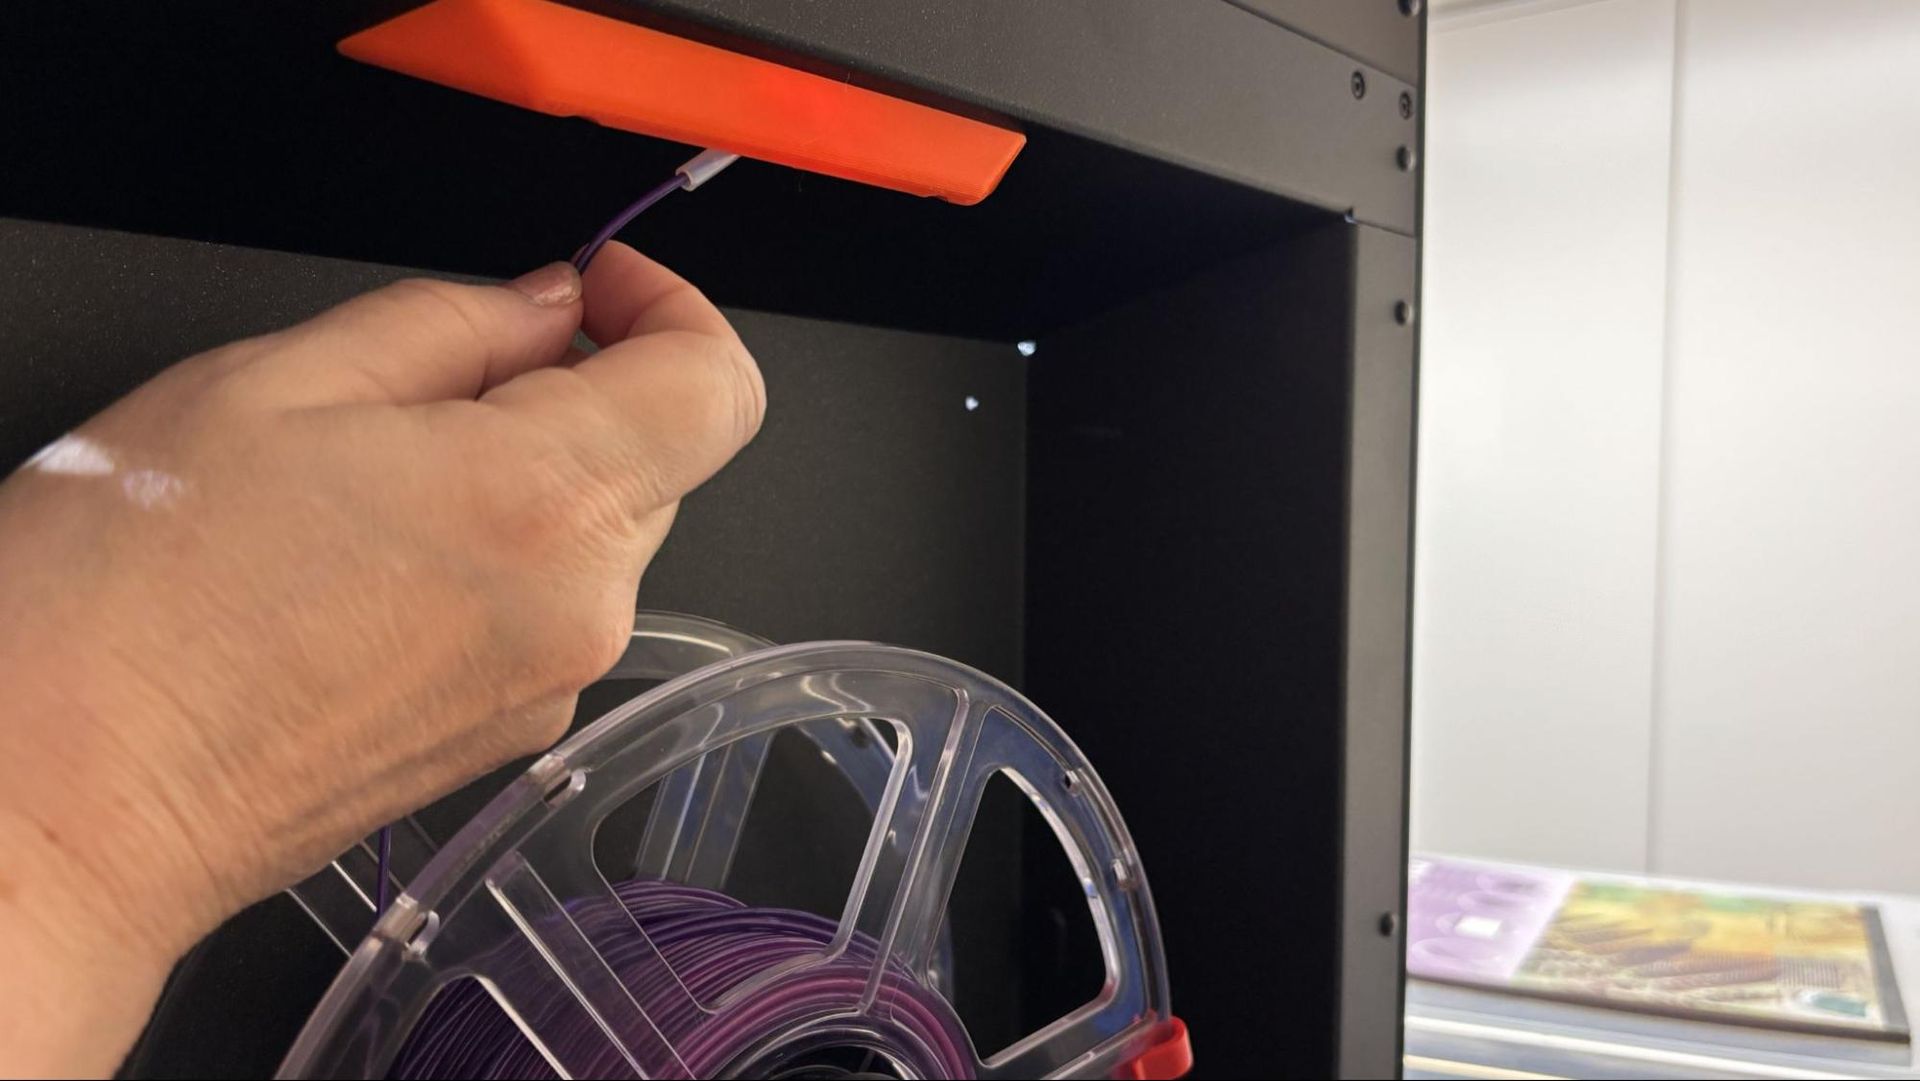
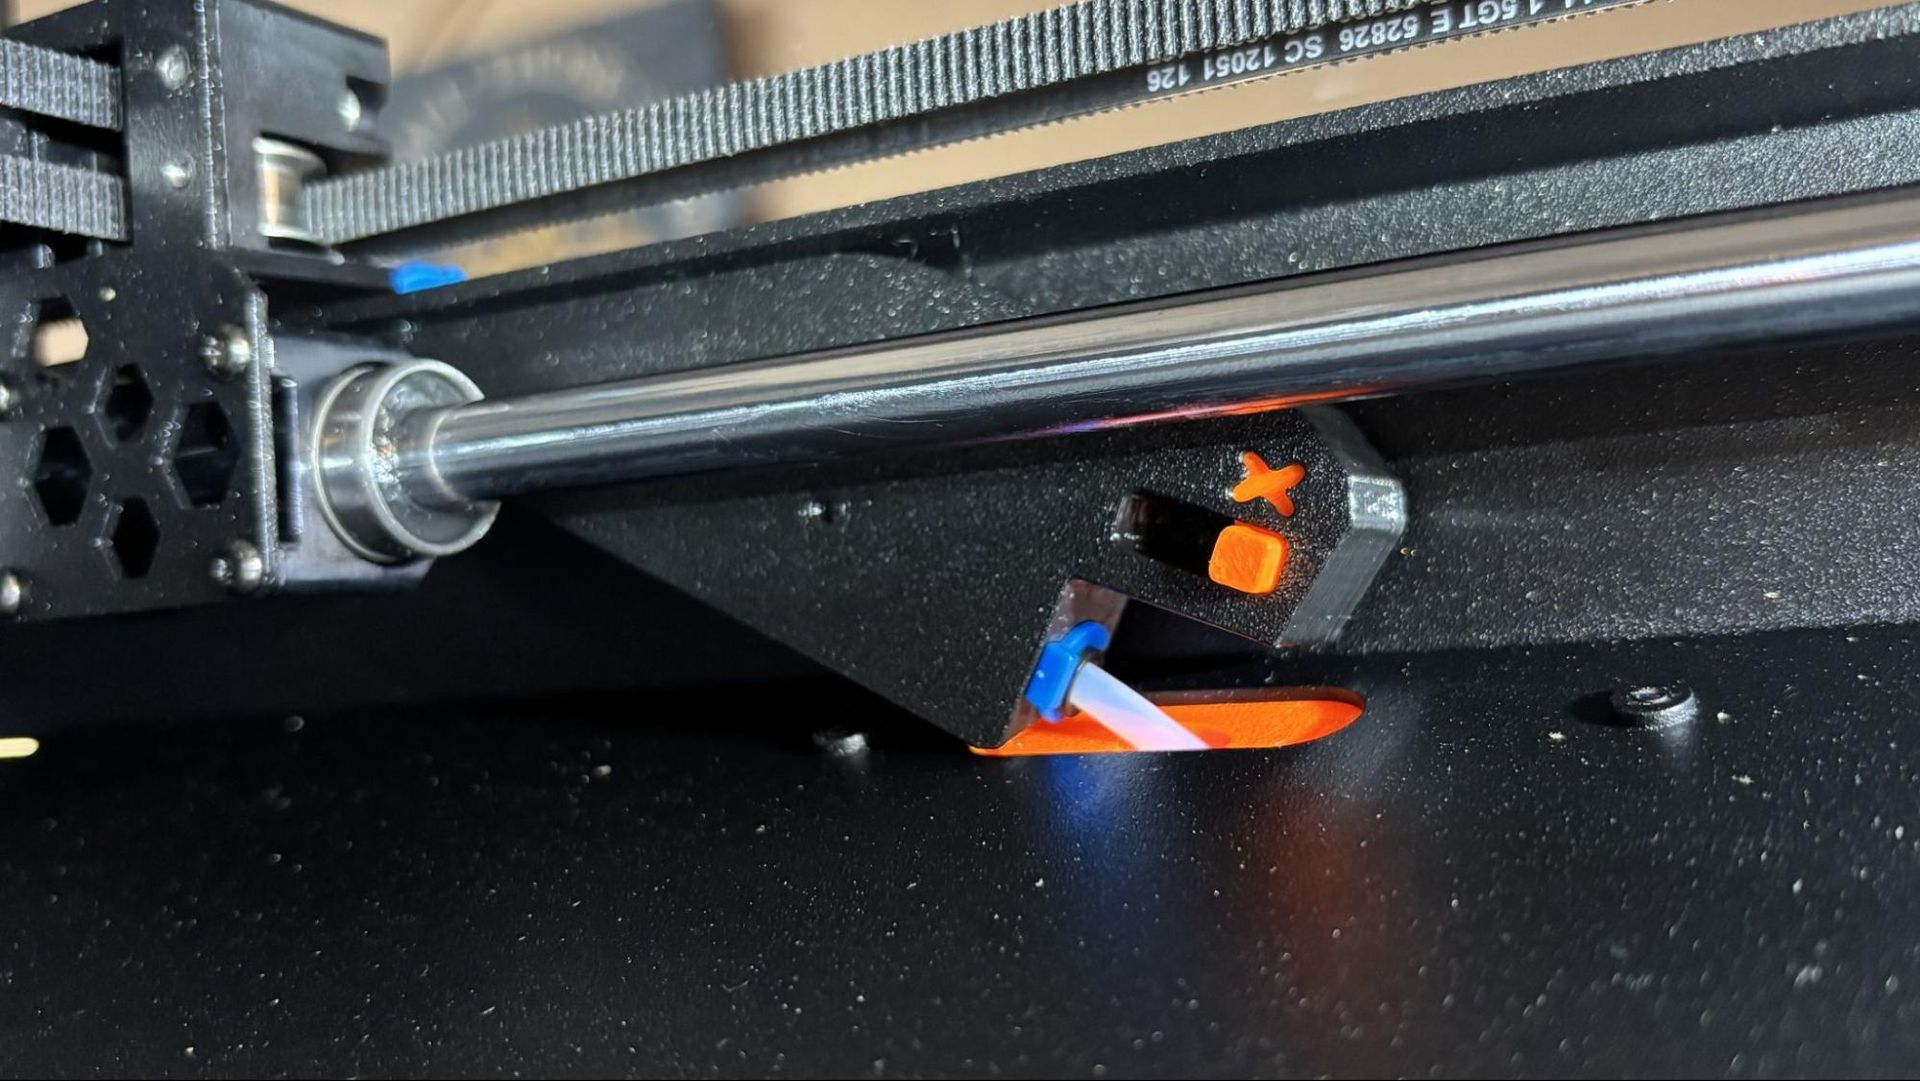
All three machines will now have a nozzle wiper, which Zuza says is the most requested upgrade. There have been several community mods to do just that, but these also require adjusting your slicer’s g-code to teach the printer to use it.
(Image credit: Printables)
The XL has received several small tweaks and firmware upgrades since its release in 2023, but this is the first major upgrade. Prusa’s original large-format toolchanger will get the same 360-degree cooling system introduced on the MK4S. It will also get the INDX’s Tool Offset Sensor for toolhead alignment to replace the cumbersome pin tapping. The eddy-current sensor is 20 times faster and will be permanently mounted to the machine. It is also compatible with the Silicone toolhead showcased last October during Prusa Day, which will be released this fall.
The XL will also get GT1.5 belts to improve surface areas, and new machines will ship with high-flow nozzles standard. Prusa is also upgrading the optional XL enclosure with a chamber heating and better seals.
The Core One+ (Gen 2) will receive the same nozzle wiper and GT1.5 belts as the XL+, plus improved heatbed mounting, and the same snap-on top panel as seen on the larger CORE One L.
The Core One L is Prusa’s most recent design and will get the new GT1.5 belts and integrated nozzle wiper.
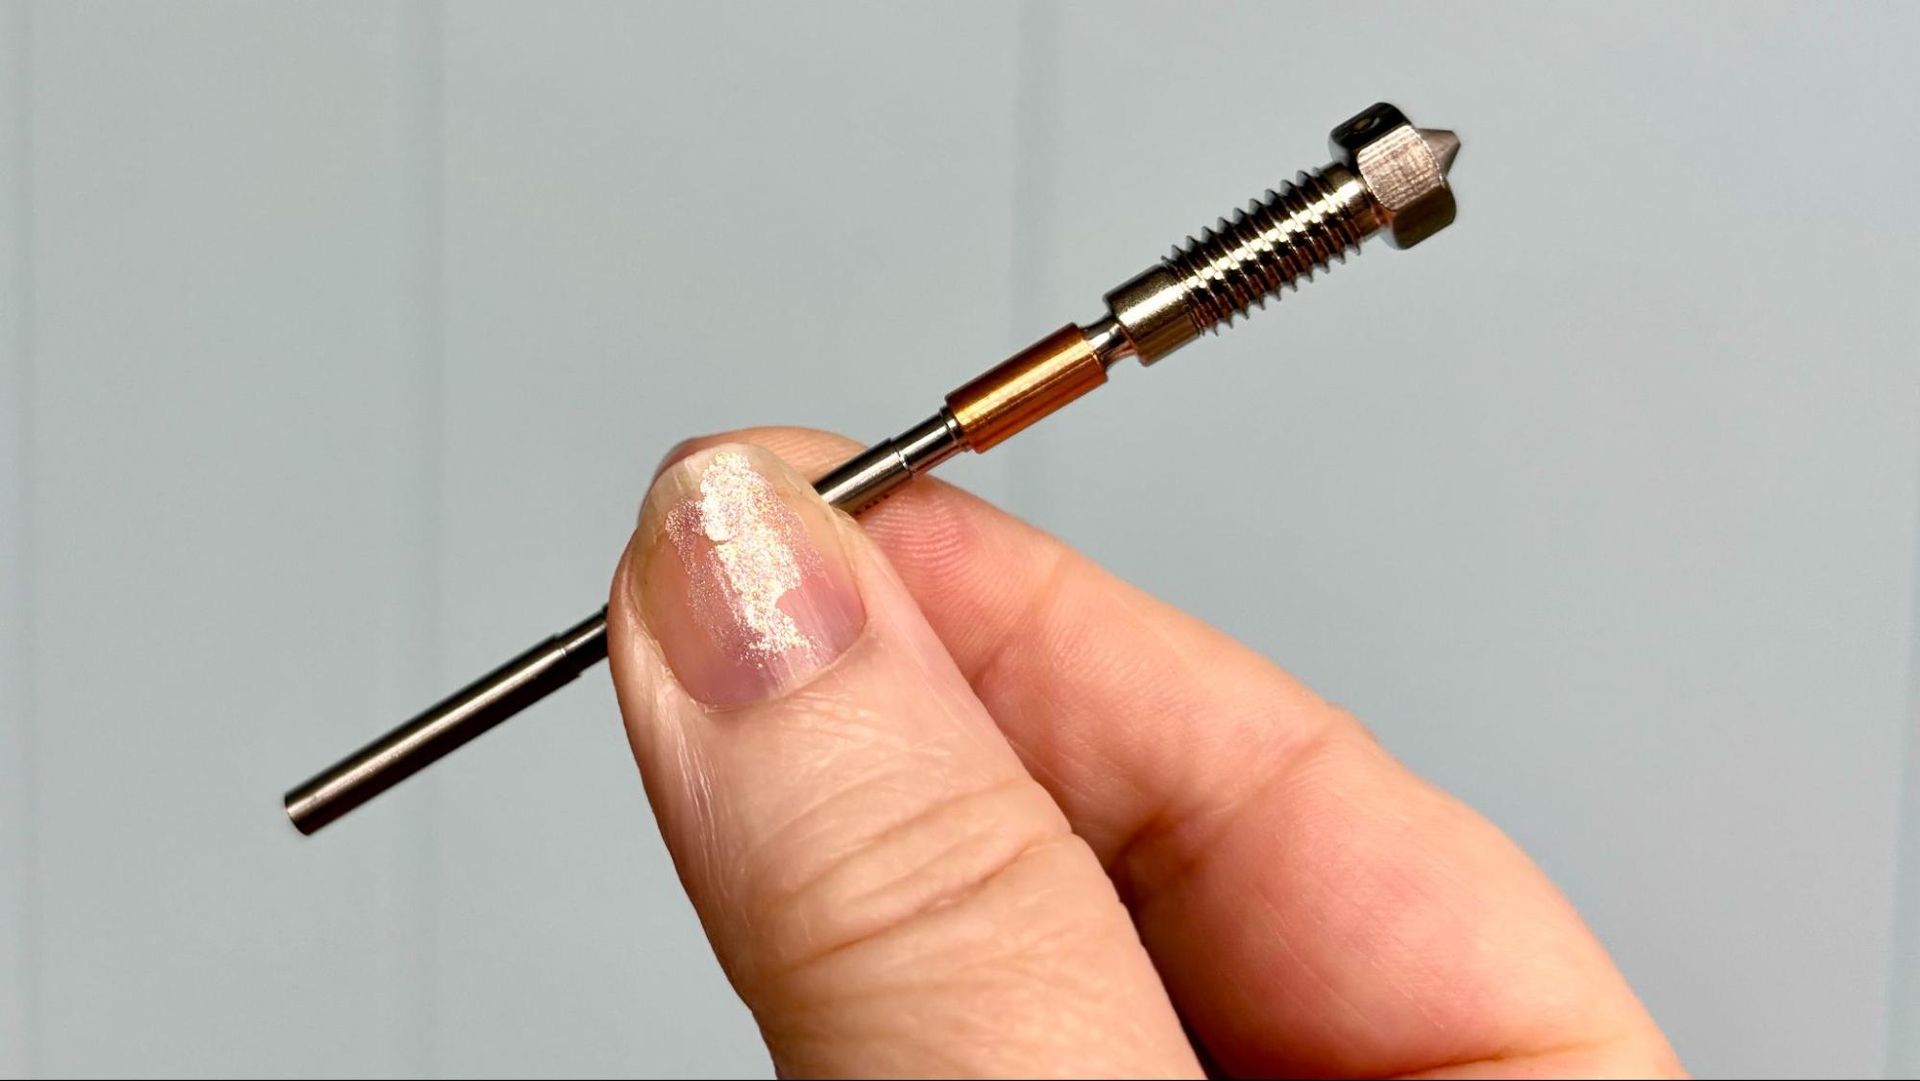
An optional HT Hotend for the CORE One lineup will be available in September. This hotend is specifically designed for finicky engineering filaments, which are often brittle and require higher melting temperatures. The swappable hotend hits 400°C, which unlocks materials such as PEKK-CF and PPS-CF.
Zuza said Prusa Research has been working on upgrading the entire user experience for all of their 3D printers. This includes not only hardware, but firmware and slicer software as well. Prusa Slicer 3.0, also teased last October, will be released in a few weeks. Lastly, connecting your Prusa 3D printer over LAN will be easier with the introduction of Prusa Connect Local. This will replace the outdated PrusaLink.
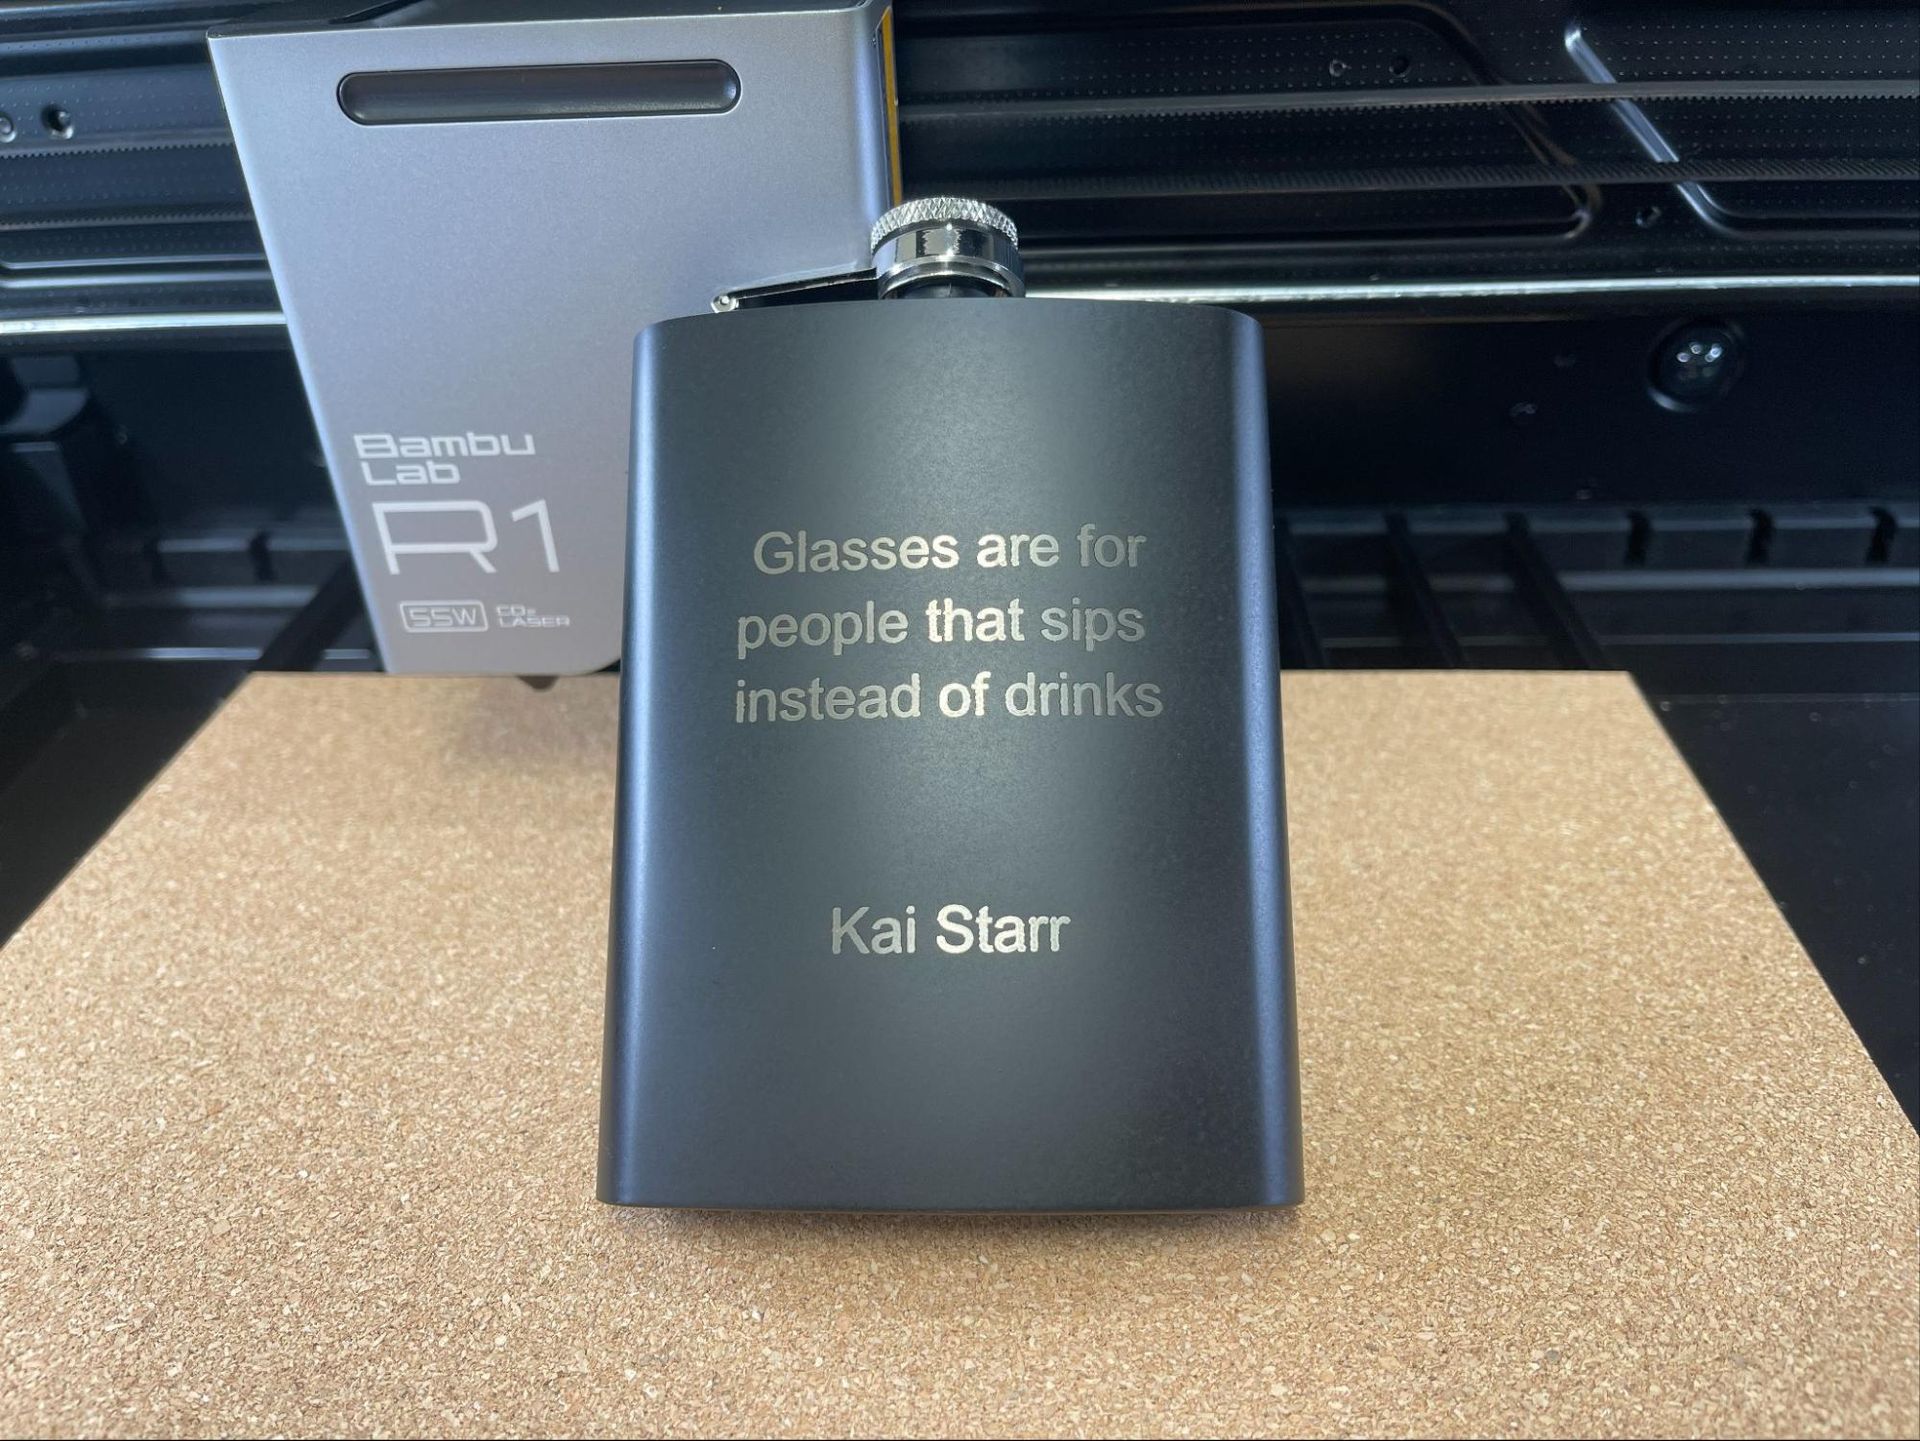
The QIDI Plus5 goes toe-to-toe with Bambu Lab’s H2 series for nearly half the price. At first glance, the QIDI Plus5 looks pretty much like the QIDI Plus4, but it’s so much more. With TARDIS-like engineering, the Plus5 has a smaller footprint, yet gains 18% more build volume than the previous model by comparison. The Plus5 can go a little hotter on the nozzle, up to 370 °C, which makes it great for tackling engineering-grade filaments.
The UI on the Plus5 is sleek and feels like a more expensive printer. It has a helpful status light on the bottom of the bed, which you guessed it, looks a lot like the Bambu H2 series. If QIDI could just get their QIDI Box to swap colors consistently, Bambu will have a serious fight on their hands.
The debut price of the QIDI Plus5 is $749, which is $50 less than the Plus4 was at launch, and is considerably less than a Bambu Lab H2S, which is currently $1399. This is definitely my favorite high-temp workhorse and one of the best 3D printers we’ve seen.
Specifications: QIDI Plus5
Build Volume
320 x 320 x 300 mm (12.59 x 12.59 x 11.81 in)
Material
PLA/PETG/TPU/ASA/PA/PC (up to 370 degrees)
Extruder Type
Direct drive
Nozzle
.4mm (Bimetal)
Build Platform
Double sided PEI flex plate
Bed Leveling
Automatic, Loadcell
Filament Runout Sensor
Yes
Connectivity
LAN, WiFi, USB Flash Drive
Interface
4-inch color touch screen
Machine Footprint
500 x 488 x 558 mm (19.68 x 19.21 x 21.96 in)
Machine Weight
29 kg (63.93 lbs)
MSRP
$749 (Stand alone) $899 (Combo)
Release Date
August 5, 2026
QIDI Plus5 : Included in the Box
(Image credit: Tom's Hardware)
The QIDI Plus5 comes with everything you need to get started. Included is a tool kit for assembly, a scraper, a glue stick, and a USB stick with a copy of QIDI Studio and a PDF copy of the quick start guide. A paper copy of the manual is also included.
Design of the QIDI Plus5
(Image credit: Tom's Hardware)
The QIDI Plus5 is a nice upgrade to the QIDI Plus4 with an extra 20mm of print area in all dimensions, with nearly the same footprint. The Plus5 is a hefty 64lbs, so you may need some help to get it in the door.
The Plus5 has a Core XY motion system, driven by a beefy 9mm 1.5GT belt, riding on a linear rail for the x-axis and linear rods for the y-axis. The z-axis runs on 4 linear rods and is driven by stepper motors turning two independent lead screws. The Plus5’s tool head is compact with an all-metal nozzle, which is shared by the QIDI Q2.
(Image credit: Tom's Hardware)
The nozzle includes the heat throat and features a hardened steel insert. The filament path is accessible in multiple locations, which should make clearing jams easy. The toolhead includes a cutter with a nearby waste chute and nozzle wiper, in case you want to try your luck with a QIDI Box for multimaterial printing. We were not provided one for this review, but we did test it out on the QIDI Q2 and found it lacking.
A black plastic tube is attached to the toolhead for an optional active cooling system dubbed the QIDI Polar Cooler. This is a little AC box which can be strapped to the side of the printer and pump cooler than room temperature air directly on the extruder. This is meant to prevent heat creep when you need to keep the rest of the chamber toasty. We didn’t get to test this add-on, but it sounds intriguing.
(Image credit: QIDI)
The chamber heater and the air circulation fan, with an activated carbon and HEPA filter, are located at the rear of the printer. The HEPA filter keeps the fumes from ABS and ASA trapped inside the machine. A large parts cooling fan on the left side augments the fan on the toolhead.
(Image credit: Tom's Hardware)
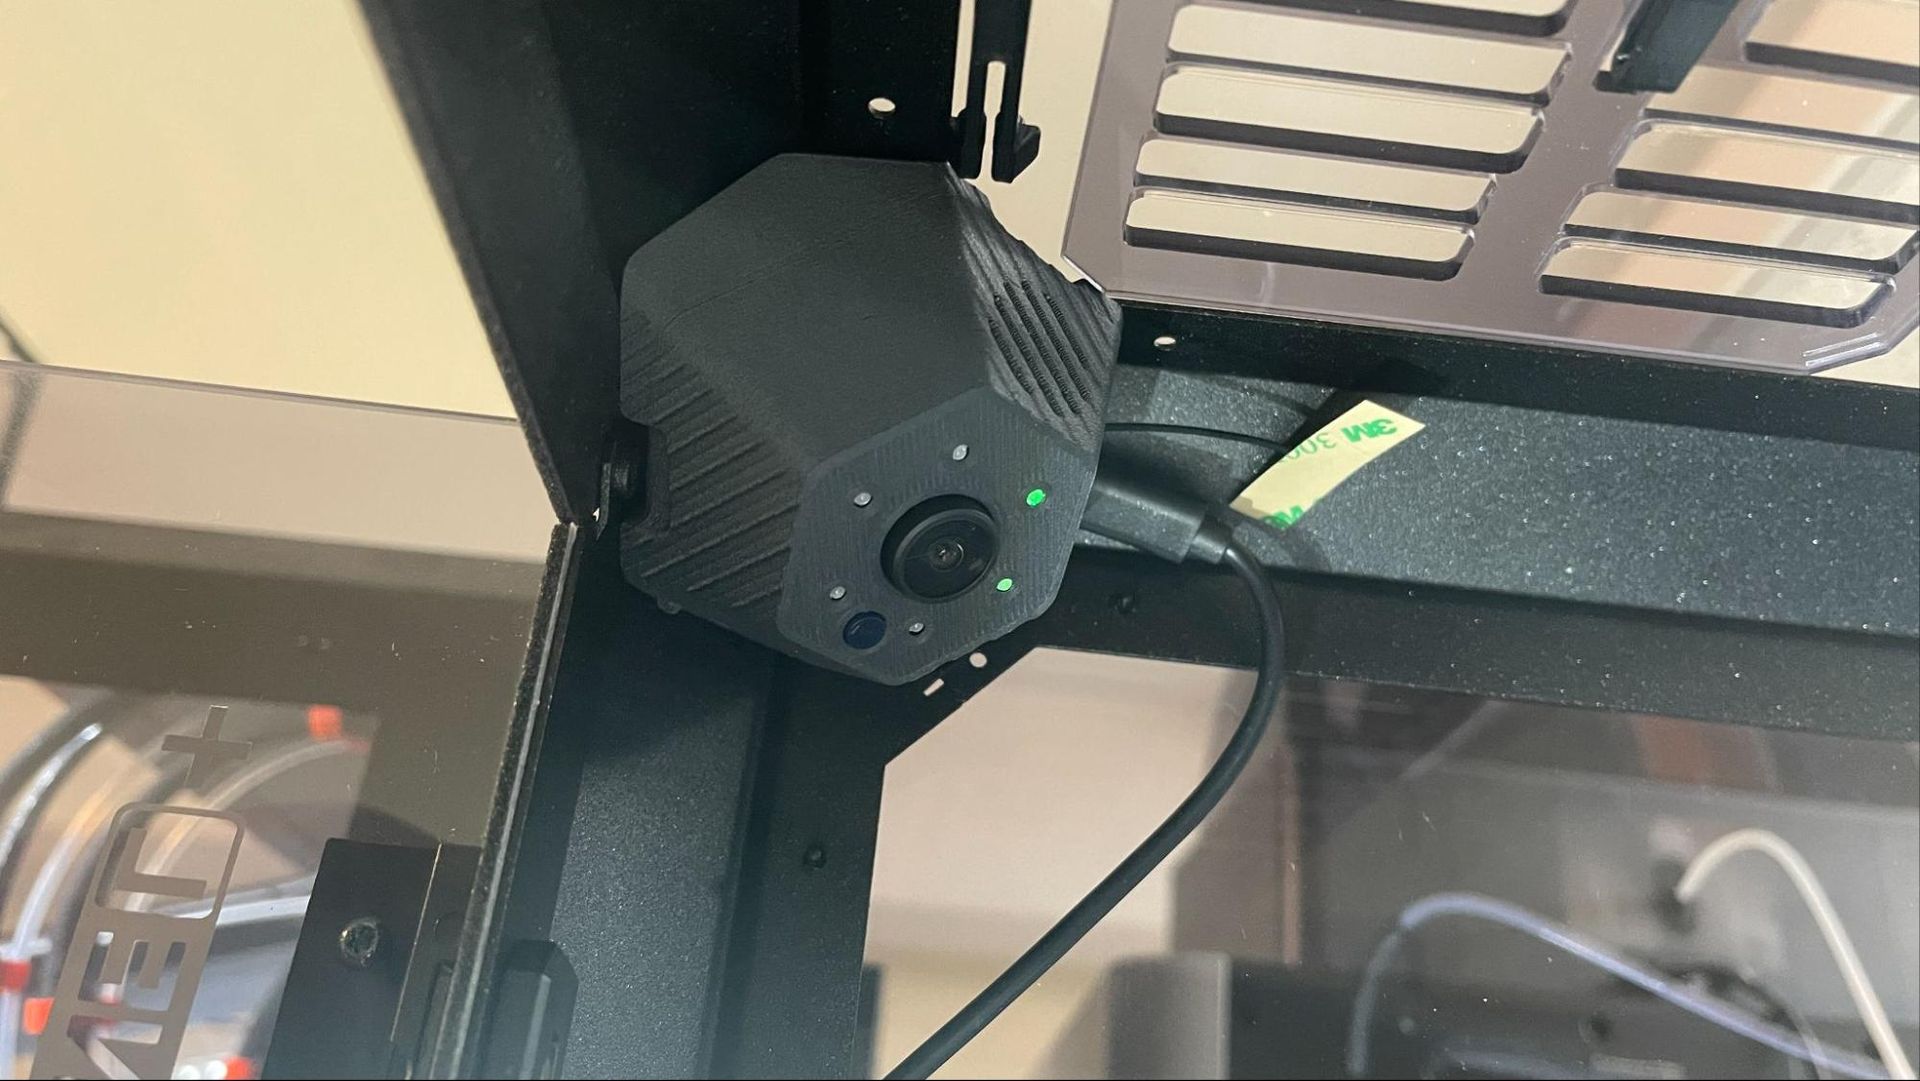
The QIDI Plus5 has an excellent 1080p chamber camera, which is accessible for monitoring the printer from the device page in QIDI Studio and from the QIDI Maker app. It can be used to make time-lapse videos and is for AI anomaly detection (aka the dreaded spaghetti monster).
The printer has a glass top that is designed to slide back for ventilation while printing lower temperature filaments like PLA and PETG, and the glass front door opens a full 180 degrees. This is a simple feature that I wish more companies would adopt.
Running lower temperature filaments in the PLUS5 seems like taking a race car on a shopping trip. With a bed that heats to 120 °C, an active chamber heating to 65C and a hotend capable of 370 °C, the PLUS5 was made for PPS, PA, and PC.
Assembling the QIDI Plus5
(Image credit: Tom's Hardware)
The QIDI Plus5 is almost completely assembled. The only thing you need to do is attach the spool holder to the rear, then attach the bowden tubes to the spool holder and tool head. If you are assembling the printer in low light conditions, take care to avoid attaching the filament line to the inlet for the optional cooling system – they’re the same size.
(Image credit: Tom's Hardware)
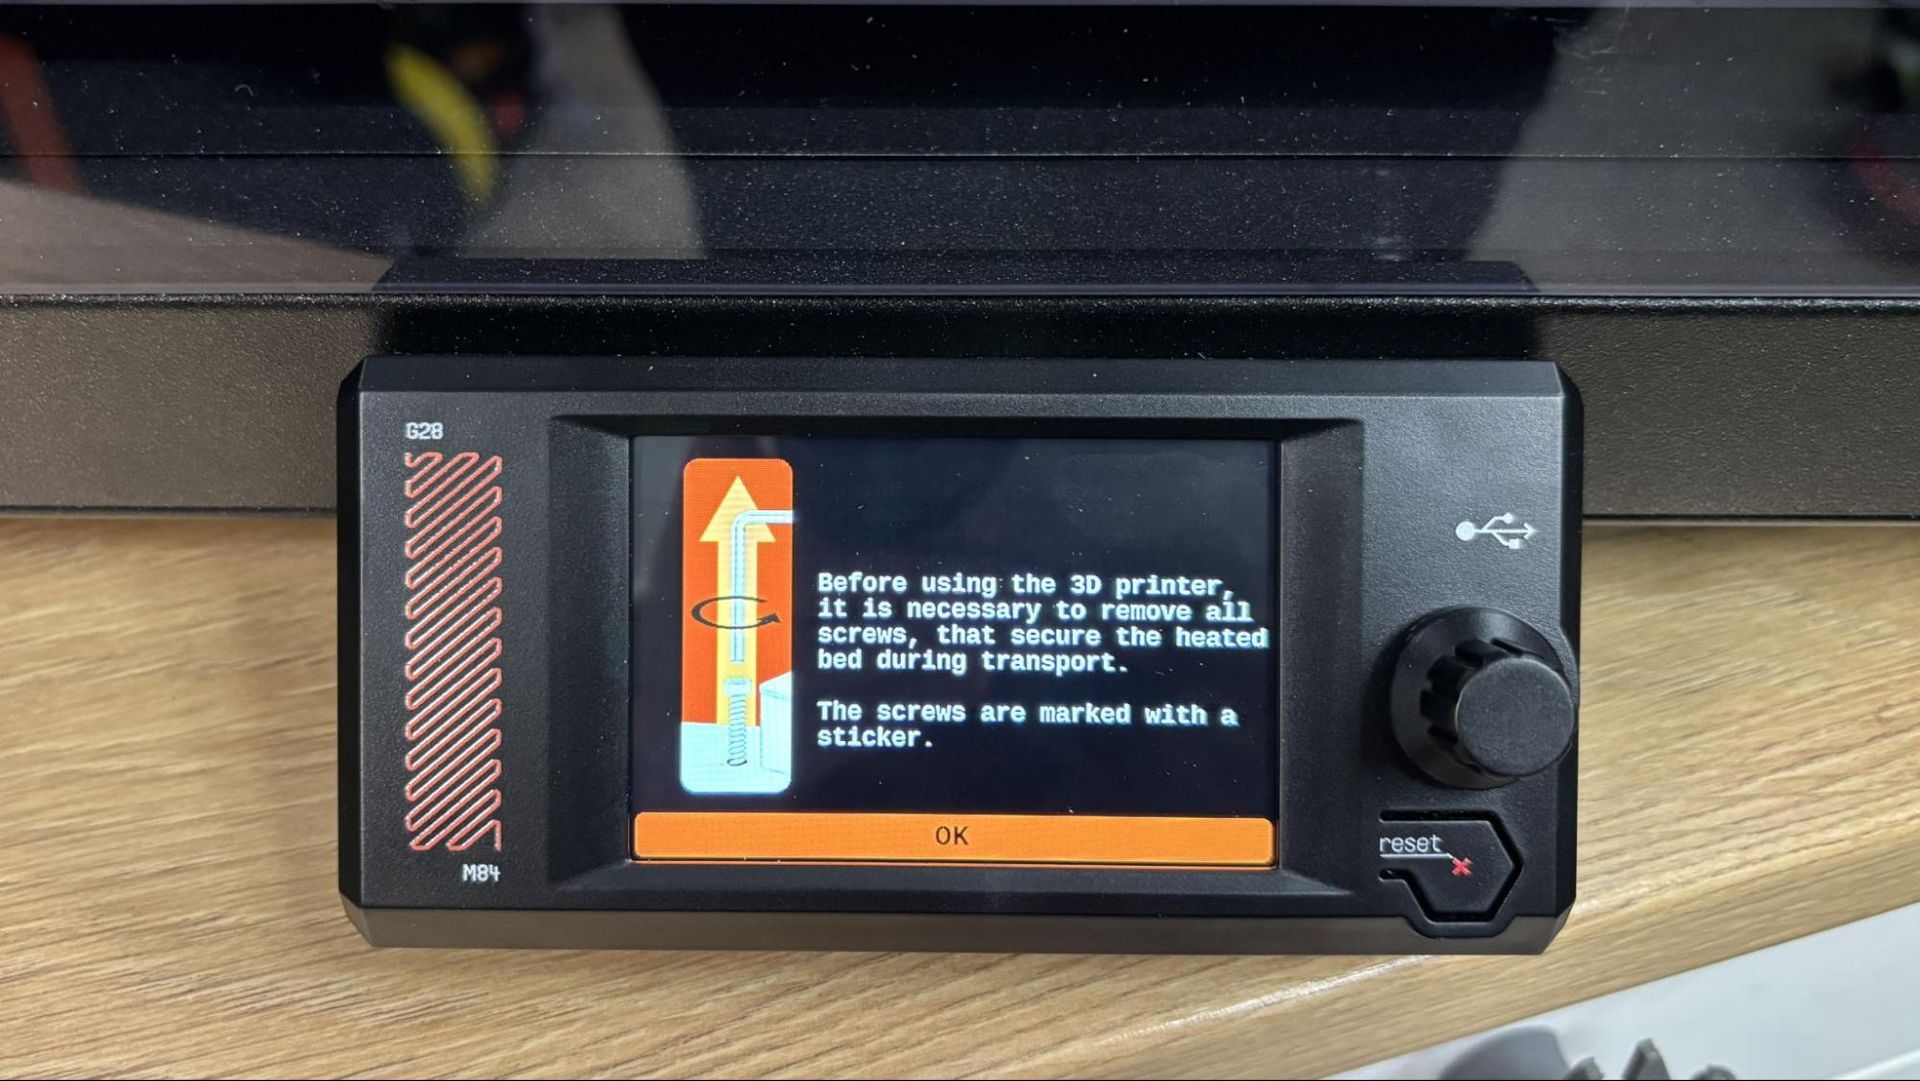
The UI on the QIDI Plus5 does a great job of walking you through the removal of the packing screws and the shipping material, so you don’t forget anything.
Leveling the QIDI Plus5
(Image credit: Tom's Hardware)
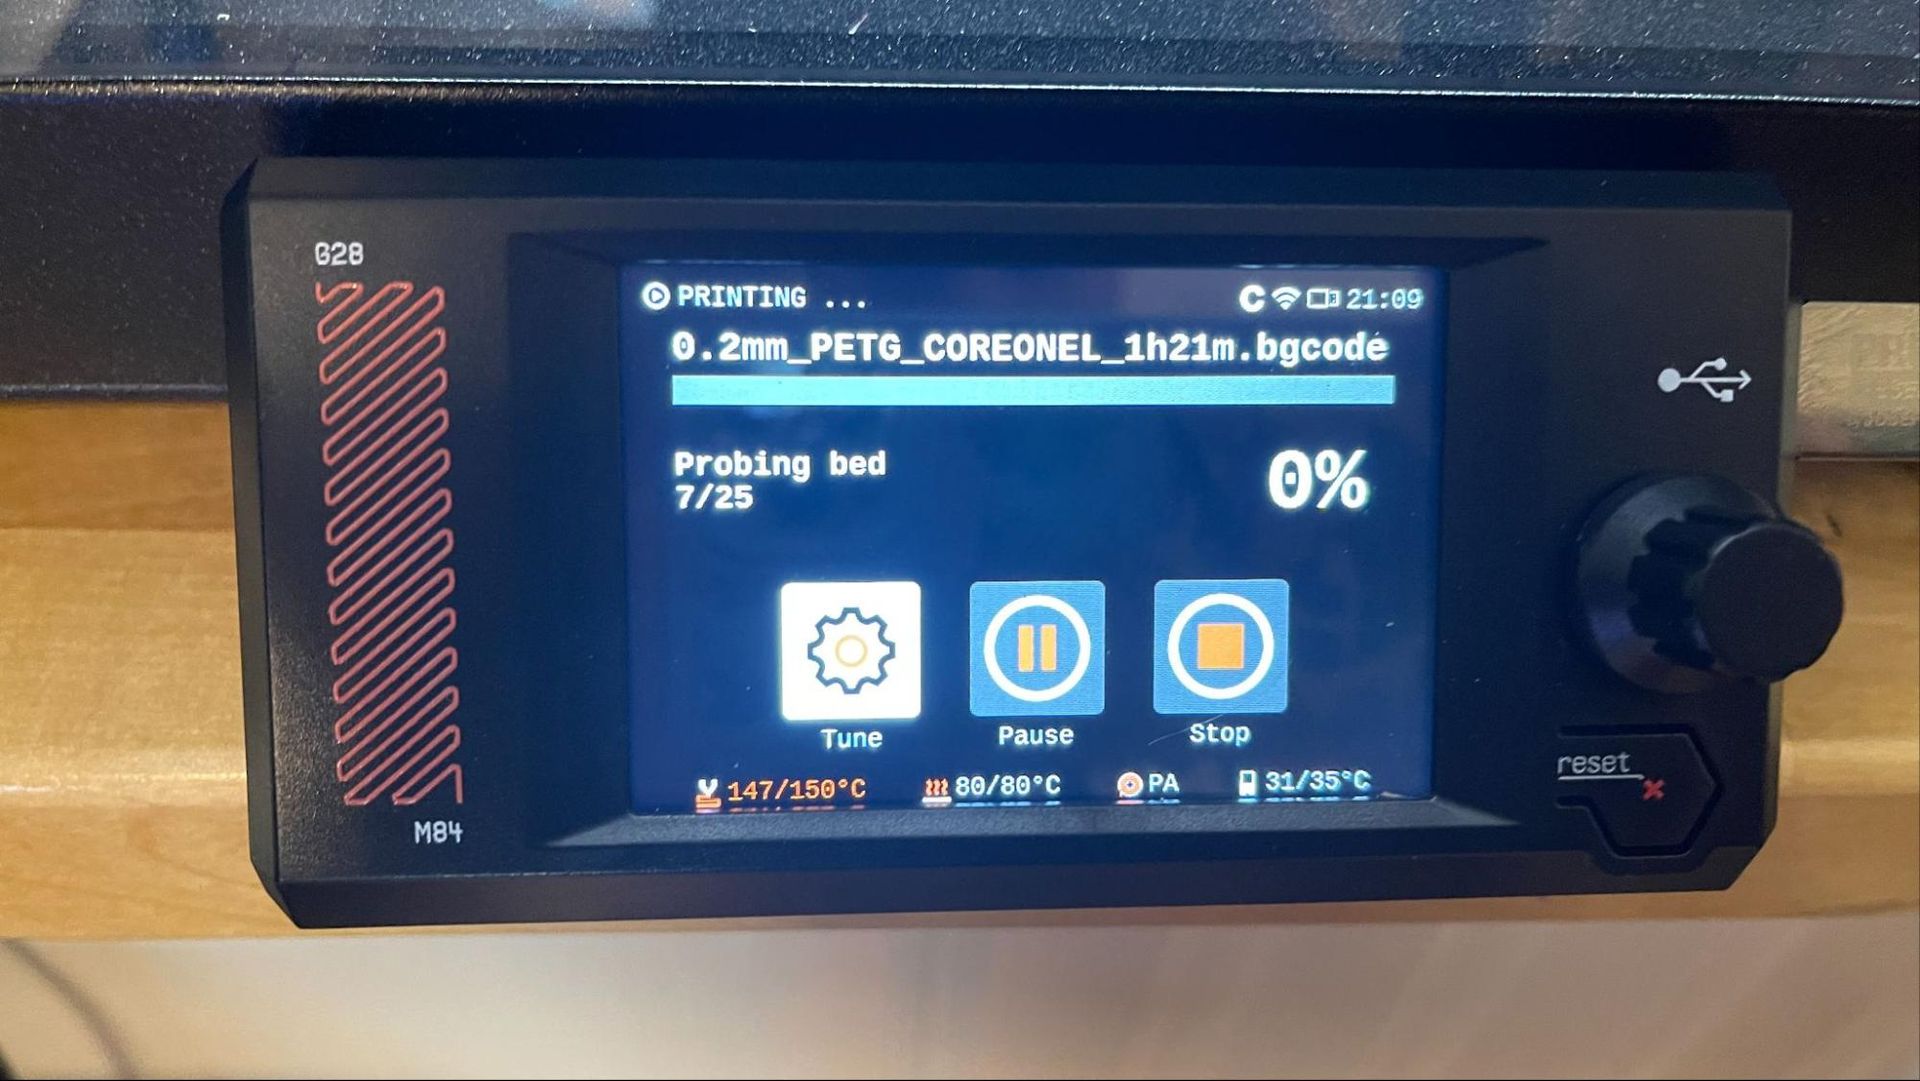
The QIDI Plus5 auto levels as part of the initial calibration and offers to relevel at the start of every print. The system worked perfectly.
Loading Filament on the QIDI Plus5
(Image credit: Tom's Hardware)
Loading filament on the QIDI Plus5 is both simple and frustrating. QIDI really took pains to make the UI on the PLUS5 intuitive and simple. Two clicks from the touch screen, and loading is right there. The annoying part is reaching around this behemoth to load filament into the Bowden tube located at the back. The filament will almost always catch on the coupler, which needs to be uncoupled to allow the filament to pass through it. Then if you are using a full spool, it’s super awkward to push a few centimeters of filament at a time toward the tool head.
(Image credit: Tom's Hardware)
Preparing Files / Software for QIDI Plus5
(Image credit: Tom's Hardware)
QIDI included a copy of QIDIStudio, which is based on BambuStudio, which is based on PrusaSlicer. If you are familiar with Bambu Studio or ORCA Slicer, you will feel right at home.
(Image credit: Tom's Hardware)
The device tab in QIDI Studio allows you to control the printer and monitor printing through the camera. It also allows you to skip parts of your print that might have failed. The QIDI Maker App offers the same functionality on your mobile device.
Printing on the QIDI Plus5
The QIDI Plus5 does not come with a sample coil of filament, which is just as well. You’ll want to pick out a spool of filament from our guide to the best filaments for 3D printing for suggestions.
To get warmed up, I printed the pre-sliced Benchy provided by QIDI using red Creality Hyper PLA. The print completed in 32 minutes and was technically flawless, with just a little stringing.
Next, I printed a vase I whipped up in Tinkercad, using a mystery spool of Fusion Filament PCTG. If you like the color, too bad, Fusion mystery spools are created when they change colors on their filament lines and thus are unique. It’s worth the gamble because these spools are also about $10 off, dropping the price from $26.99 to $16.99. This is printed in vase mode, with a .28 layer height and a chunky .65 line width. At an average speed of 65 mm/s, the print completed in 3 hours and 11 minutes. The quality of the print is excellent, and the PCTG makes it flexible enough to withstand use.
Tinkercad(Image credit: Tom's Hardware)
QIDI sent us a spool of their TPU GF 67D for the review, and I used it to print a plate of parts for my RC Death Racer. Using a .2 layer height and running at an average speed of 50 mm/s, the parts took 4 hours and 25 minutes to print. Using only 2 walls, the parts are light, yet very hard and darn near indestructible. These parts are, by their nature, a stringing test, and despite this, the quality is really good. I was pleasantly surprised when the supports popped right off, a blessing from the glass fiber.
I printed this bird feeder I found on Printables using faded desert brown and armored turtle green ASA from Ambrosia. I whipped up the hanger in Tinkercad. Using a .2 layer height and running at an average of 120 mm/s, the base of the bird feeder was completed in a little over 7 hours. The top took 5 hours 30 minutes running at an average of 100 mm/s. The hanger took only 2 hours running at an average speed of 180 mm/s. The print quality is really good, with just a little rough patch on the top where better supports could have helped. It’s currently hanging outside my office window, so I can see how well ASA holds up to the sun…and squirrels.
Jumping into the deep end of the pool, I printed this sanding block I found on Printables using QIDI’s PPS-CF filament. The Plus5 takes a while to heat up to 350 °C on the nozzle, 100 °C on the bed, and 65 °C on the chamber. I got out an infrared thermometer to read the temp on the printer’s top glass and decided not to store PLA there while the machine ran. It read 56C. I should point out that I did not get good results with the QIDI Plus4 when I tried to run this filament. The Plus5 printed this just perfectly, with a glorious surface finish and without a hint of a warp. The texture is from the carbon fiber, which also helps the PPS stay flat on the bed.
The QIDI Plus5 printed everything we threw at it and is the best 3D printer we’ve seen from QIDI. This hits the sweet spot for makers and engineers who need a serious high-temp 3D printer without breaking the bank. The lack of color capability won’t disappoint you when all your filament only comes in black anyway.
At its current price of $749, it’s an attractive addition to the large-format printer market. Filament loading could be better, but it’s a trade-off we’re willing to deal with for a machine that’s otherwise very pleasant to use.
If you like what you see in the QIDI Plus5 and you want to compare notes, then check out the Bambu Lab H2S, which is pretty similar but with a more robust ecosystem and a functional AMS system. It’s $1,399 for a Combo and $1199 as a standalone printer. If you need a printer that’s just plain big, the Sovol SV08 Max with an enclosure can handle practical prints the size of a hubcap (500x500mm) for $1,298. And if you just want a bit of elbow room at an affordable price, then you should check out the Bambu Lab A2L, which can do four colors on a 330 x 320 build plate for $569.
Bondtech, the inventor of the INDX toolchanger system used to create the highly anticipated Prusa CORE One+ INDX, admitted to a significant mistake. The nozzles, which are nitrocarburized steel, do not meet industry standards for “hardened steel” as advertised.
Prusa Research has pumped the brakes on the INDX project, and has delayed shipping INDX conversion kits until mid-August. They issued a statement on Reddit:
“Bondtech has recently confirmed that the nozzles currently supplied with the INDX system are surface-hardened rather than fully hardened as originally planned, and has not yet finalized the compensation plan for affected customers. We believe it is better to wait until both we and you have clearer information, rather than ship the kits while this important question remains unresolved.”
The statement was also emailed directly to everyone with an active INDX order in the system. The company said this delay will also give customers a chance to cancel their orders if they wish. As an olive branch, Prusa Research INDX conversion kits will included extra hardware free of charge. The statement didn’t say what the gift would be, but that specifics would be shared before shipping.
Prusa engineers immediately began testing the INDX nozzles and determined that little wear could be seen after running five kilograms of carbon fiber PETG through the nozzles. However, after just 100g of super-abrasive Ultraglow filament, the protective coating began to fail.
Nitrocarburized steel is tougher than the standard brass nozzles that come with a stock Prusa CORE One+, but not as durable as hardened steel. The real problem is not that they went with a lesser nozzle, but that they kept the “hardened steel” wording in promotional materials. If Bondtech said from the beginning (or before customers locked in their pre-orders) that the INDX shipped with ordinary steel nozzles, no one would have blinked.
Information on the nozzle quality began to surface after a Reddit user posted a support email from Bondtech founder, Martin Bondeus. The email stated that “during production, we encountered manufacturing challenges that prevented us from machining that material reliably – the cutting tools simply did not withstand the process. Rather than releasing a product with inconsistent quality, we decided to supply the nitrocarburized version for the time being.”
Reddit (Image credit: Reddit)
These nozzles are not of poor quality, but they fall short of the standards set for hardened steel. According to a statement by Bondtech, the Founders Edition shipped with nitrocarburized steel, which is steel treated to obtain a hard shell. They’ve batch tested the nozzles and found them to be around 30-32 on the Hardness Rockwell C scale (HRC). For comparison, true hardened steel lands at 55-60 while an everyday brass nozzle comes in under 10 HRC.
For most users, and most materials, these mid-tier steel nozzles work exceptionally well and will last for an extremely long time. But once you start to feed your INDX abrasive filaments like glass-fiber, carbon-fiber, glow in the dark and metal filled filaments, things get dicey. The treated steel nozzles will last longer than brass, but Bondtech said they will experience “accelerated wear” when printing abrasives.
Bondtech has stated on its website that a “concrete solution” to the problem is not ready and that manufacturing truly hardened INDX nozzles could take months. They are also not offering any form of compensation before knowing the cost of the replacements. They are requesting that customers hold off on returning the kits and simply enjoy using non-abrasive materials until a solution is found.
The INDX takes a bespoke induction heated nozzle that has no off the shelf replacement at this time.
The news has hit the Founders Edition buyers quite hard, as many have already found difficulty with the kits they so eagerly purchased months ago. Some assembly problems can be expected with such a product, as they are being mounted on CORE One printers already in service. The INDX is a separate upgrade kit, and it requires stripping down a CORE One, removing the Nextruder and replacing it with the INDX carriage, then mounting a rack to hold the eight tool heads.
One “founder” was so upset he vibe coded an entire website in protest: Nozzlegate.com. The website outlines what the perceived problems are with Bondtech, and what consumers can do about it. We contacted the website owner, who asked to go by his handle “Daddie0.”
He told me that, like others who purchased Founder Edition kits, he’s disappointed in the quality of the product. He said his INDX was suffering from multiple mid-print crashes and layer shifts, and after two weeks of troubleshooting, it was finally fixed with a firmware update from Prusa. “Then nozzlegate hits. My EU right-given two-week return window ends a day after the news breaks.”
Realizing that his window for a standard, hassle-free return had closed on a machine he felt was a lemon, he shifted strategies. He began digging into Bondtech’s official documentation to see what recourse he had for a defective product.
What he found sparked a new battle. Disagreeing with Bondtech’s listed 90-day warranty policy, which he claims misleads consumers by failing to mention Sweden's mandatory multi-year consumer protections, he channeled his frustration into the NozzleGate website.
The INDX kit is a collaboration between Prusa Research and Bondtech, with the first wave of Founders Edition kits a limited edition run going to early adopters.
Tom’s Hardware received a Founders Edition INDX kit, which we installed on a Prusa CORE One we previously reviewed. Though the build took over the kitchen table for an entire weekend, our resulting INDX is printing non-abrasive filaments with excellent quality.
Printed Solid, the Delaware-based filament manufacturer acquired by Czech Prusa Research in 2022, is now known as Prusa USA, Inc. I chatted with Prusa Research team members at Open Sauce, who confirmed the name change was largely window dressing, with nothing changing in the company’s day-to-day operation. Josef Prusa will remain CEO of both companies, with a new Marketing Officer moving up the ranks internally.
During the changeover, Printed Solid will be known as “Printed Solid, a Prusa Company”. The website now proudly states that Prusa Research is a “European-American” company with U.S. production capabilities. The company has a duplicate print farm at its 100,000-square-foot Delaware factory for the production of 3D printers and filament. The printers are not yet fully “Made in the USA,” as some parts are still needed from the factory in Prague. This helps overcome supply chain issues for American customers.
(Image credit: Prusa)
Josef Prusa states, “We wanted to be closer to our customers. Expanding to America was the natural next step to support the most important market in the world.” His booth at Open Sauce proclaimed Prusa to be the biggest 3D printer manufacturer in the USA. Though Prusa Research ships well over 10,000 printers a month from both Prague and Wilmington, it’s a fraction of what its Chinese competitors produce overseas. 3D printing is simply getting bigger as more businesses and individual makers discover the ease of additive manufacturing.
The change comes at a difficult time for 3D printing enthusiasts, as several anti-3D printing bills are sprouting up around the country. These bills are trying to impose government oversight by installing spyware on new 3D printers to prevent the machines from manufacturing firearms. This is the antithesis of Prusa Research, which stands firmly on the side of Open Source, the right to repair, and proudly produces 3D printers that meet the high security needs of the US military and government agencies. Delaware, Prusa Research’s new home away from home, has just introduced House Bill 399, which would place so-called “blocking technology” on all 3D printers.
It is also the American fulfillment center for Prusa Research’s Amazon sales and the official US Service Center for printer support, which includes repair and maintenance.
We toured the Printed Solid print farm in 2025.(Image credit: Tom's Hardware)
One thousand Prusa CORE One INDX Founder’s Editions have shipped, giving a lucky few first access to Bondtech’s revolutionary toolchanger mod. The Founders Edition is a special limited run, intended for early adopters and Prusa fanatics.
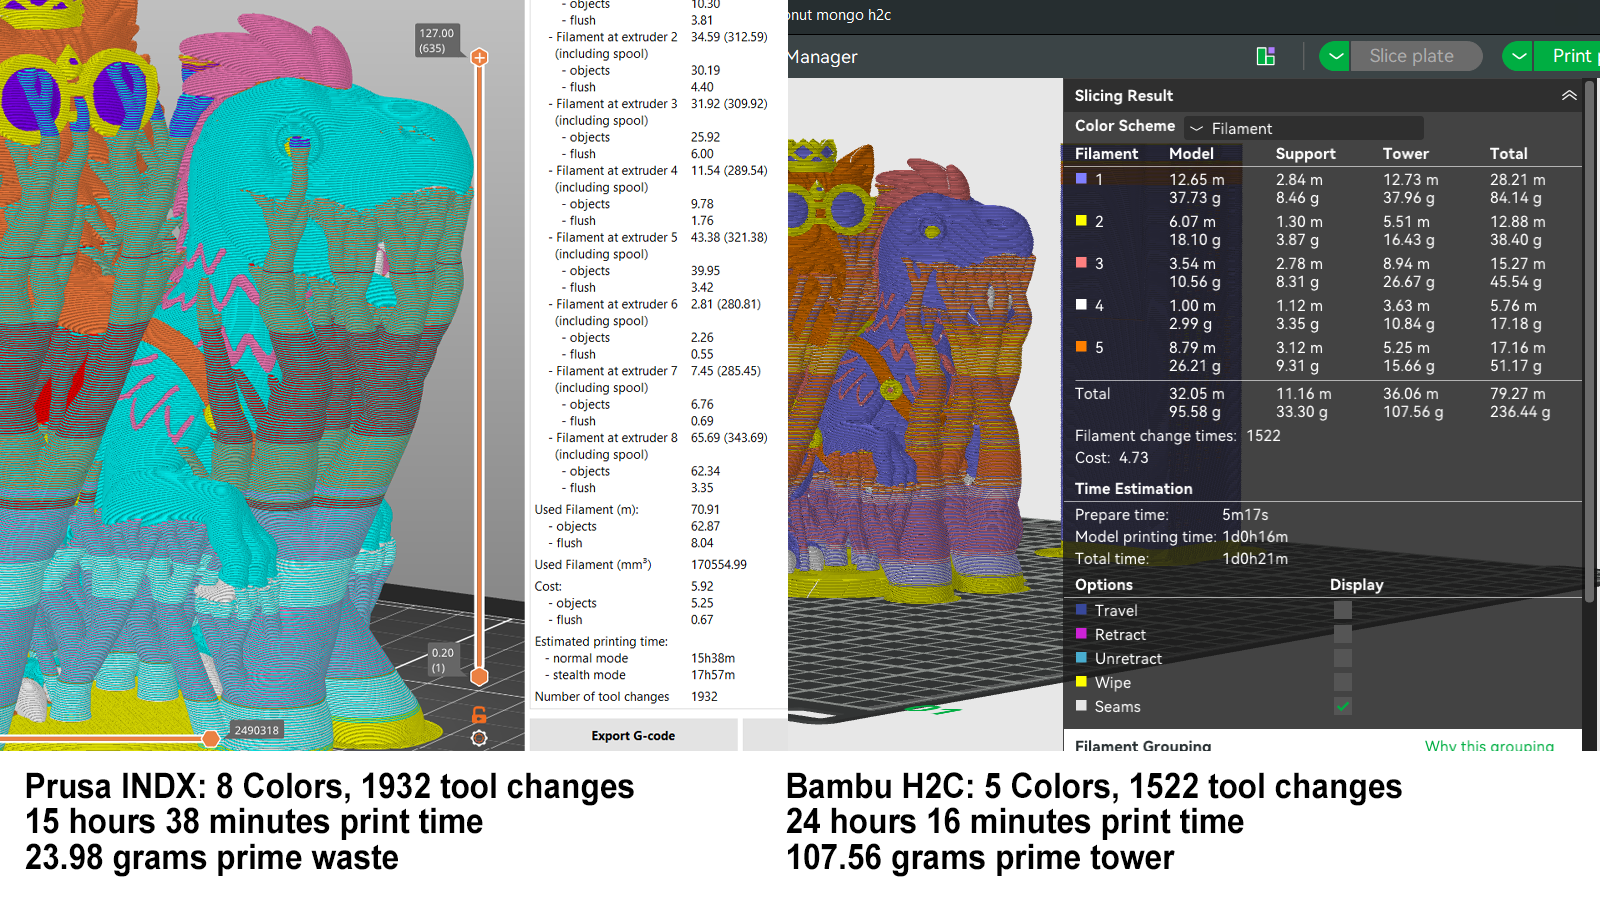
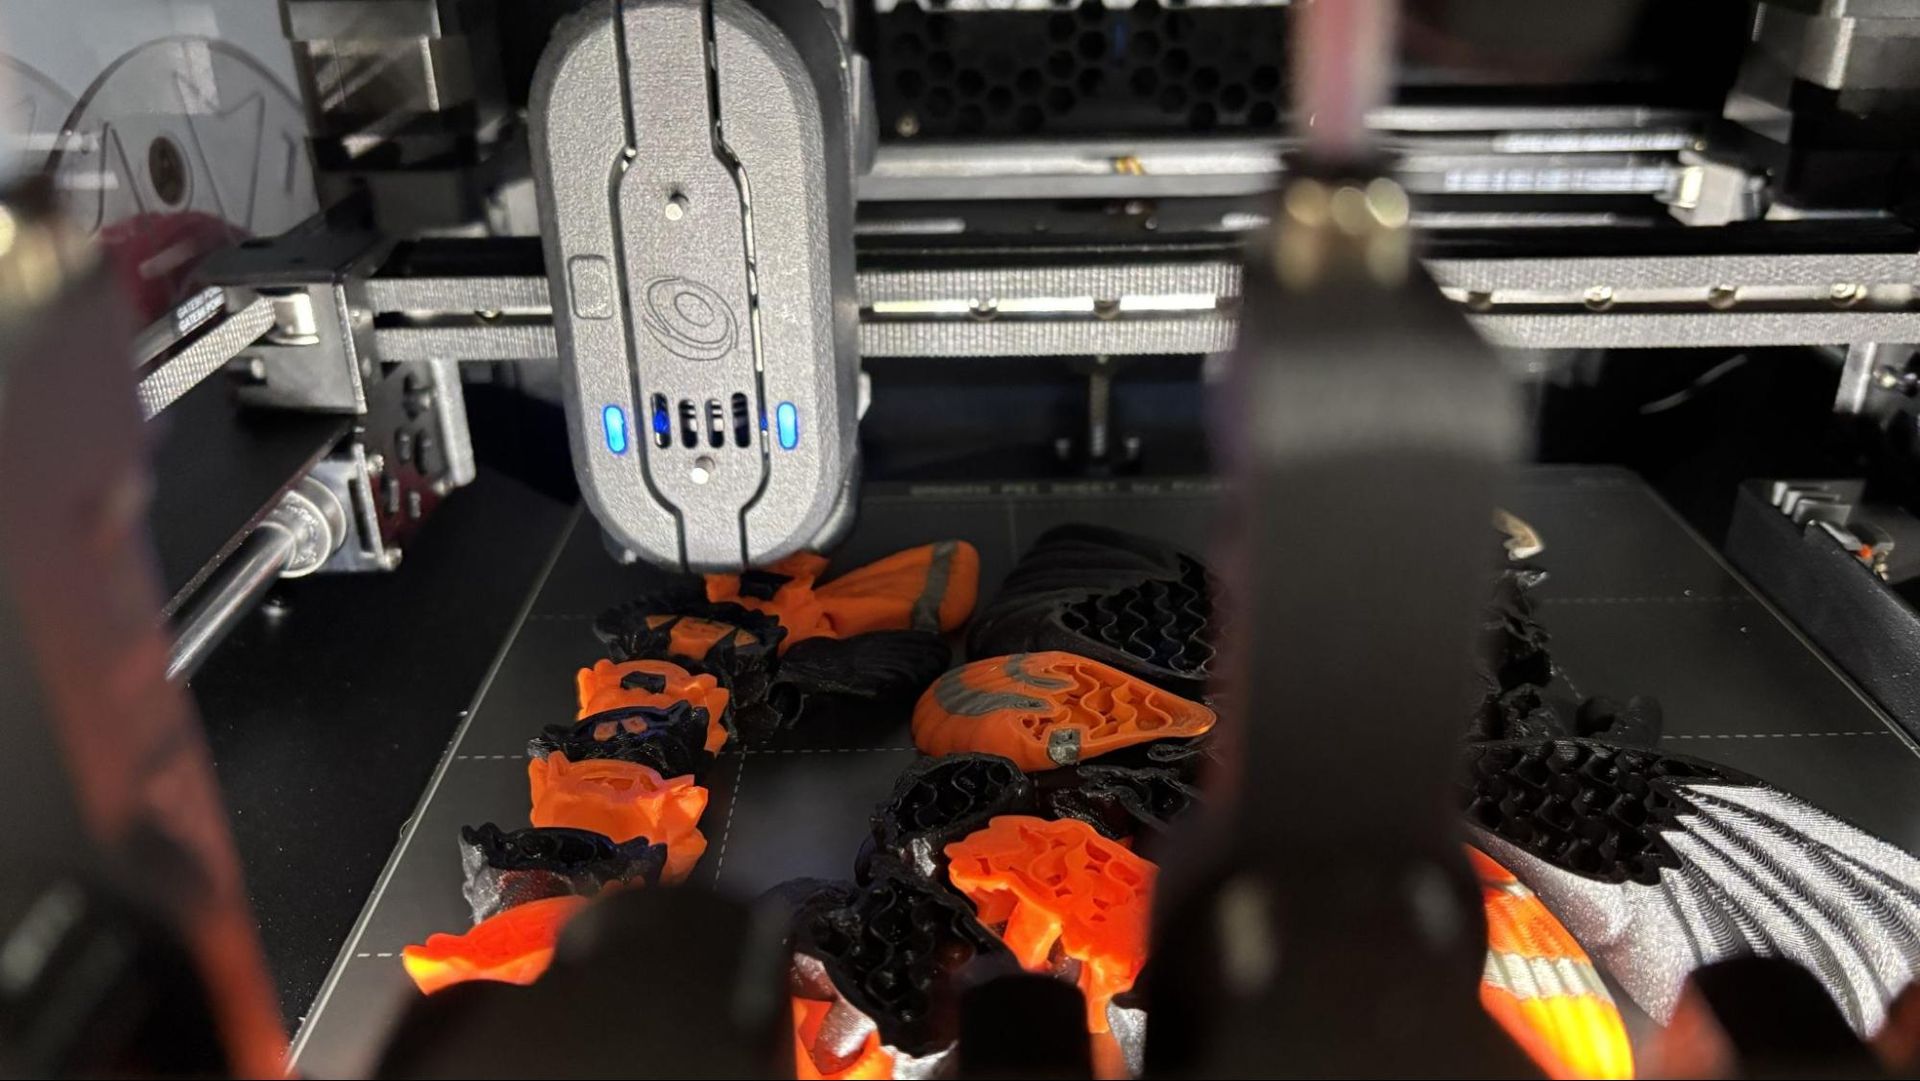
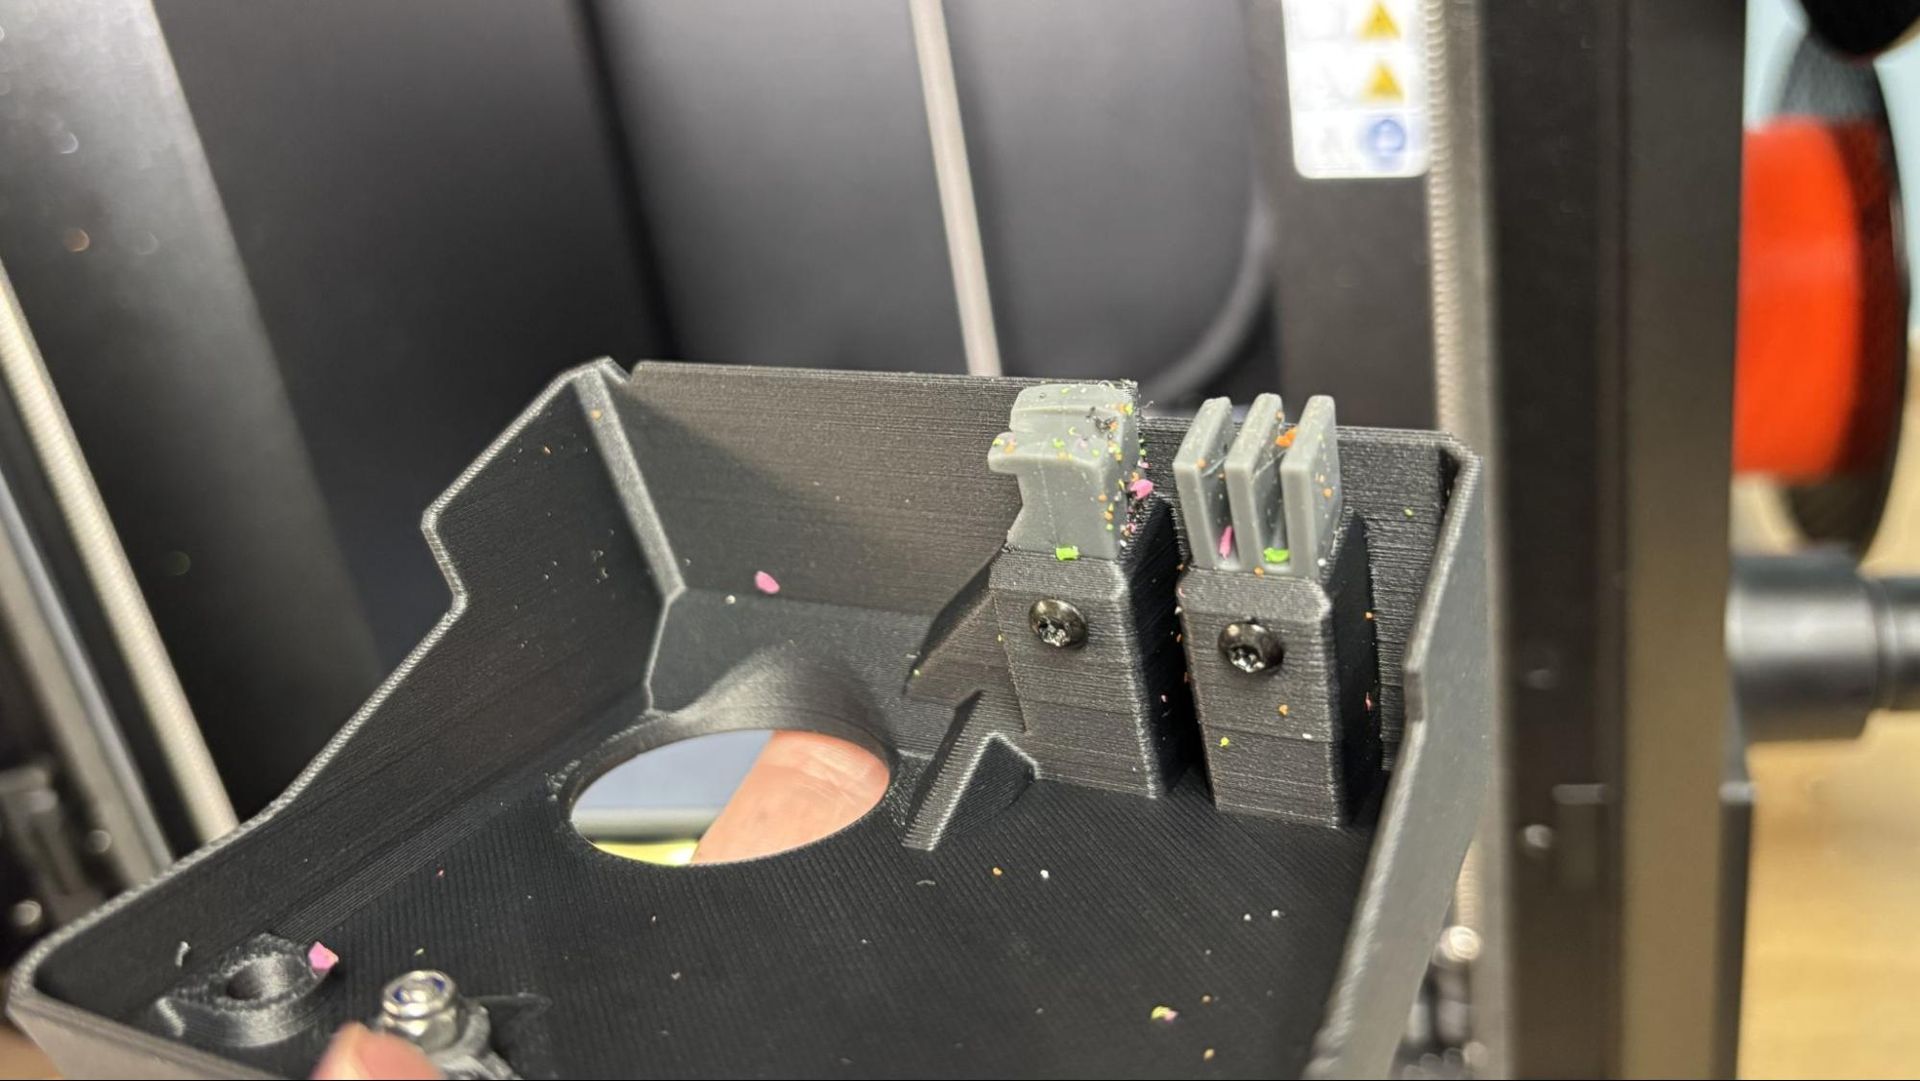
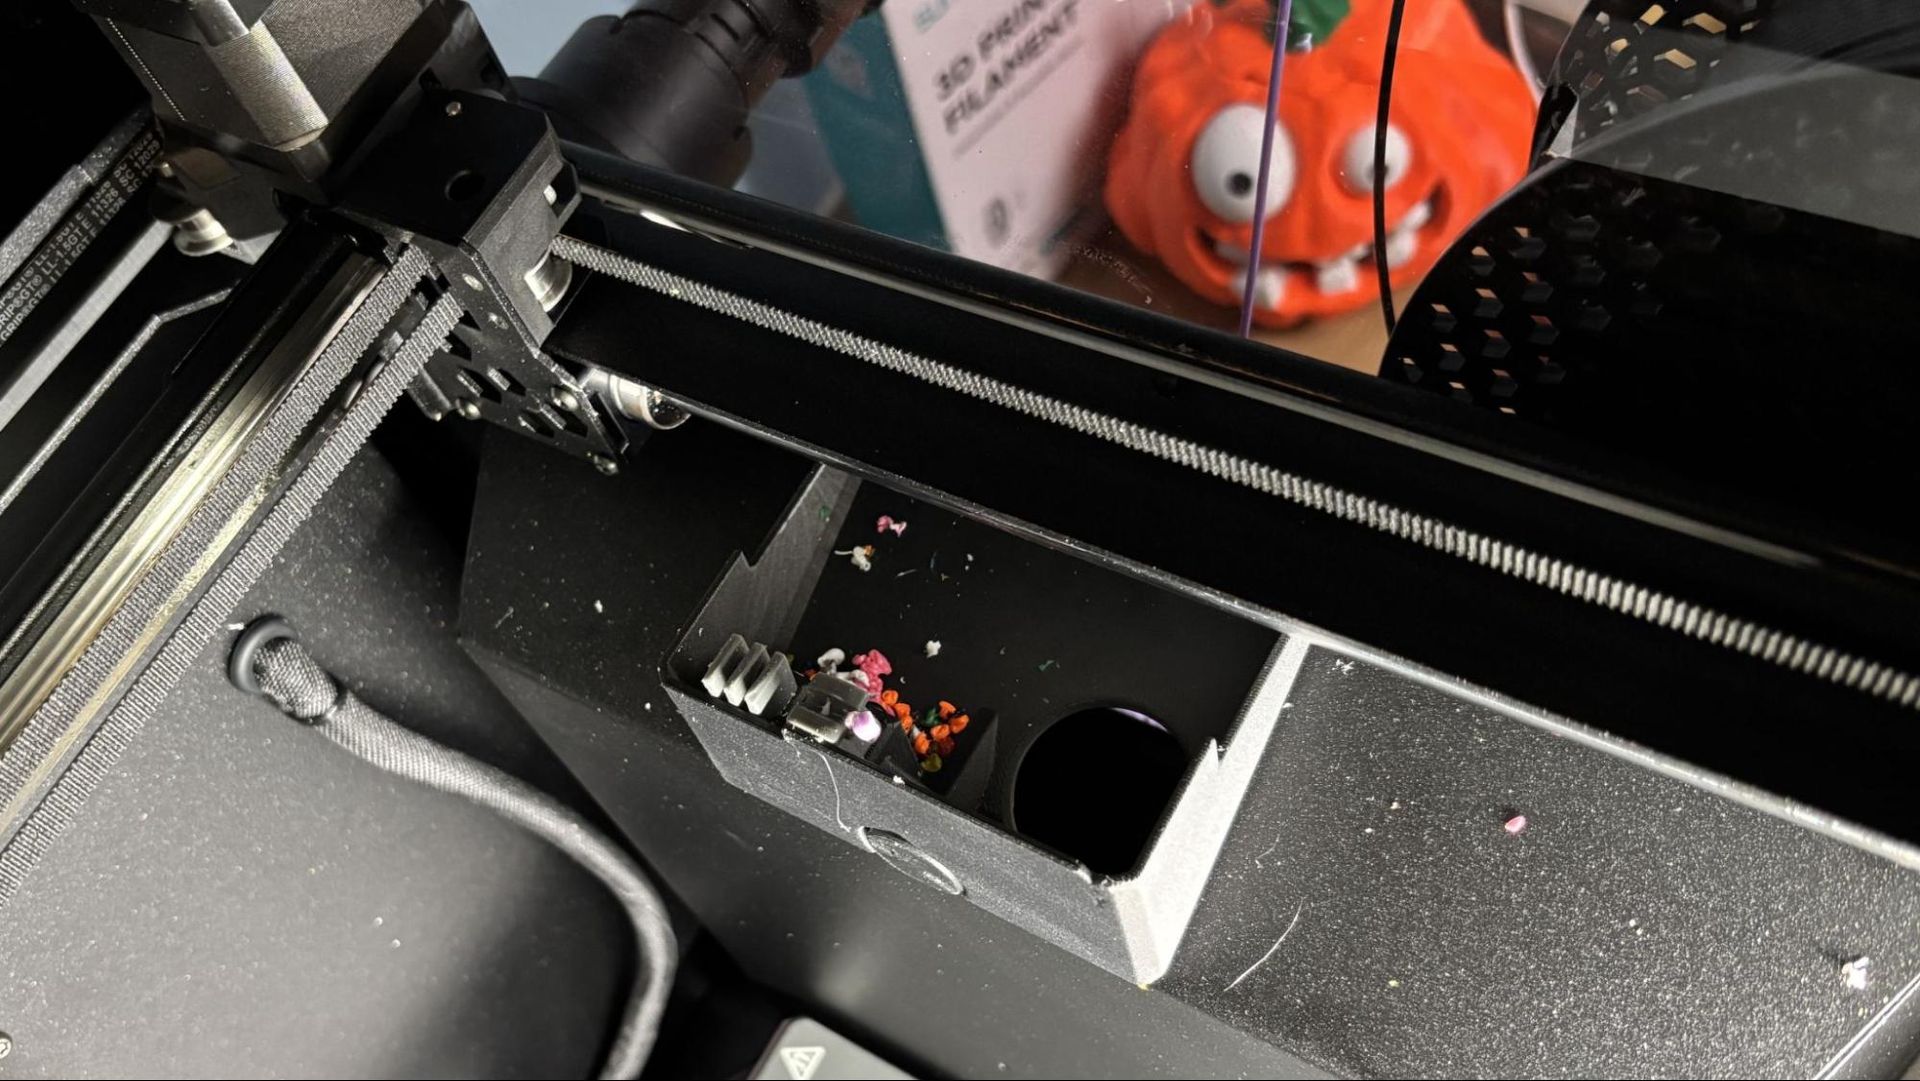
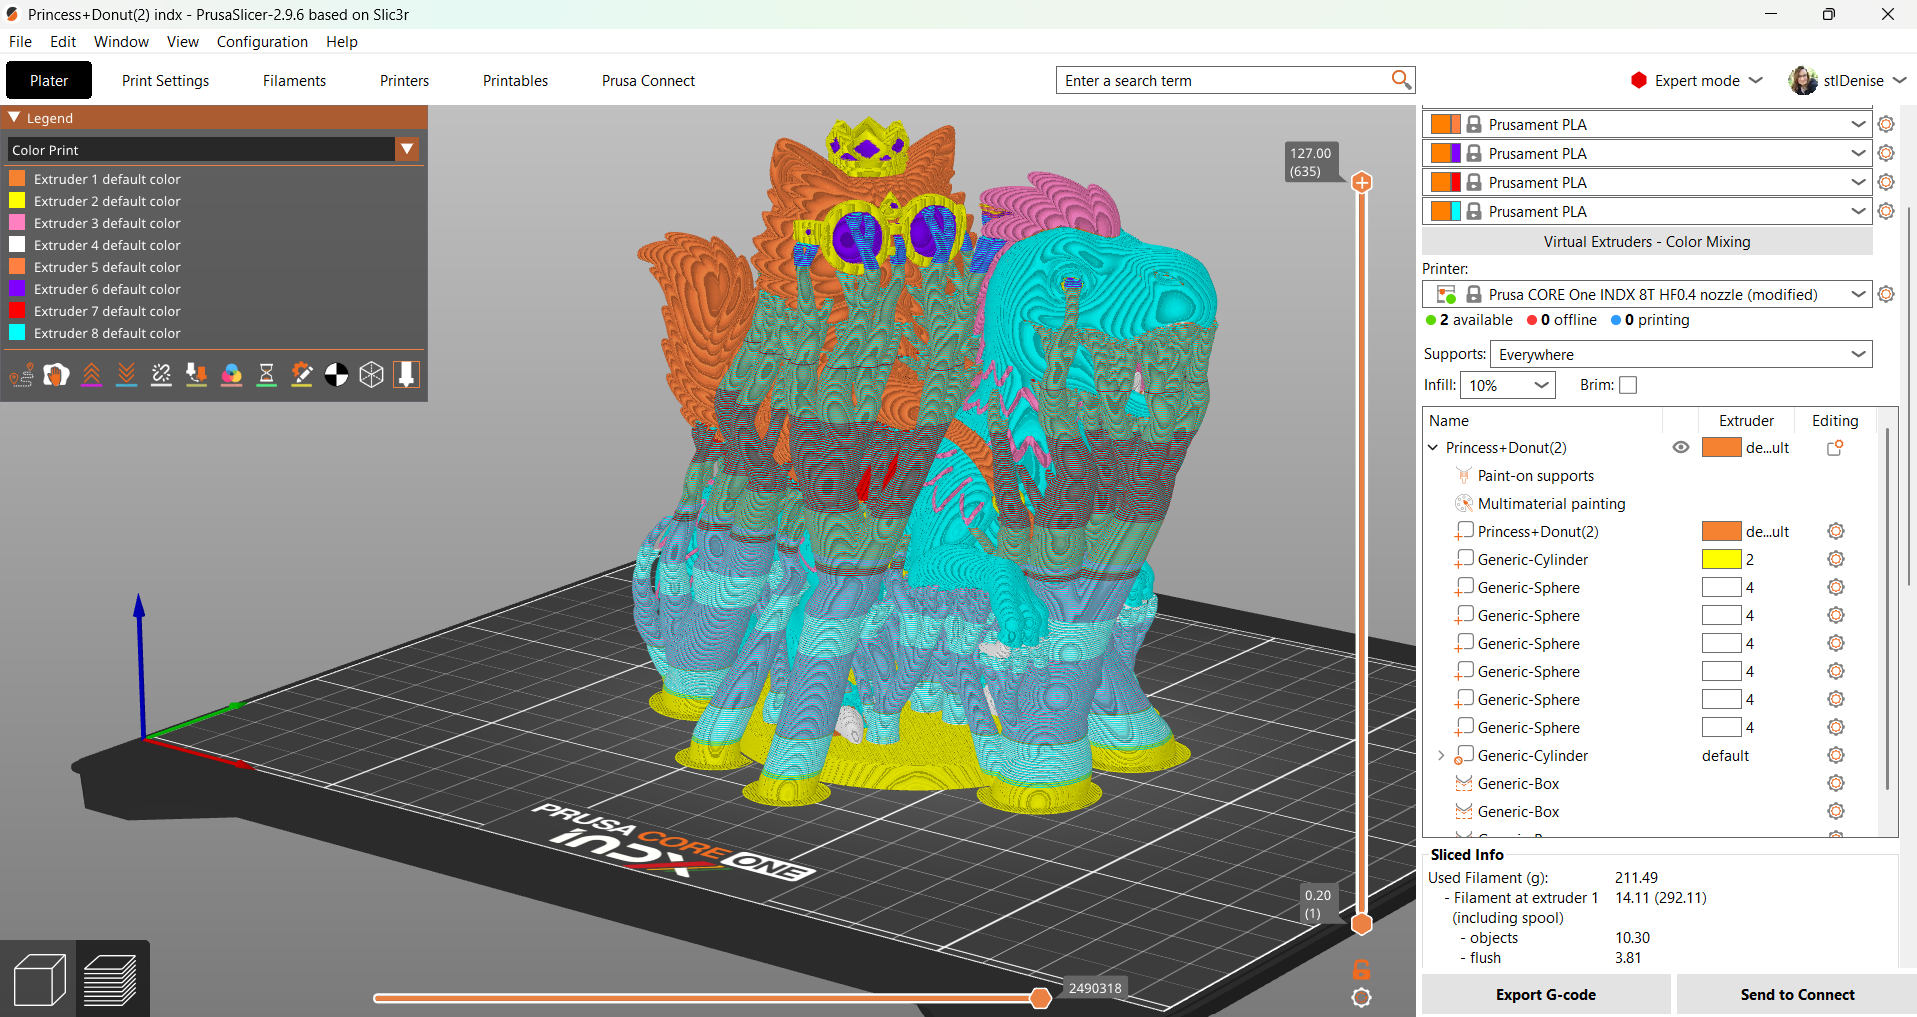
The INDX toolchanger promises multi-material printing without the headache of prime towers and massive purge waste. Since toolchangers have a dedicated nozzle for each filament path, they don’t need to clean out the nozzle between color or material swaps; however, they do need to “prime” the nozzle to make sure the filament is flowing at the right pressure. Before the INDX, this meant printing a smallish, unavoidable prime tower. The INDX has been precisely tuned to purge only tiny crumbs of waste into an internal tray, then wipe the nozzle on a silicone pad.
(Image credit: Tom's Hardware)
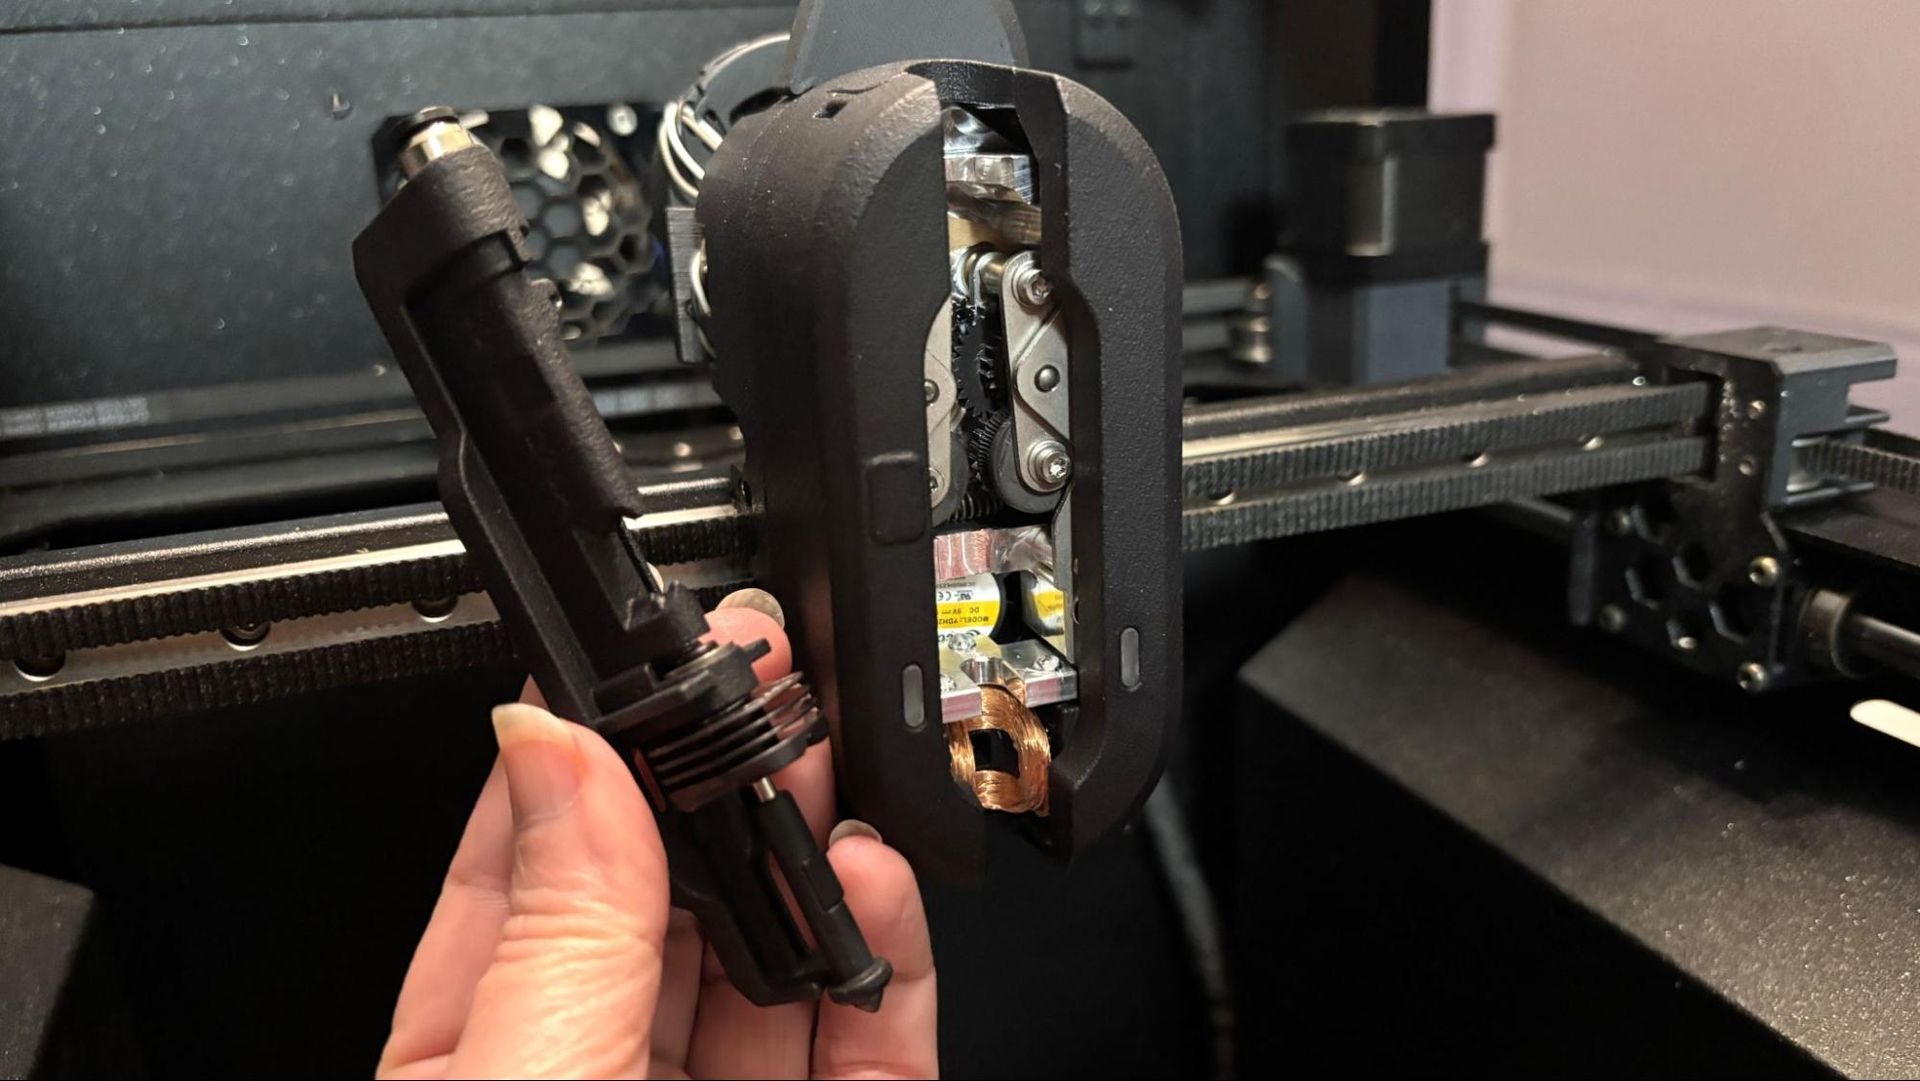
The INDX, invented and patented by Bondtech, uses an induction heater to rapidly bring each nozzle to temperature in a few seconds. This allows the Prusa Core One with INDX to have some of the fastest color swap times we’ve seen.
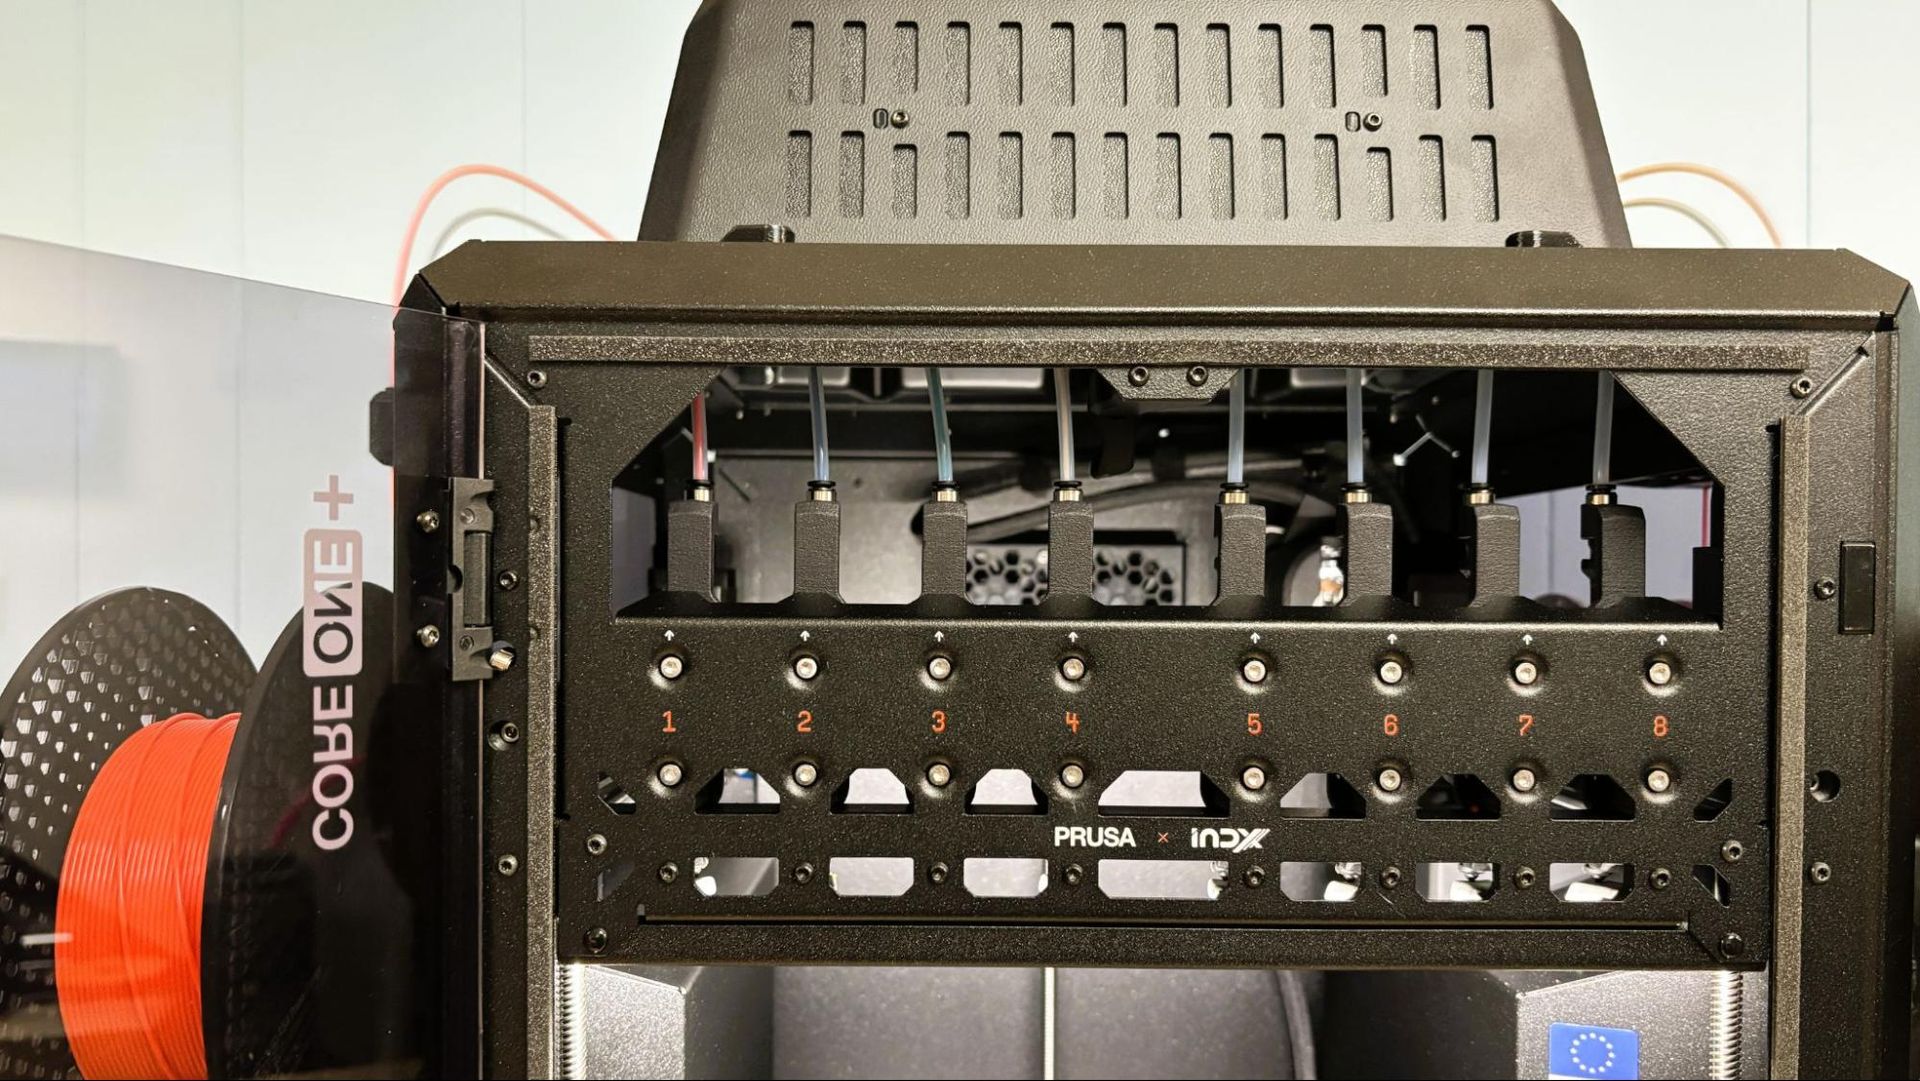
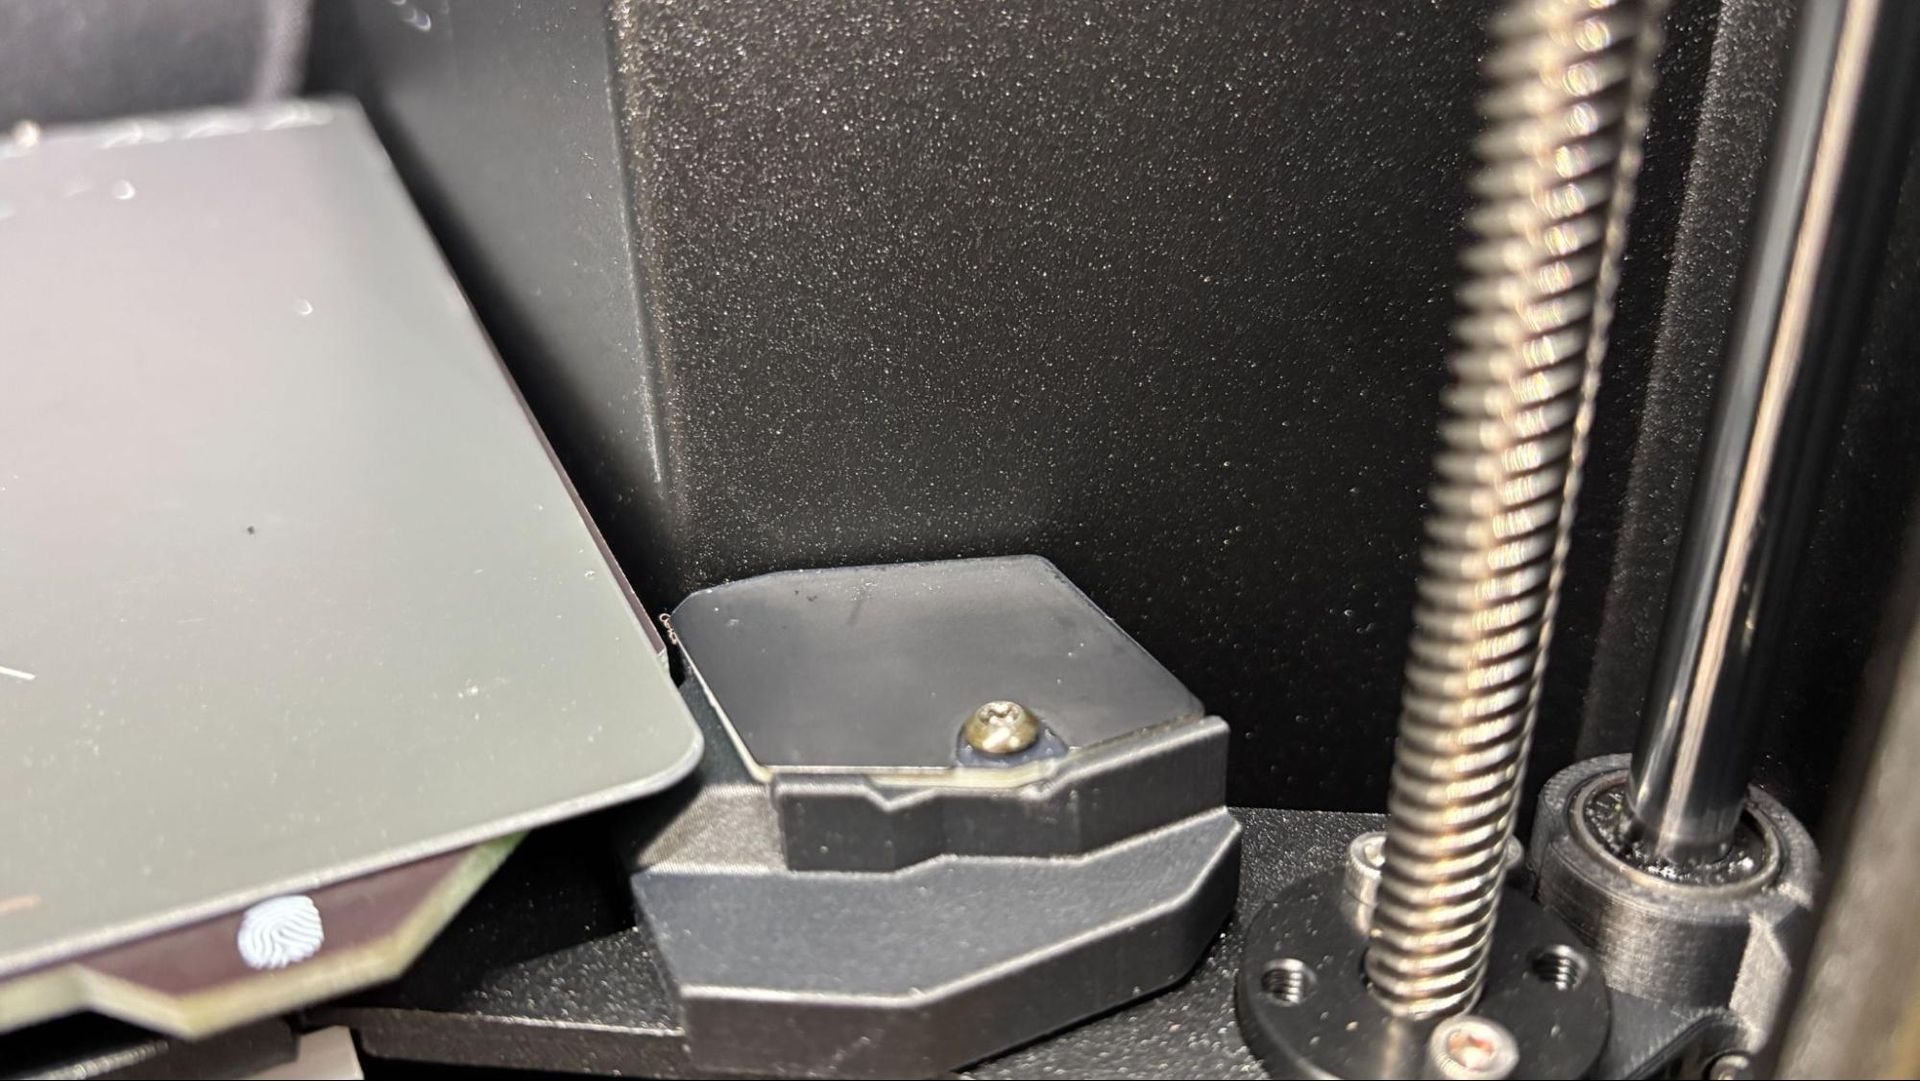
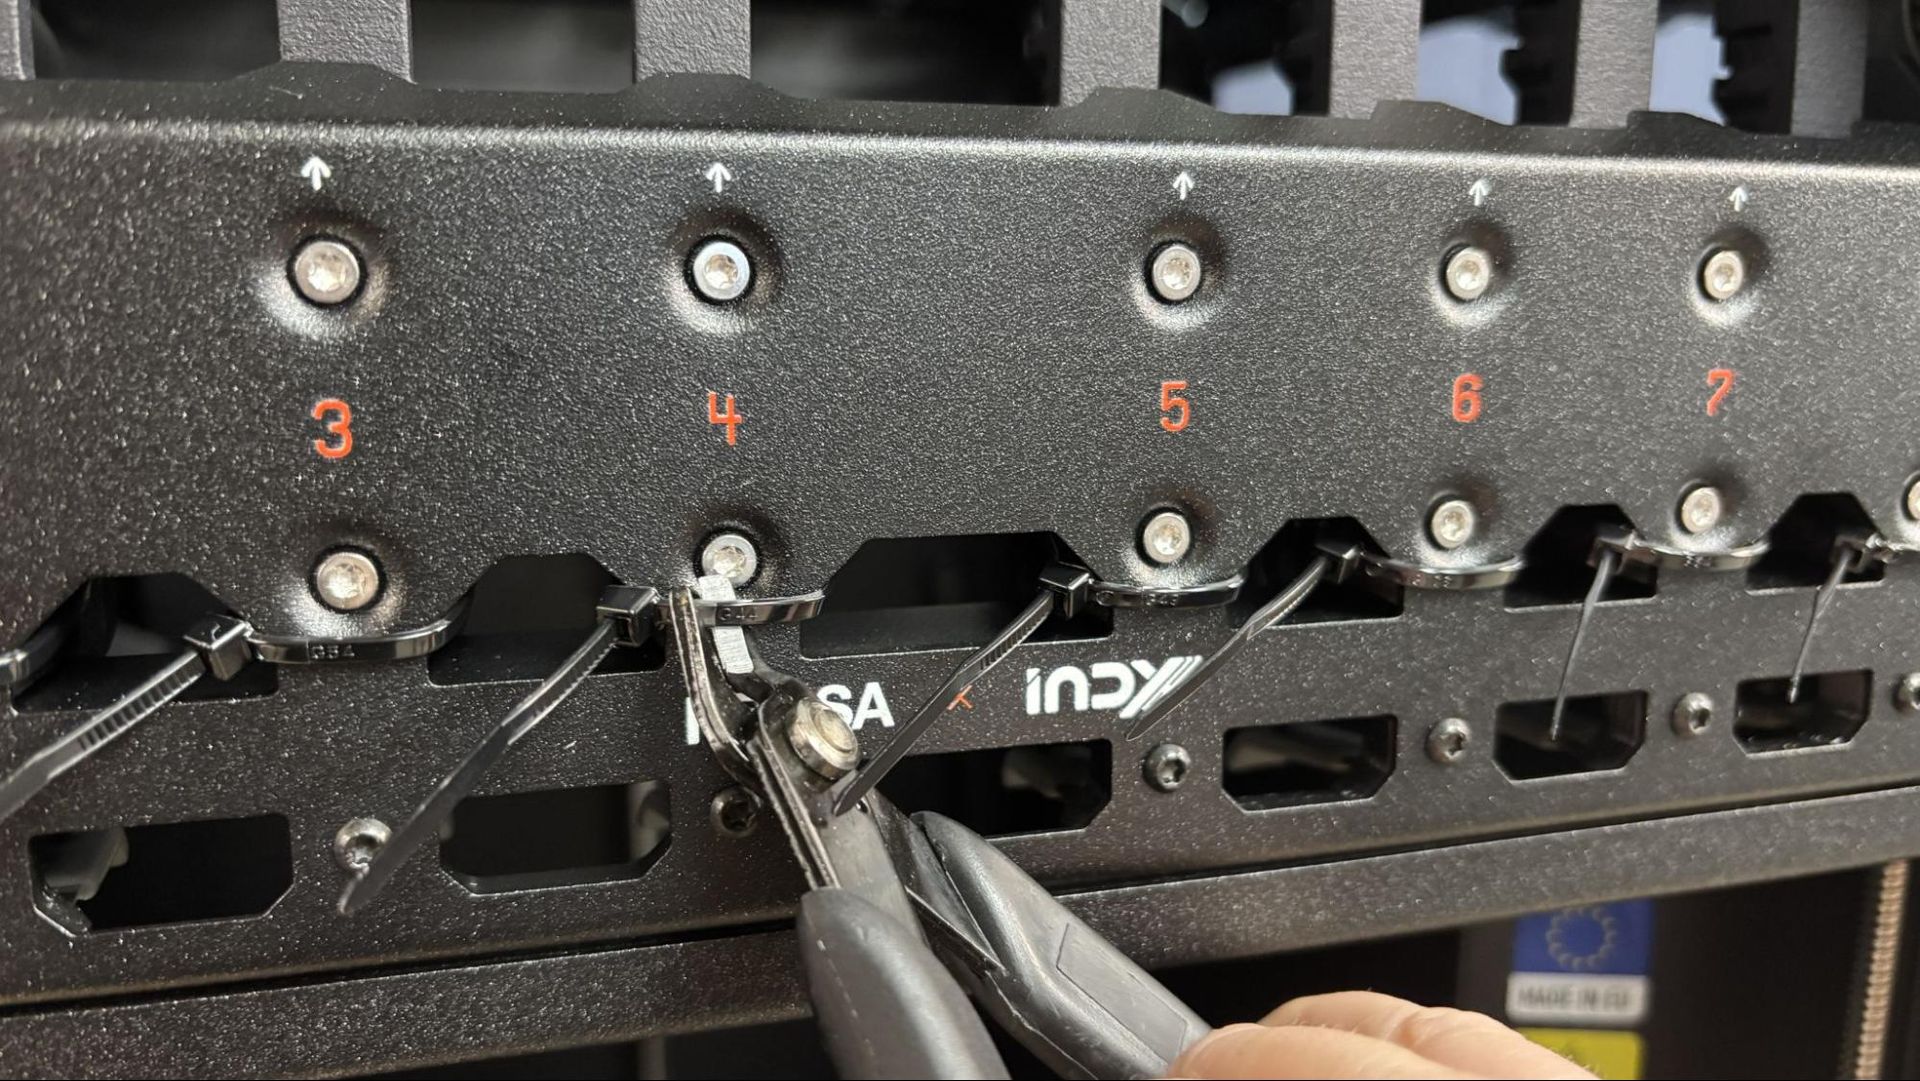
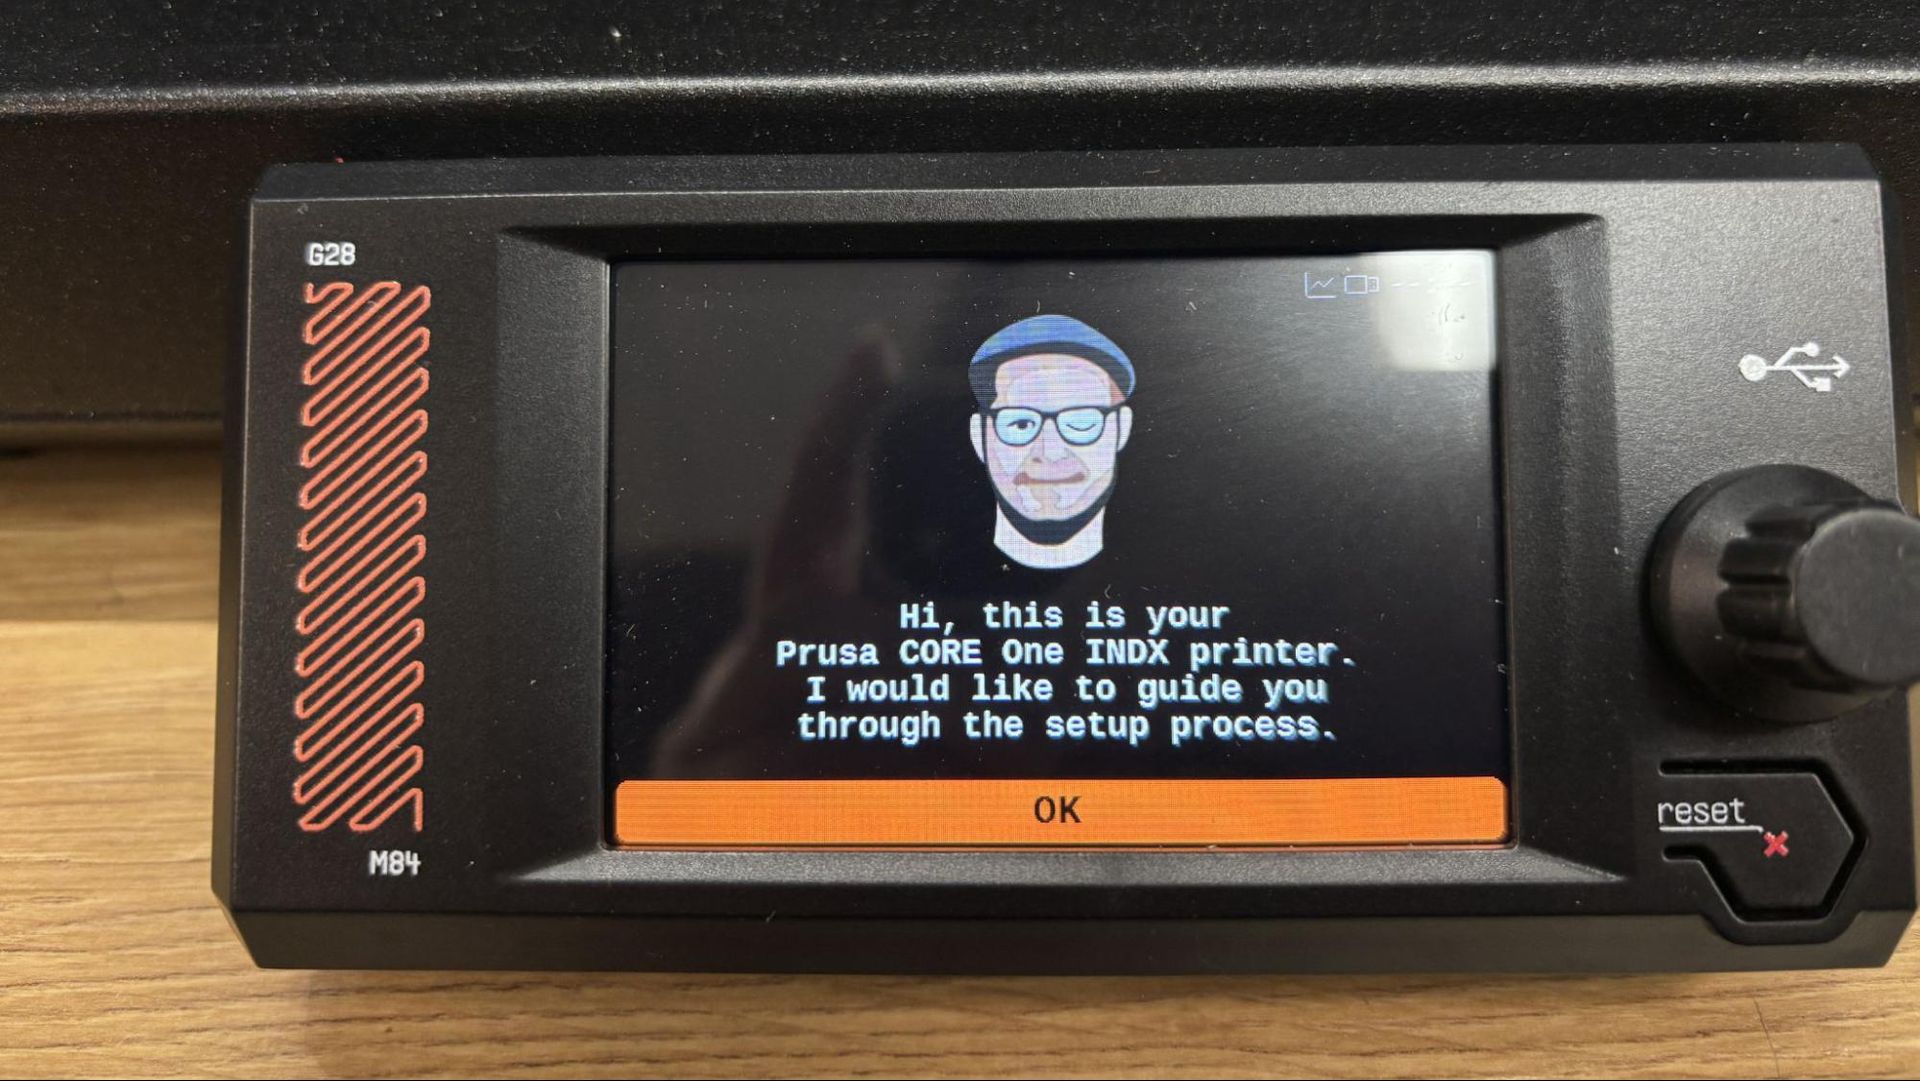
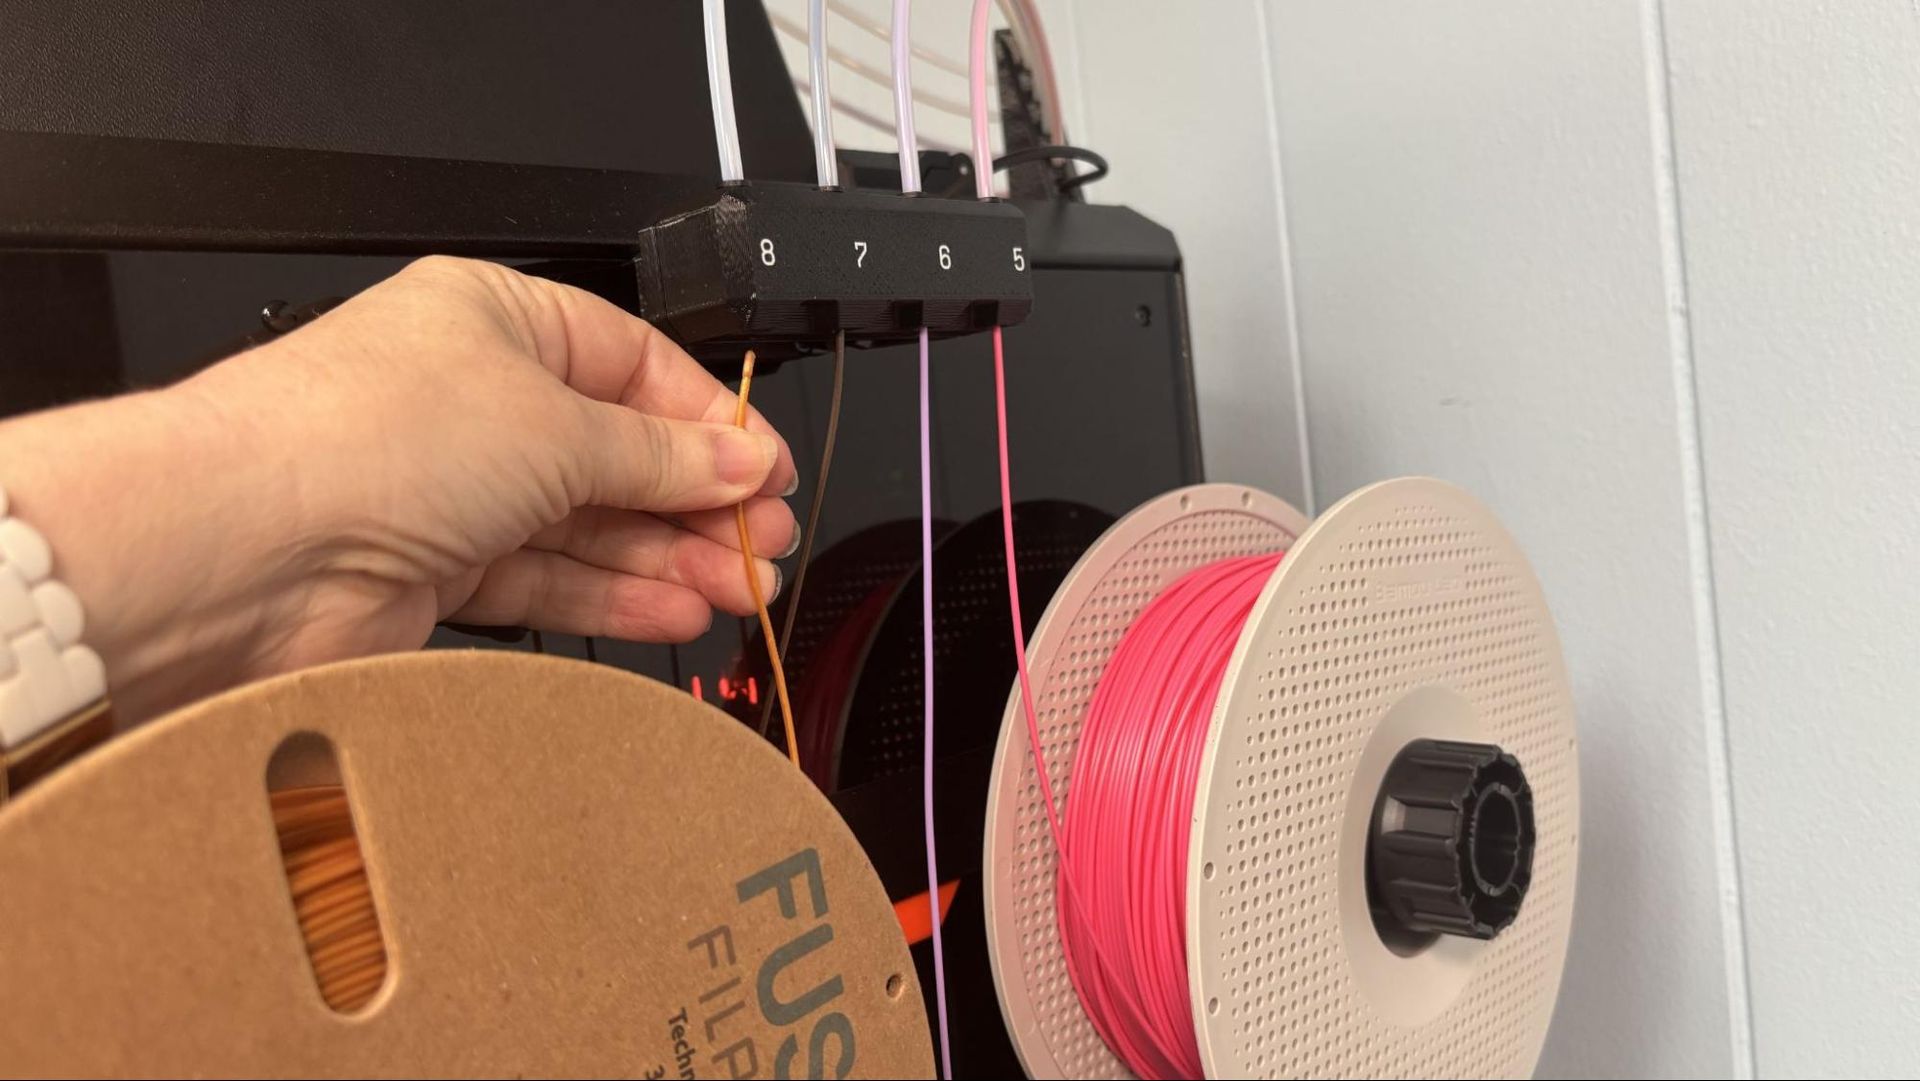
Tom’s Hardware was sent an eight-tool kit so we could share our first-hand experience with the INDX. It took the better part of a weekend to strip down our existing CORE One and modify it. This involved completely removing the Nextruder, replacing it with the INDX carriage, then mounting a rack to hold the eight tool heads. Eight spool holders were mounted on the sides, using preexisting screw holes. A calibration sensor was mounted to the front corner of the build platform, and an internal waste catcher was installed.
(Image credit: Tom's Hardware)
Prusa requested that we not conduct a full review of the Founder’s Edition, as it is merely a taste of what’s to come. The final retail INDX will be a more refined version, with a few tweaks (like better visibility through the front grill) and firmware upgrades. Prusa Research is taking feedback from Founders to improve the retail launch.
Prusa Research is expected to launch the retail version of the INDX for Prusa CORE One + by the end of July. A 4 tool kit will cost $749, while an 8 tool kit will run $999. Bondtech is offering a Development Kit that can be installed on Vorons, Sovols, or whatever you can hack, with a starting price of $487.50 for one toolhead.
So why is the Founders Edition considered unfinished? Bondtech’s original INDX concept was designed as a generic add-on to any compatible 3D printer, not as a bespoke Prusa mod. We first saw a Bondtech demo of the INDX at Rapid/TCT in April of 2025, mounted on a Voron 0. The partnership with Prusa Research was announced seven months later at Formnext, with a functional CORE One sporting eight tool heads.
The CORE One was not built with the INDX in mind, and it’s a testament to Prusa’s ingenuity and Open Source moddability that such a collaboration can work at scale. Prusa Research has always maintained a close connection with its user base and encourages owners to creatively tinker and customize the machines they own.
Unlike previous purpose-built toolchangers we’ve reviewed, the INDX is an upgrade kit. This is not a beginner-friendly piece of hardware to install, and Prusa Research is looking into issues that Founders are having with assembly to improve the retail experience. They may need to offer a fully assembled “Prusa INDX” to properly compete in this era of dumbed-down “just push play” 3D printers.
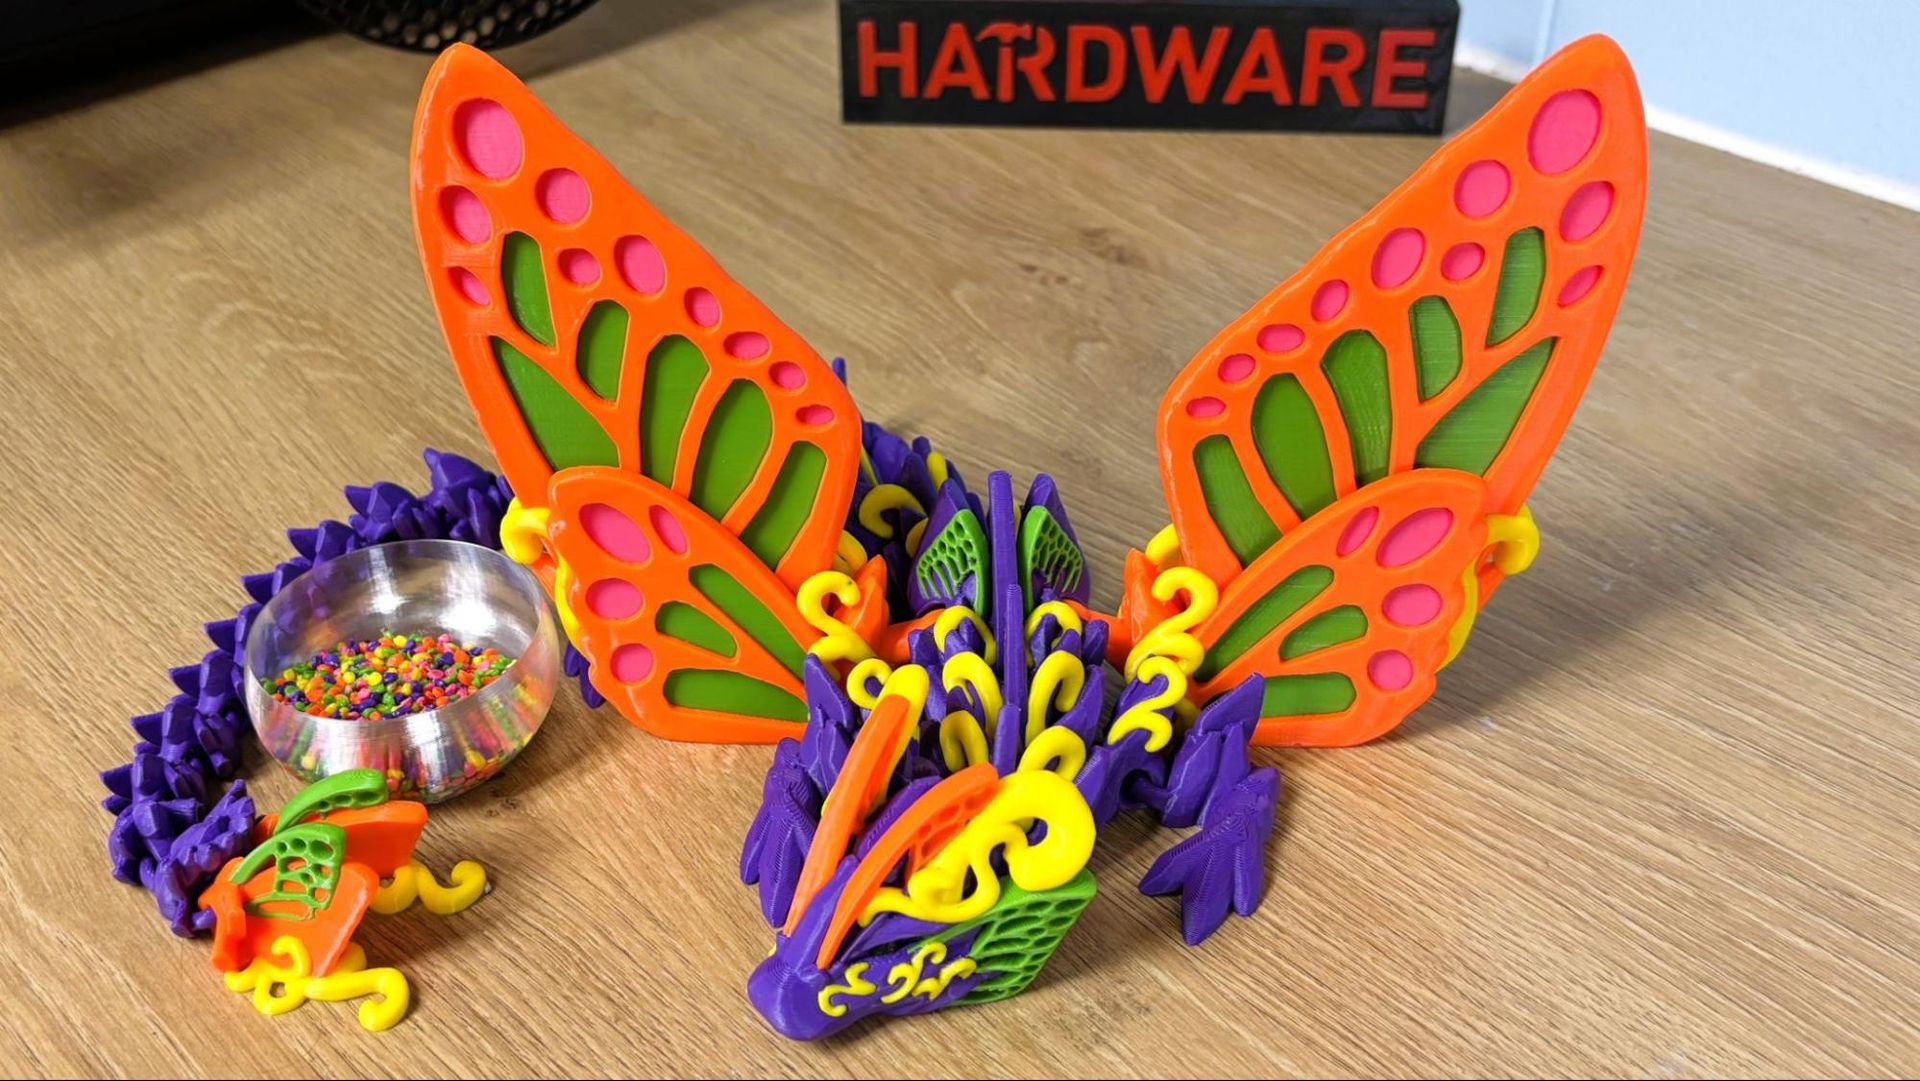
Though our “definitely-not-a-review-unit” had a few hiccups, most issues were solved by a firmware update and a second run through the calibration program. We’ve not had any issues with print quality, and our first calibration print turned out flawless.
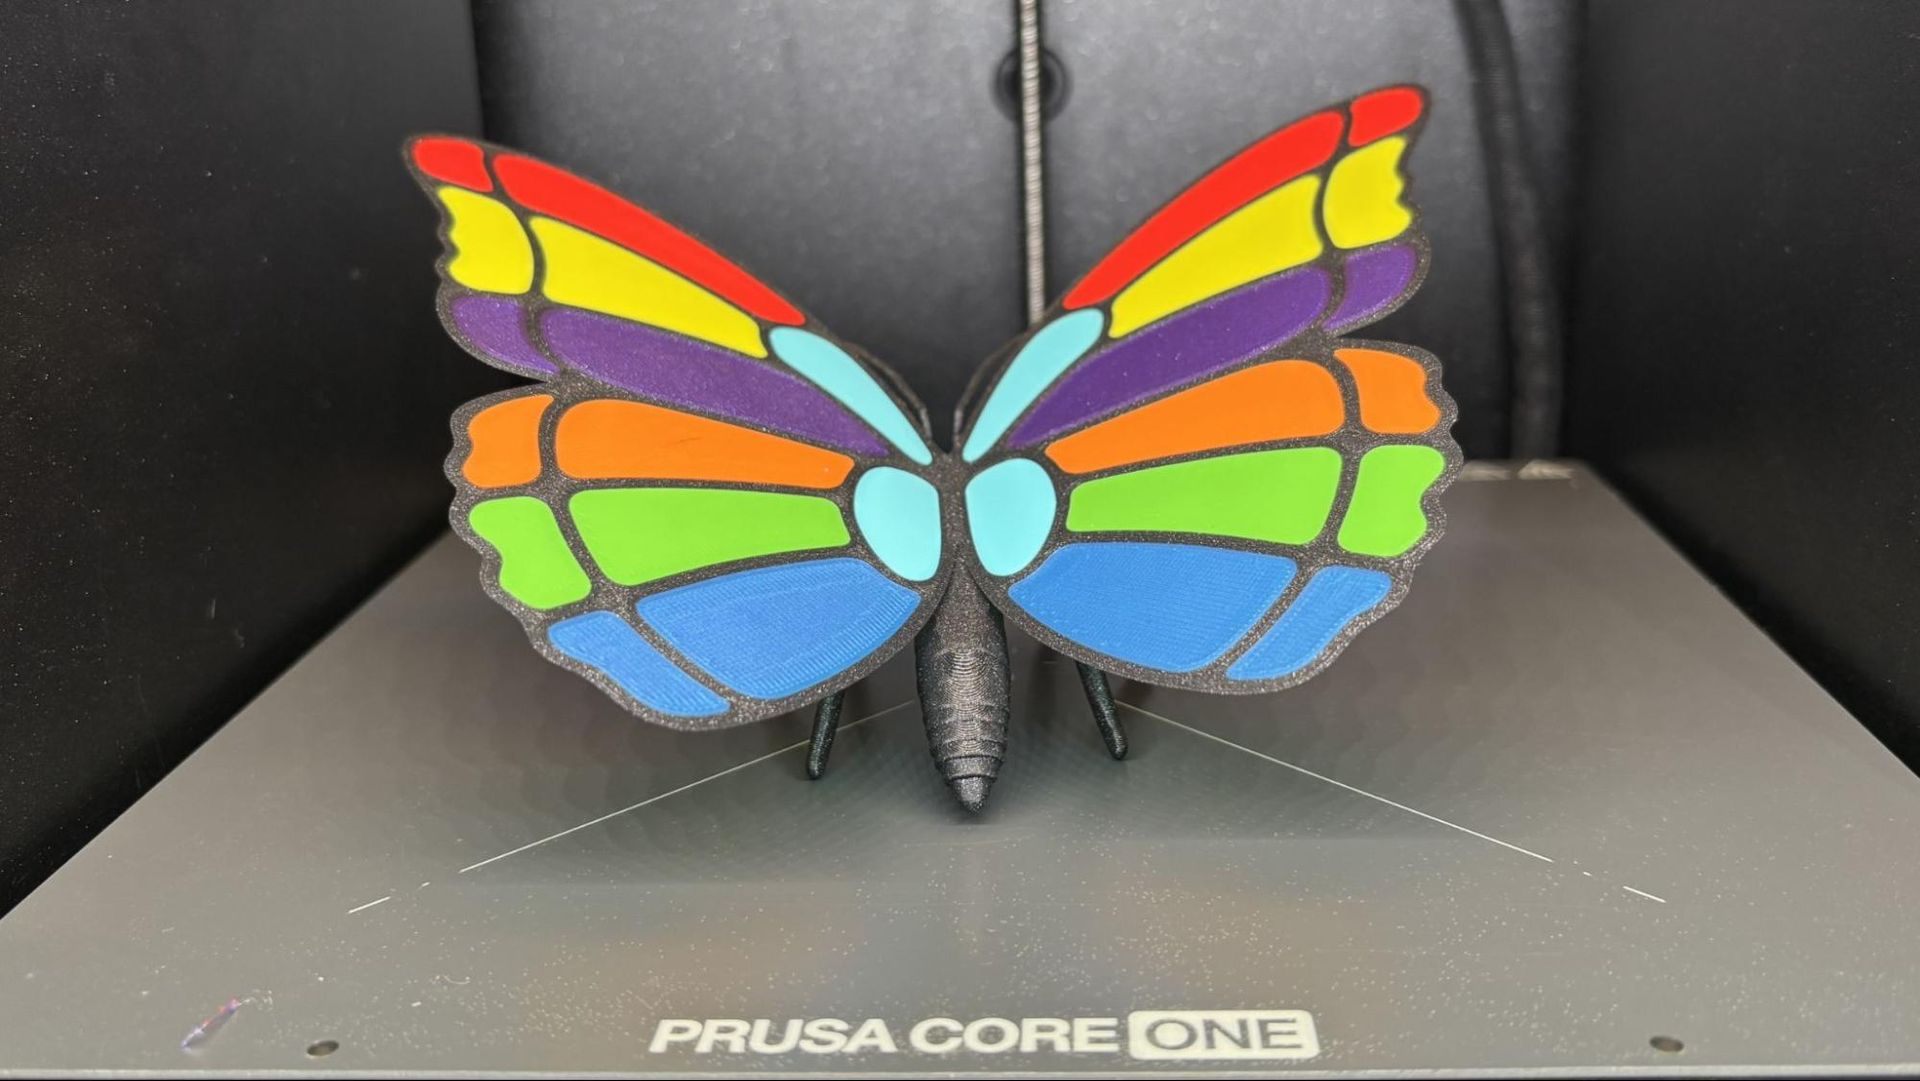
Prusa published a new calibration print just for the INDX. This eight-color sample test print took 1 hour and 14 minutes. The wings are a first-layer test and are only two layers thick. A tab on the wing slots into the body to prove that tolerances and extrusion flow are correct. The multi-colored wing segments act as a visual test for first-layer quality, belt tension, and toolhead alignment, as any tiny offset in color boundaries or axis motion will show up instantly.
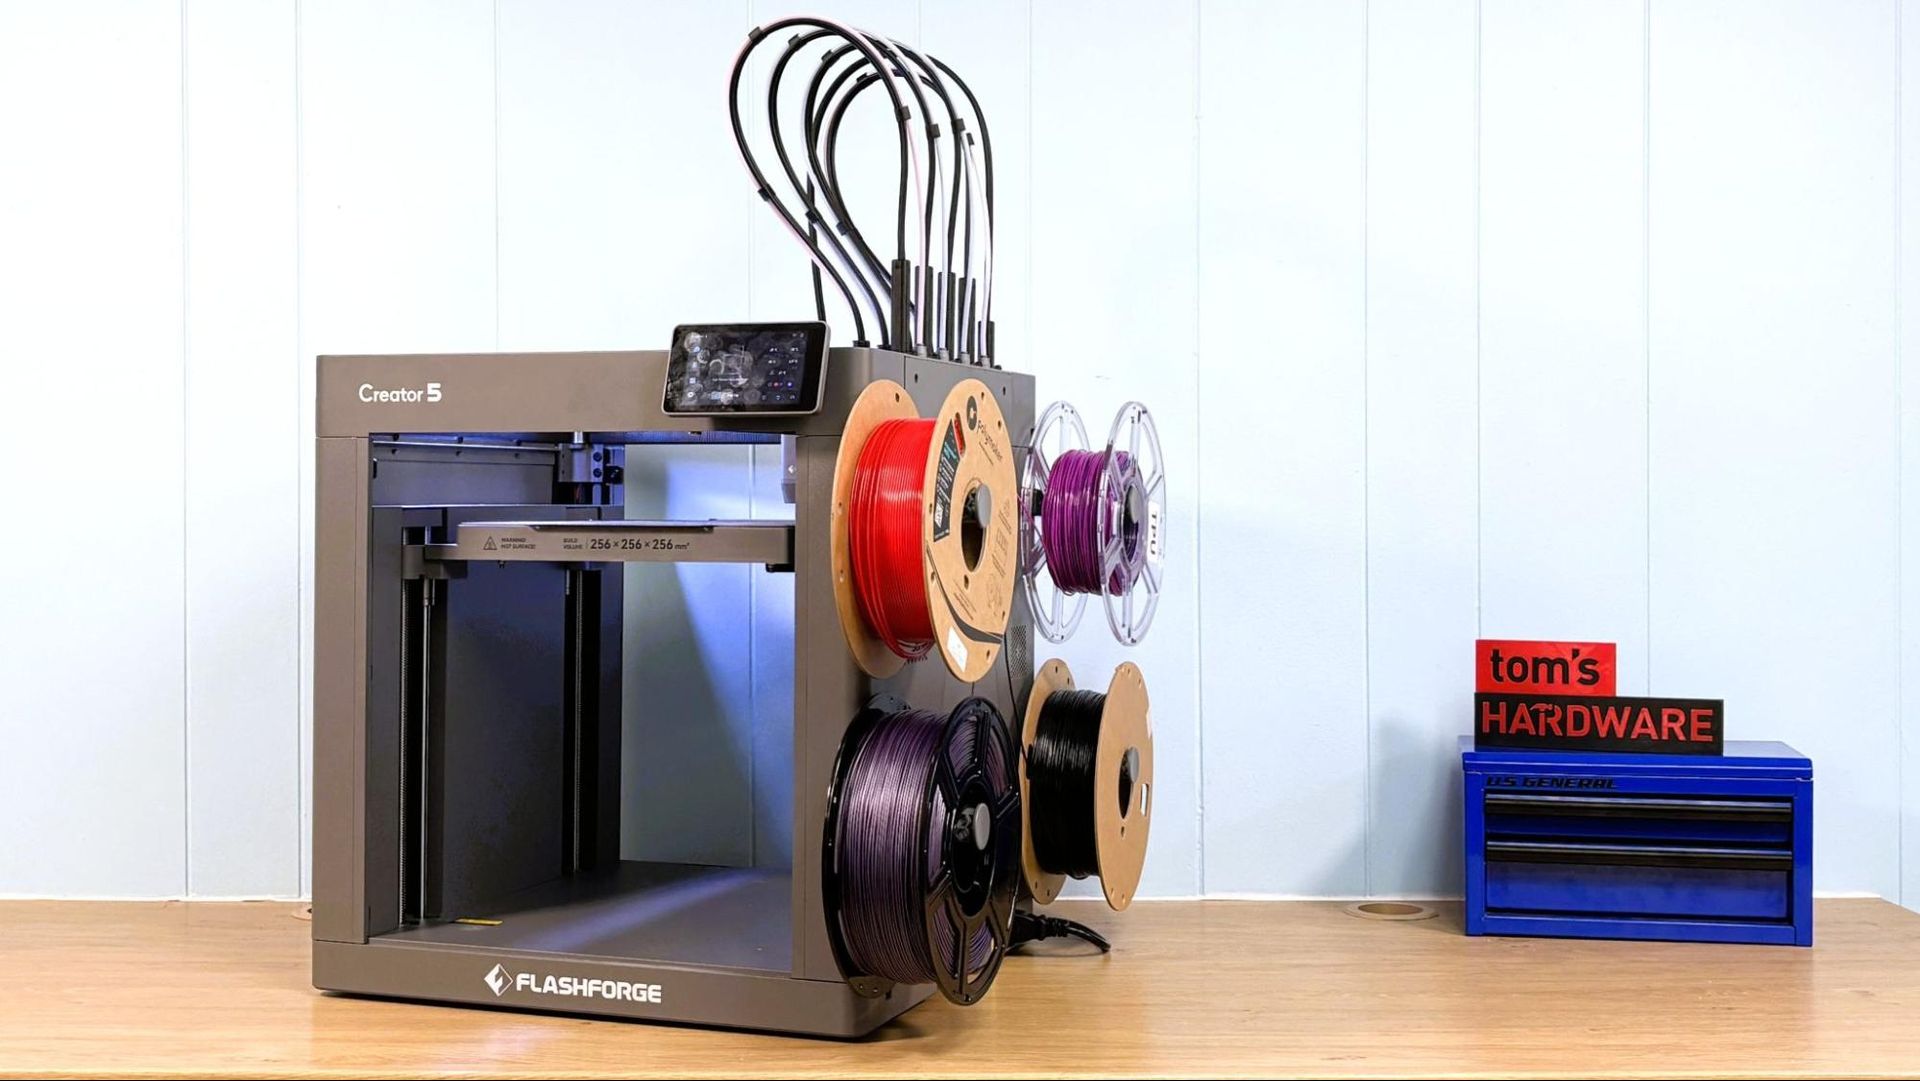
The Flashforge Creator 5 is the best budget tool changer currently on the market. Of course, there are only two other true toolchangers out there right now, three if you include the Bambu Lab H2C nozzle swapper. At the time of this review, the Creator 5 is on sale for $699, after a $100 discount. For that, you get a solid, open-frame Core XY machine with a 256 mm cubed build volume and four speedy toolheads that won’t waste your filament budget.
The Creator 5 is not perfect. It purges an insane amount of material when it loads, and the required prime block is surprisingly large. If you don’t use the Flashforge filament profiles, you’ll be in for a shock at the heft of the prime tower. Why? They only adjusted the filament profile for their own material. Everything purges at single-nozzle AMS levels. This setting is buried pretty deep in the slicer, and it took some time for me to find and correct it.
The printer handle high temperature materials well, which is more relevant if you opt for the enclosed Creator 5 Pro. It's still useful on the open frame machine because it loads and unloads at a higher temp to avoid clogging.
Being an open-frame printer, the Flashforge Creator 5 is limited in the materials it can print. We used the basics, PLA, PETG, and TPU for most of our prints. Since the hot end temperature can go all the way to 320°C and bed can get to 120°C we did try some higher temp filaments like PET-GF which printed fine at 310°C.
There’s no upgrade path to take the Creator 5 to an enclosed Pro, something that other companies might offer. Even though it looks like Flashforge uses the same case for both machines, there’s no fan behind the exterior grill for extra cooling, and no way to install one. However, if your plan is to print in multicolor PLA, PETG, and TPU, this is a good, no-frills machine for your workshop. It's one of the best 3D printers we’ve seen this year, and I highly recommend checking it out for your next multicolor machine.
Specifications: Flashforge Creator 5
Build Volume
256 x 256 x 256 mm (10.07 x 10.07 x 10.07 inches)
Material
PLA/PETG/TPU (up to 320 degrees)
Extruder Type
Direct Drive Tool Changer
Nozzle
.4mm stainless steel proprietary
Build Platform
Double-sided textured PEI steel flex plate
Bed Leveling
Automatic + Z height
Filament Runout Sensor
Yes
Connectivity
USB, LAN, Wi-Fi
Interface
4-inch Color Touch Screen
Machine Footprint
520 x 443 x 710 mm (20.47 x 17.44 x 27.95 inches)
Machine Weight
14 KG (30.86 lbs)
MSRP
$799
Release Date for Pre-Orders
June 2026
Flashforge Creator 5: Included in the box
(Image credit: Tom's Hardware)
The Flashforge Creator 5 arrives mostly assembled. The tool heads are pre-assembled with a mounting plate. The spoolholders, touch screen, toolkit, filament coils, and quick start guide are included.
Design of the Flashforge Creator 5
(Image credit: Tom's Hardware)
The Flashforge Creator 5 is a fast Core XY open-frame printer with a simple grey case that prioritizes mechanical simplicity to keep the price down. We mainly see this in how filament is manually loaded to each tool head and requires picking up each head to physically hold down a lever while you push the material through to the nozzle.
The build volume is 256 mm³, which is a fairly standard size when compared to most 3D printers. The removable flex plate is two-sided and coated with a common PEI textured surface, which gave us no problem.
As I mentioned previously, the open frame case is not meant to be upgraded with a door or top lid. It appears to be the same one used on the Pro version of this machine, which is a great cost-saving method for Flashforge, but disappointing to the buyer when you notice there are no fans behind the vents in the body.
The X and Y axes run on beefy 8mm belts with a linear rail for the X axis and linear rods for the Y. The Z runs on three linear rods, driven by three lead screws belted to a single stepper motor.
The tool head carriage includes the extruder motor and parts cooling fan, which are shared by four very lightweight tool heads. Each tool head has a manual cutter, hot end, and cooling fan. The tool heads attach to their base with magnets and are picked up by the tool carriage mechanically by gripping the circular protrusion on the back of the tool head, and aligned by mating with three pins on the tool head carriage. This is less complex than motorized latching pins that other machines use, but during our testing, it proved to be a very reliable system.
(Image credit: Tom's Hardware)
The hot end includes the thermistor and heater, and is replaced as a unit. This is not a quick-release system, and you will need tools and a bit of patience to change out the nozzles.
The Flashforge Creator 5 has basic, static, spool holders which allow for the use of a wide variety of spool types from sample spools and coils to oversized spools and spools with dinged up rims. Since the Creator 5 does not automatically unload filament, these work just fine.
Assembling the Flashforge Creator 5
(Image credit: Tom's Hardware)
For a complex machine, the Flashforge Creator 5 is very simple to assemble. The 4-inch touchscreen plugs into a socket on the printer, with no ribbon cable to fuss with, and attaches with two screws.
(Image credit: Tom's Hardware)
The tool heads are prewired and attached to a plate, which is screwed into the right side of the printer, and the tool heads dock magnetically, also on the right side of the printer.
The spool holders are attached to the right side of the printer with a single screw each. Four nozzle blockers slot into the right side of the printer to prevent oozing. There is one cable to plug into the toolhead carriage, and it attaches with two screws.
(Image credit: Tom's Hardware)
Before calibration, there is a nice reminder to make sure you’ve removed the three screws holding the bad in place for shipping.
Preparing Files / Software for Flashforge Creator 5
(Image credit: Tom's Hardware)
The Flashforge Creator 5 requires a download of Flash Studio, which is based on Orca Slicer, which traces its lineage to Bambu Studio and Prusa Slicer. Flash Studio is stable and works fine for connecting to the Creator 5 in either cloud or LAN mode. The filaments input from the printer itself show up on the device page, but have to be manually chosen in the slicer as they do not sync up automatically.
Flashforge does not give access to the printer directly from a browser using the IP address, but does offer LAN mode if you want to avoid the cloud. Files can also be transferred manually via a USB drive.
(Image credit: Tom's Hardware)
You can access Voxelshare, Flashforge’s file sharing site from the home page of the slicer. While not as deep as some of the other file sharing services out there, it is a good place to start looking for something to print.
(Image credit: Tom's Hardware)
Flashforge does have a nice series of guides that can be accessed directly from the slicer. Information is a little light on the Creator 5 largely because it is still in pre-order status.
Leveling the Flashforge Creator 5
(Image credit: Tom's Hardware)
The Flashforge Creator 5 sets Z offset and levels the bed as part of its initial calibration, along with vibration compensation and extruder offset calibration. It calibrates the four tool heads by tapping a calibration disk hidden underneath the build plate. This takes about 40 minutes, but only needs to be done when the machine is first set up.
(Image credit: Tom's Hardware)
The printer offers to recheck the level at the start of each print. Since the printer sets the level using the tool head carriage, without the need to level each individual tool, it’s quick enough to just let it level each time.
Loading Filament on the Flashforge Creator 5
(Image credit: Tom's Hardware)
Loading filament in the Flashforge Creator 5 is a very simple, though oddly manual, process. Each tool head has a manual cutter, triggered by a lever, which also releases the extruder. To load filament, place the spool on the holder, push the end of the material into the appropriately numbered port, and hand-feed the material to the tool head. You then remove the toolhead from its dock, press the lever to release the extruder tension, and feed the material until it stops. To unload, you reverse the process.
The loading routine on the printer nicely sets the hot end temperature to match the last filament loaded, 250 °C for PLA and TPU, and 270 °C for PETG. It will then purge a rather large amount of material onto the floor of the printer.
(Image credit: Tom's Hardware)
Printing on the Flashforge Creator 5
The Flashforge Creator 5 comes with four small sample coils of basic colored PLA, which are too small to be of any real use. You should check out our guide to the best filaments for 3D printing to stock up on filament before using the Creator 5.
For my first print, I decided to jump into the deep end of the pool. I used Creality’s Cube Me tool to make a model from a photo of Dave Hasselhoff from his Knight Rider days. I used the .12 mm layer height default profile, which set an average print speed of 160 mm/s. I tilted the model 90 degrees backward to avoid supports on Hoff’s face and stuck with the default values for tree supports. The supports were very stout, but were removed with very little trouble.
The print took 8 hours 28 minutes to complete and looks fantastic. The purge block generated by the defaults was massive on this model, weighing in at 44 grams, more than the model’s 33 grams. This purge value can be adjusted in the slicer and should be refined in future software releases as well.
I wanted to test the ability of the Creator 5 to push TPU, so I loaded up some FiberFlex 40D from Fiberology. 40D is a little bit softer than standard 95A TPU, and many of the printers I test have a hard time handling it. To make it more interesting, I gave it a difficult model, the TPU air duster from Dan the 3D Printing Dad on Printables. This file will fail at the first hint of underextrusion. Using a .12mm layer height and an average print speed of 50 mm/s, the print completed in 2 hours and 9 minutes.
The duster printed great, with no leaks in the bellows, but did fail ¾ of the way up the straw. That soft TPU was way too wiggly at the top, where the model was very small.
Sadly, the extruder clogged, which required disassembling the tool head to clear.
Tinkercad (Image credit: Tom's Hardware)
I wanted to give the machine another shot, so I loaded up some CookieCad Sunset TPU, which has a shore hardness of 95A. This time, I was prototyping a phone bag I made in Tinkercad.
This printed at a .2mm layer height, with an average speed of 50 mm/s. The print took a little over 10 hours to print. The quality is very nice with just a little bit of stringing on the interior of the bag, which just means I should have dried the TPU before printing with it.
For PETG, I printed a Fidget Grabber I found while browsing MakerWorld. Using a .2mm layer height and an average print speed of 120 mm/s, the print completed in 2 hours 57 minutes. The print looks really good in Polymaker Silver PETG, and all of the print-in-place joints came out super clean. It’s not the most functional print, but it’s certainly fun.
Bottom Line
(Image credit: Tom's Hardware)
The Flashforge Creator 5 printed everything we threw at it (except softer than soft TPU) and did an excellent job. It will be even better if Flashforge can tone down the purge waste when loading and on the prime block. The slicer could be a little less clunky and sync filaments directly, but again, this is a small issue.
$699 isn’t exactly the cheapest price for a 3D printer, but it is currently the best deal you’ll get on a tool changer. If you want to print in four colors, but hate wasting your filament, the Creator 5 is worth a look.
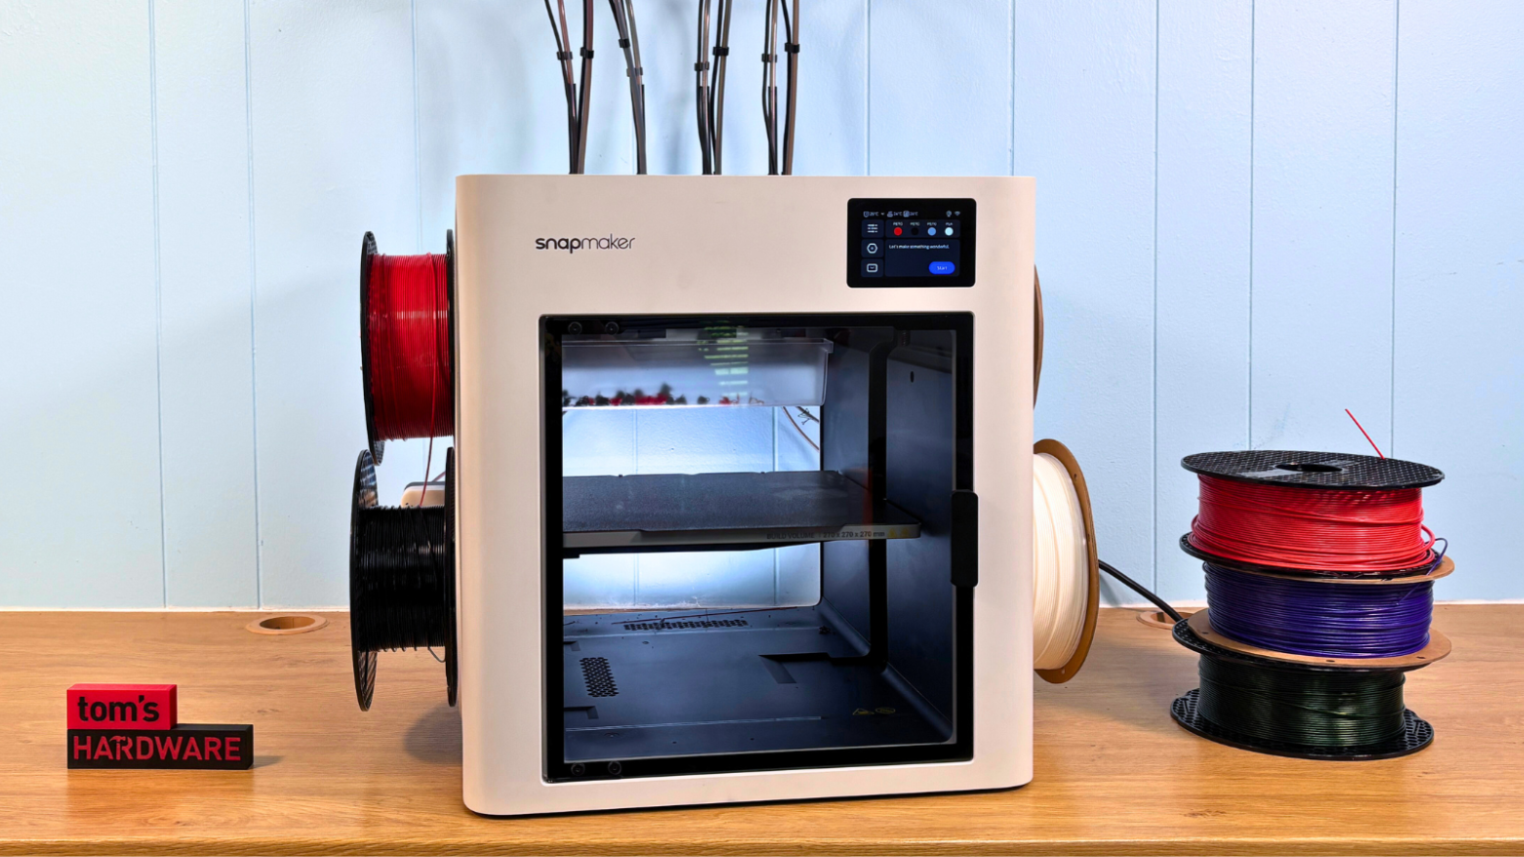
Right now, our options for tool changers are limited. The Snapmaker U1 has a bit more polish and can be upgraded to be fully enclosed by slapping an IKEA tub on top of it. It is currently $899. The prosumer Prusa Research XL, which has a larger print volume and five heads, is $3,899.